


Stay energized, full, and even indulge a craving by learning how to make homemade protein bars! This step-by-step guide covers everything you need to know about making homemade protein bars including choosing the best vegan protein powder, altering the texture, and adding in your favorite flavors!

As a busy mom, homemad protein bars are a staple in my house. And not just for myself but for my kids also.
They help keep us full, provide us with quality fuel, and they’re great for busy days.
However, buying dairy-free gluten-free store-bought protein bars for a family of five adds up. So, six years ago I started making my own. And now, I know all the ins and outs.
If you’re sick and tired of spending a fortune on store-bought bars, look over this guide and get started on learning how to make protein bars.
Your body, and your wallet, will thank you.
Jump To
- Why You’ll Love Making Homemade Protein Bars
- Steps To Make Them
- Common Ingredients
- Choosing A Protein Powder
- How To Build Your Own Protein Bars
- How to Customize A Protein Bar For Dietary Needs
- Adds Ins & Flavors
- Protein Powder Alternatives
- FAQs
- Fast, crave-worthy snacks that hit your protein goals (without tracking or extra cooking time).
- Gluten-Free Protein Bar Recipes
Why You’ll Love Making Homemade Protein Bars
If you’re still questioning if you should learn to make protein bars, stop thinking and start embracing.
Cost effective you only need a handful of ingredients, and you can make so many flavors. Much cheaper than paying $4-10 for five bars at the store.
Easy: Most protein bar recipes take only 5-10 minutes to make and then just need to set.
Customize: Having the ability to alter bars for dietary preferences or current cravings is amazing.
Skip the sugar: Many store-bought bars have more sugar than they do protein. If you have health or weight loss goals, making your own helps regulate this.
Pack in protein: They're tasty ways to boost your daily protein intake. Learn more about the perks of a high protein diet.
Steps To Make Them
Most homemade protein bars are easy, no-bake recipes (more on to bake or not to bake below).
This is because they’re quick to whip up and have a better texture. When making no-bake protein bars there’s pretty much only a few steps to follow for every bar:
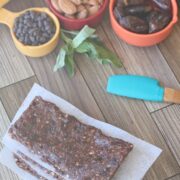
- Measure the ingredients
- Mix until sticky
- Portion into a lined pan
- Press down until smooth
- Let chill or freeze
That’s it. 5 steps that take about five minutes and you’ve got a batch of homemade gluten-free protein bars ready.
Common Ingredients
Most of the ingredients you need will be repeated over and over. If you have a well-stocked gluten-free pantry and grocery list and common food staples for a high protein diet, you probably already have everything.
Of course, there will be some variations for flavor but for the most part, you need the following ingredients.
Nut butters: This is what helps give the sticky texture to protein bars and a dose of healthy fats. Any will work and you can use sunflower seed butter if you need nut-free variations.
However, know that you want fresh jars. This is because the oils in the nut butter help to mix everything better.
Protein powder: The kind of protein powder you choose will affect the taste and texture of homemade protein bars. Learn more about choosing a protein powder for our goals.
Sweetener: for my protein bar recipes, I typically use maple syrup or honey. This is because it also helps with the texture of no-bake bars. Dates, bananas, and apple sauce are great options if you’re baking.
Remember though that the purpose of homemade protein bars is to keep them healthy, adding in a ton of sweeteners won’t accomplish that. So, use a light hand.
Fillers: not always necessary but a great way to stretch no-bake bars. Ingredients like gluten-free rolled oats, rice cereal, coconut flour, and almond flour can all help to give you more bars per batch (and more nutrition in some ways).
Cacao powder: If you’re a double chocolate lover, you need cacao powder. Learn more about the benefits of raw cacao powder and why you’ll want to stock up.
Choosing A Protein Powder
So, the kind of protein powder you choose can and will make a difference to both the texture and the flavor of any homemade protein bar recipe, regardless of whether or not you bake them.
Quick Walk Through:
Whey protein powder: If you tolerate dairy, whey protein powder is great. It’s quick to absorb in your system, very protein-dense and both mixes and absorbs well. Rarely does it have a “chalky” taste. It’s versatile.
Vegan protein powder: Each vegan protein is a unique blend or rice, pea, quinoa, and/or coconut protein. They tend to absorb much more liquid, and the flavor can be chalky.
Collagen powder: The cleanest source of protein you'll find, collagen powder for women is a great way to bump up your intake. Learn more about collagen vs. protein.
Vegan Protein Powder Quick Sheet
Pea protein powder: Absorbs the most liquid out of any protein powder and when baking so you need to add additional liquid. Can be used in place of flour. The flavor varies but it works really well overall.
Rice protein powder: Doesn’t absorb as much liquid as pea protein but still works as a binder or replacer in most recipes. However, brown rice protein tends to have the chalkiest flavor of the bunch and thus, most people dislike it.
Hemp protein powder: Very similar to rice protein in the way it absorbs and the texture. Most people feel it has a gritty texture.
Blended protein: I find these the best to work with, but they also mean that you may need to adjust your recipe a bit. They’re split in the middle depending on how much pea protein is in them, but they tend to mix really well into no-bake protein bars and have a wicked texture.
Botanica Perfect Protein is my favorite, but Orgain Protein and Naked Nutrition chocolate pea protein are great as well.
Truthfully, it sometimes comes down to experimenting a bit with vegan protein powders depending on what you need them for.
My suggestion is to start with a blended protein powder or a pea protein and learn how to tweak from there.
How To Build Your Own Protein Bars
The goal of making homemade, no-bake protein bars is to make a sticky batter. This is what holds all the ingredients together.
Which means, you need to add one or more binding agents.
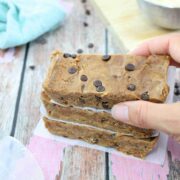
Typically, I like to add at least two (a nut butter and a sweetener). However, there are exceptions of course (these cookie dough bars only use cashew butter as the sweetener is a powder).
The most common binding ingredients for no-bake bars are:
- Nut butter of any kind (peanut butter, almond butter, cashew butter, hazelnut almond butter)
- Sunflower seed butter
- Honey (creamed honey especially!)
- Maple syrup
- Date paste
- Agave syrup
- Coconut oil: this one works as a liquid and helps a bit as a binder so long as it’s one of two choices.
Remember though that they key to using almond butter and peanut butter is that they're fresh. The drippier the better.
How to Customize A Protein Bar For Dietary Needs
Learning how to make protein bars is great because it means that you can make them for whatever diet you follow.
Below are a few great tips on customizing bars for the most common allergies or preferences.
Dairy-free
This one is simple as you can use a dairy-free milk, oil in place of any butter, and a vegan protein powder. Learn more about the benefits of a dairy-free diet as well as easy dairy-free swaps to make life easier.
Gluten-free
You’ll need to double check your protein powder first to ensure that it’s gluten-free. From there, you need to consider what you’re adding to bulk up the protein bars.
Since oats are the most common, make sure to use certified gluten-free oats. A few other options for bulking up protein bars are:
- Rice cereal which adds a fun crunch
- Almond flour for a dose of healthy fats
- Coconut flour to an extent as it absorbs similar to vegan protein powder
From there, you may just want to make the protein bars denser and focus on the binding agents, protein powder, and a thickener like tapioca flour so that you can omit the grains altogether.
Paleo
As mentioned above, for paleo protein bars you want to eliminate all the grains.
This means that you’ll be adding more nuts and seeds in the form of nut butter or almond flour.
Hack: you can also grind up things like pumpkin seeds and sunflower seeds to make flours and switch up your fats.
For paleo bars you sometimes need a thickener to hold them together. For this you’ll want to use coconut flour, arrowroot powder, or tapioca flour.
Whole30
To make protein bars whole30-approved you normally need to eliminate the protein powder as most are not acceptable on a whole30 diet.
In this case, you can use collagen powder and follow the ideas in the paleo section to eliminate grains.

Adds Ins & Flavors
There are so many ways to flavor your protein bars. However, the items below are the most common additions and ones we use most often.
Some are for flavor, and some are for texture
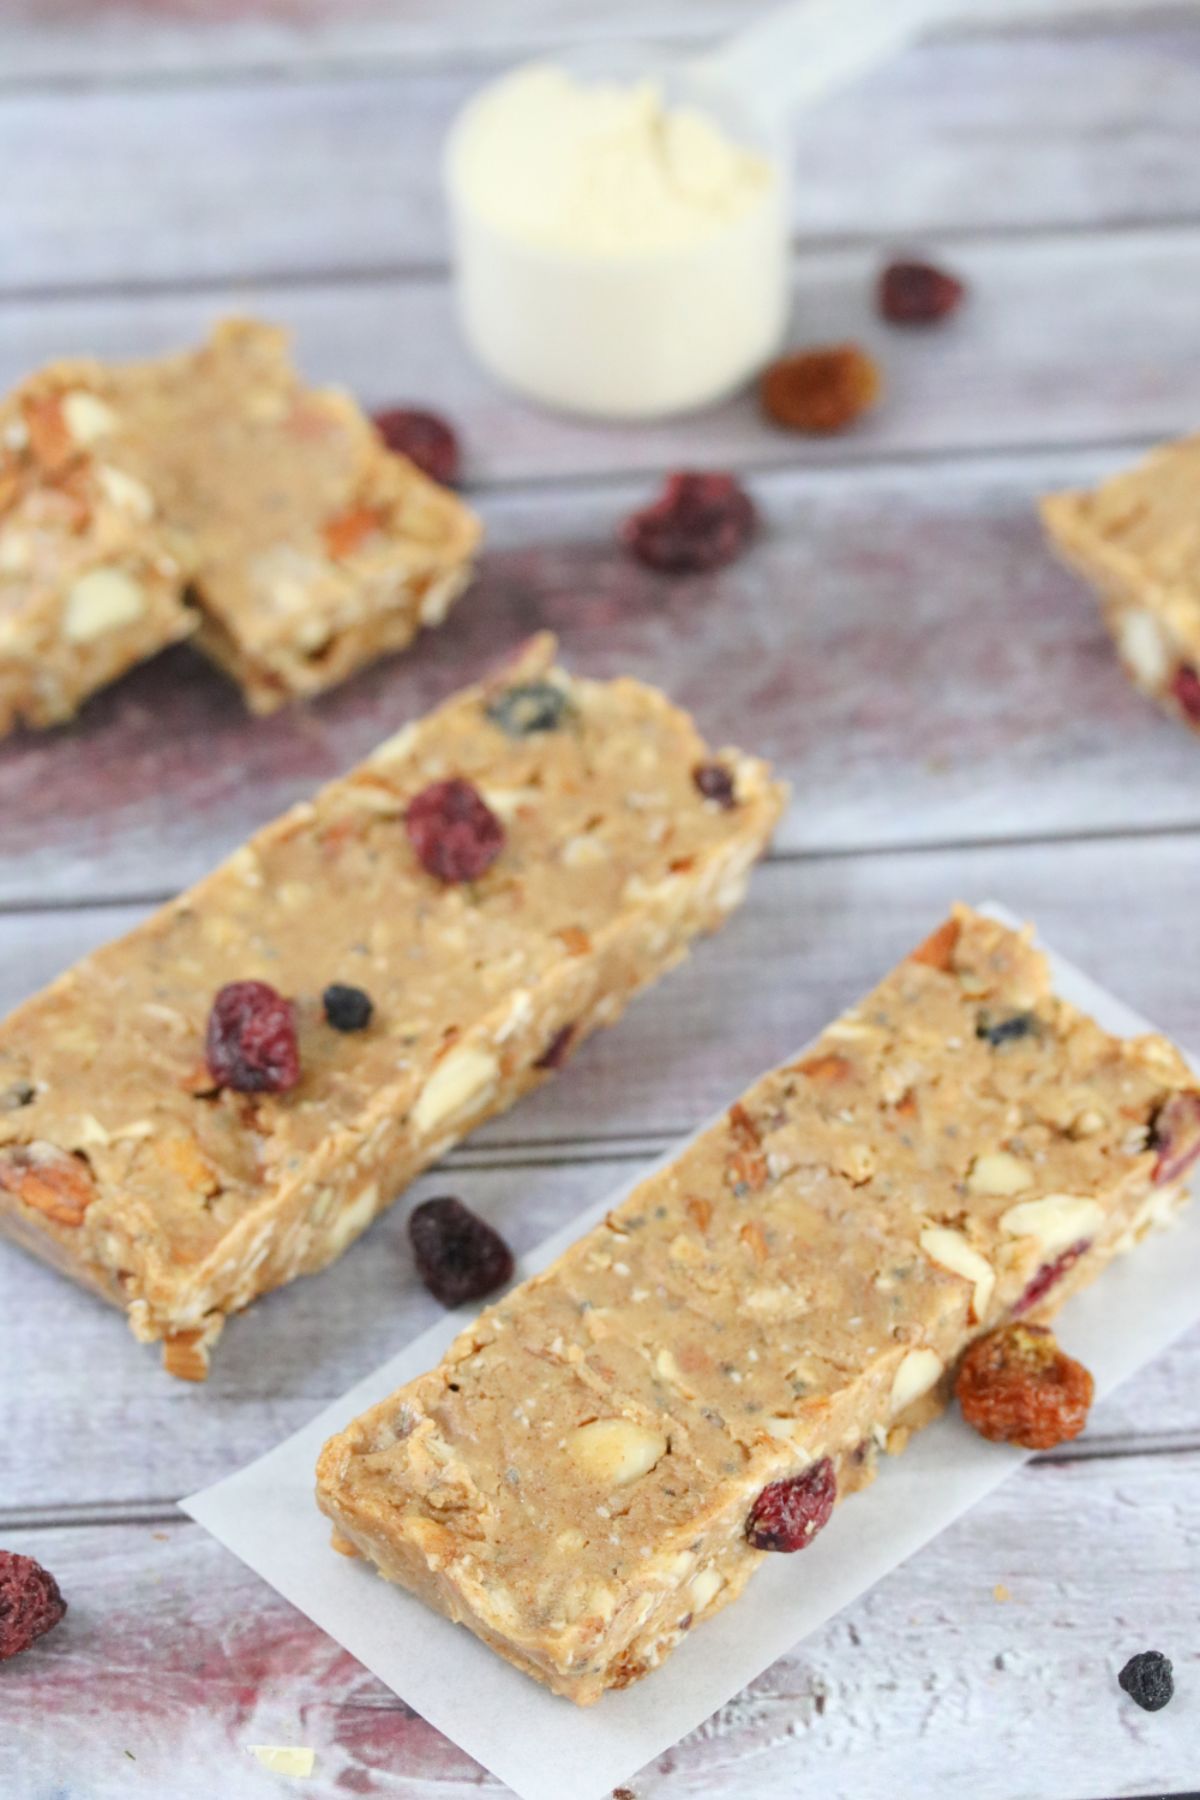
- Chopped nuts: Toasted pecans are our favorite
- Shredded coconut adds a lot of sweetness and chewiness
- Dried fruit: Any and all work but we have a soft spot for dried blueberries and cherries
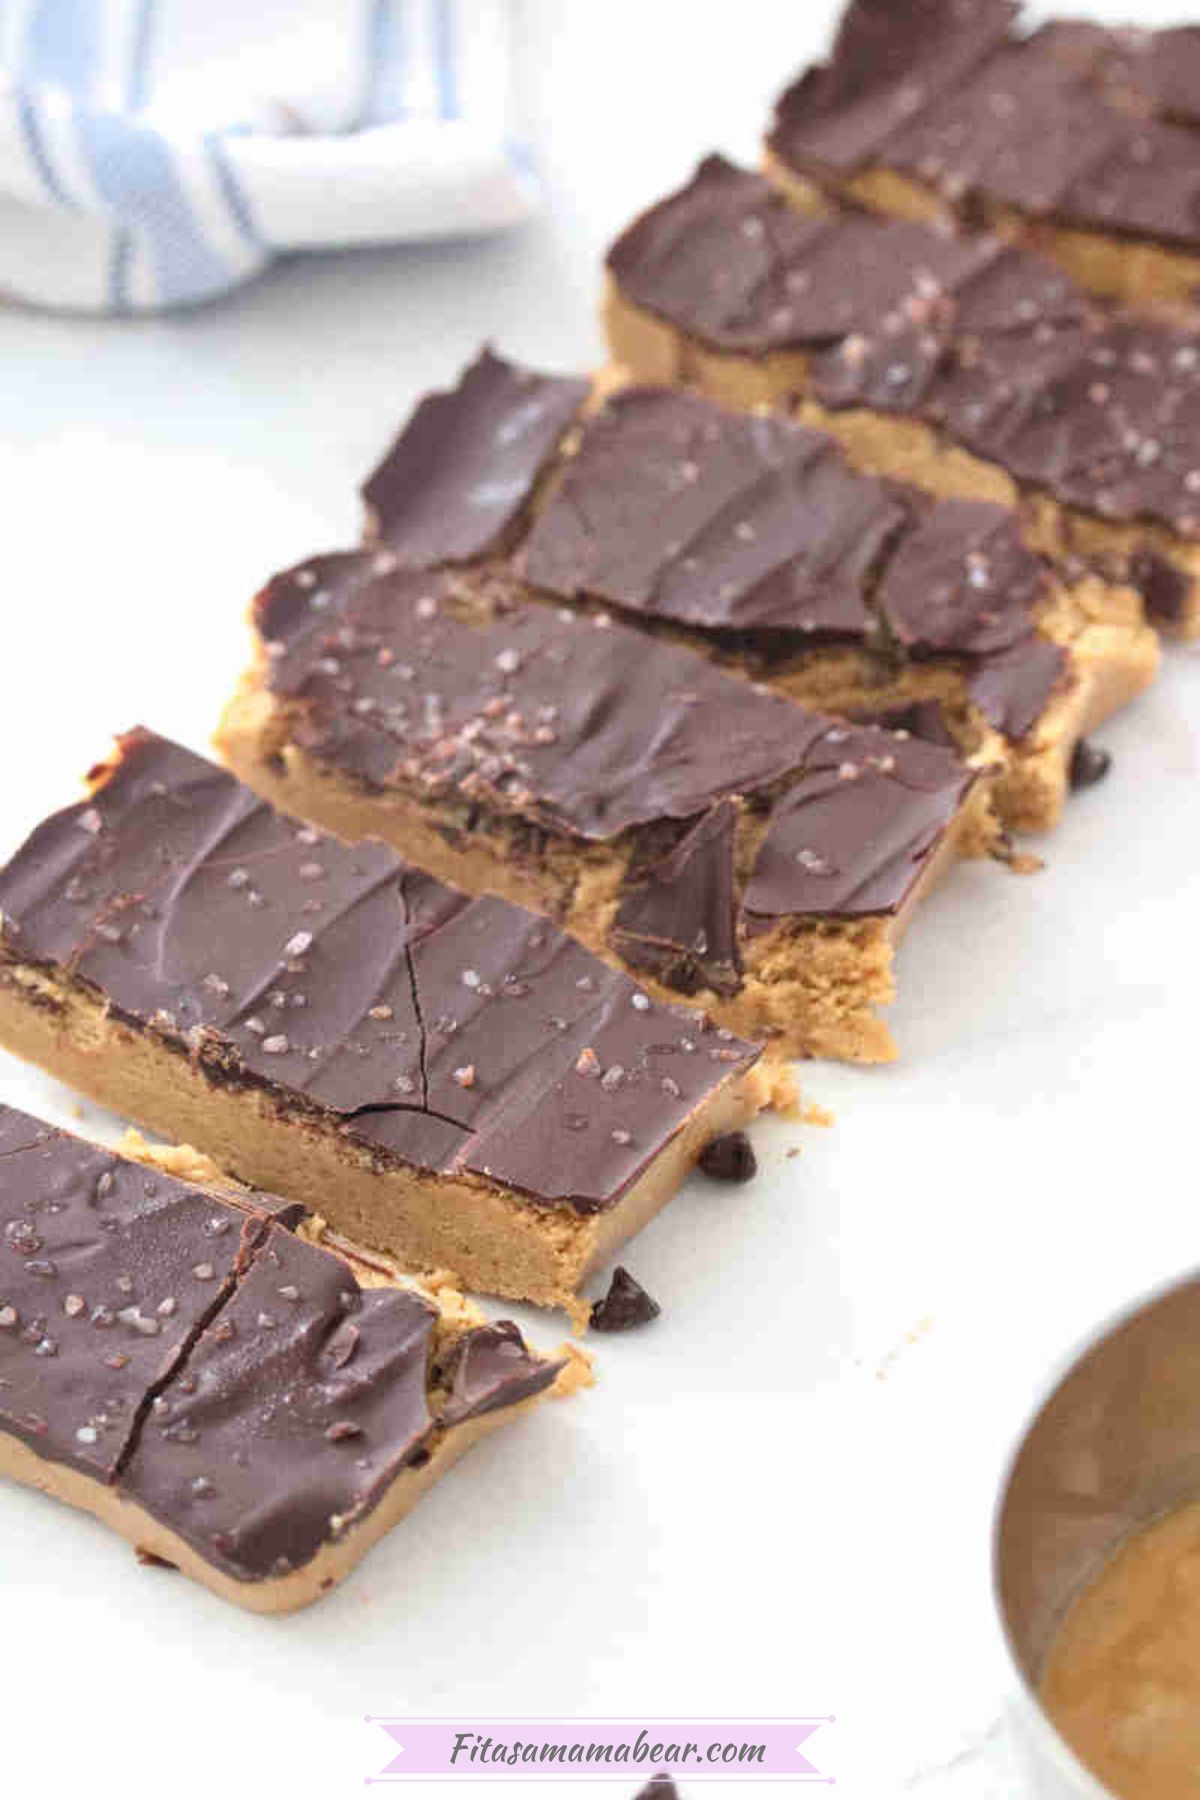
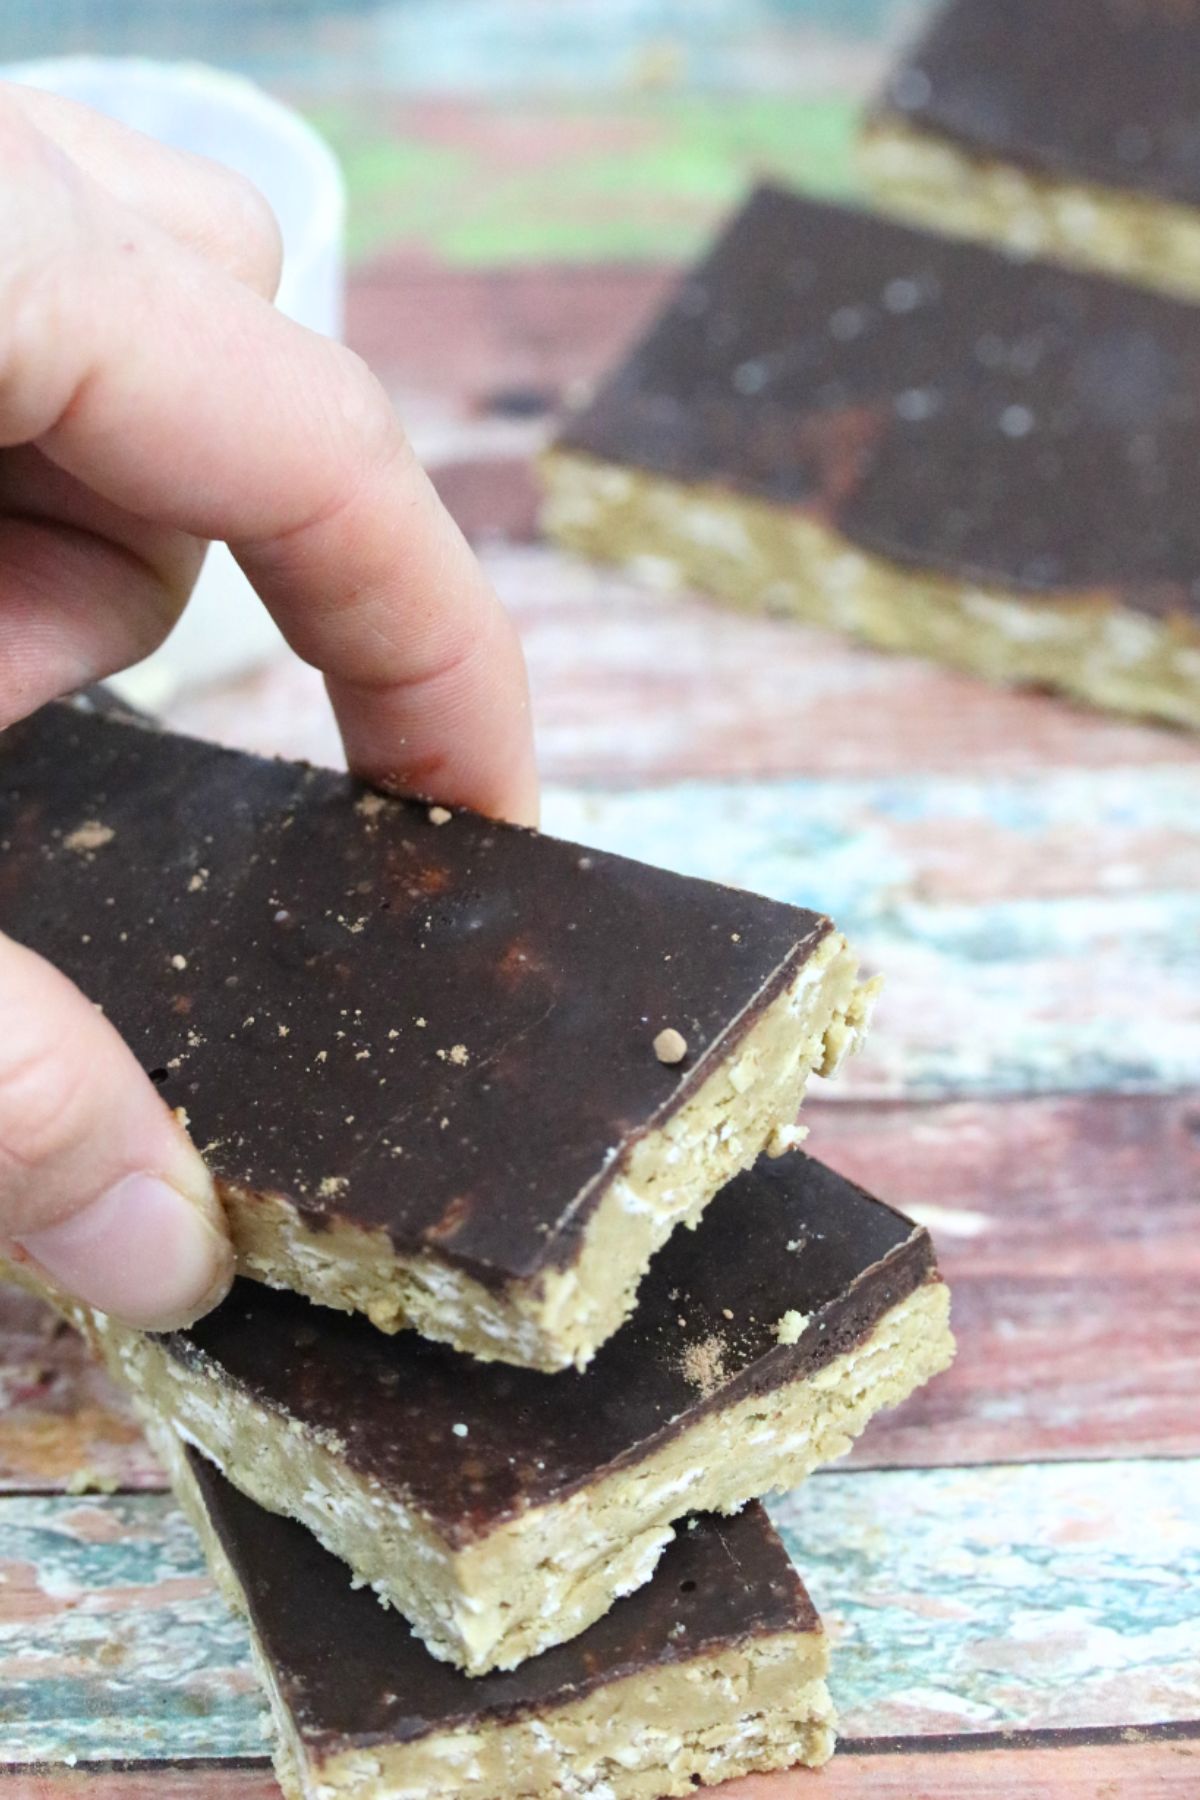
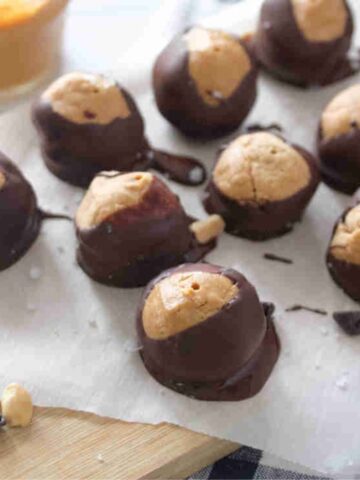
- Chocolate chips
You can also drizzle your protein bars with things like dairy-free caramel sauce or dairy-free chocolate ganache to make them more dessert-like.
And of course, changing the flavor of your protein makes for a fun twist. Using chocolate protein powder, or caramel protein instead of plain vanilla is an easy way to switch it up.
Protein Powder Alternatives
For some people, protein powder causes bloating and stomach pain. In fact, this is more common than you think.
If this is you or if you’re following a whole30 diet, your solution is collagen powder.
Collagen is a beneficial part of bone broth and is wonderful for your hair, skin, and nails (Learn more about what is collagenpowder) but it doesn’t taste like well, bone broth.
Collagen powder is odorless and flavorless. Plus, if ethically sourced is one of the purest forms of protein you can give to your kids!
Learn more about natural foods high in collagen to help keep you young.
It bakes and mixes similar to whey protein which makes it extremely easy to work with. Learn more about protein powder versus collagen powder.
I grab my collagen from Perfect Supplements because they source their collagen from pasture-raised (grass-fed) cows. So, I trust it.
Grab some collagen powder and use code mamabear10 to save some money.
If you need ideas on how to use it, here are my favorite collagen powder recipes.

Easy to mix, this collagen powder adds a protein punch to anything you pair it with. Made from pasture-raised (grass-fed) cows there are no pesticides, hormones, or filler agents. Just put collagen protein. Use code mamabear10 to save money on your next order.
FAQs
It's up to you but baking your protein bars takes more time. Plus, vegan protein powder absorbs like crazy, and you need to add a ton of liquid. Also, not all protein powders bake well and sometimes things come out extremely dry. I find it best to follow a recipe if you’re baking protein bars. Making items like baked protein oatmeal or protein muffins is sometimes easier.
Yes! not only can you stretch the ingredients a bit but if you're eating a least one protein bar per day, it's cheaper to buy the ingredients in bulk and make your own.
You need to create a sticky base so some good options are; maple syrup, creamed honey, date paste, agave syrup, and any and all nut butters.
Homemade protein bars are best stored in the fridge in an airtight container for 7-10 days. They can be eaten right out of the fridge and will become soft at room temperature. However, they also freeze well and for that, make a great meal per recipe.
Yes! Homemade protein bars can be stored in an airtight container with layers of parchment paper between the bars for up t three months. To eat them, let them thaw in the fridge overnight. Storing them between parchment paper helps them not freeze together so that you can enjoy the one by one. And in fact, many no-bake protein bars don’t freeze solid so they can actually be eaten pretty quickly from the freezer.
If your protein bar batter is too sticky it means you need more bulk or binder. Adding in some extra oats, rice cereal, or almond flour can help. Basically, there’s too much nut butter or syrups. Though some protein bars are a bit sticky until they set, this is normally the cause. Add in more bulking ingredients and make sure to wrap your protein bars in parchment paper.
If your protein bars are too dry, you need to add a splash of non-dairy milk, liquid oil, or liquid sweetener. Add it in one tablespoon at a time because the texture of protein bars changes quickly. You want the bars semi-dry but still holding together.
Fast, crave-worthy snacks that hit your protein goals (without tracking or extra cooking time).

Gluten-Free Protein Bar Recipes
The protein bar recipes below will soon become staples in your monthly meal prep! They're a great way to indulge, curb a craving and boost your daily protein. All of the recipes are dairy-free, gluten-free, and perfect for busy days.


Leave a Reply