
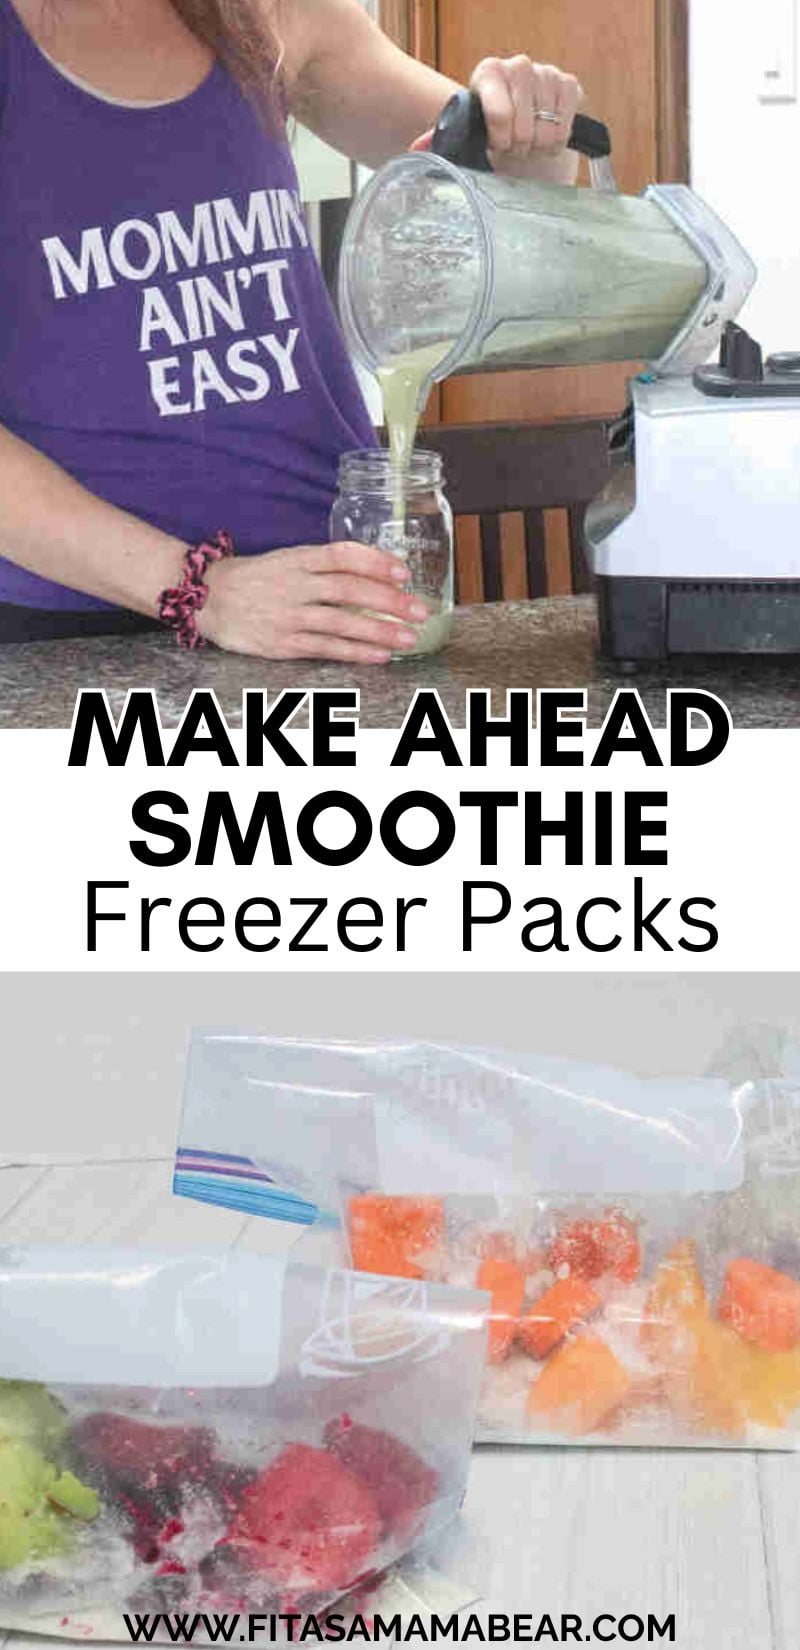
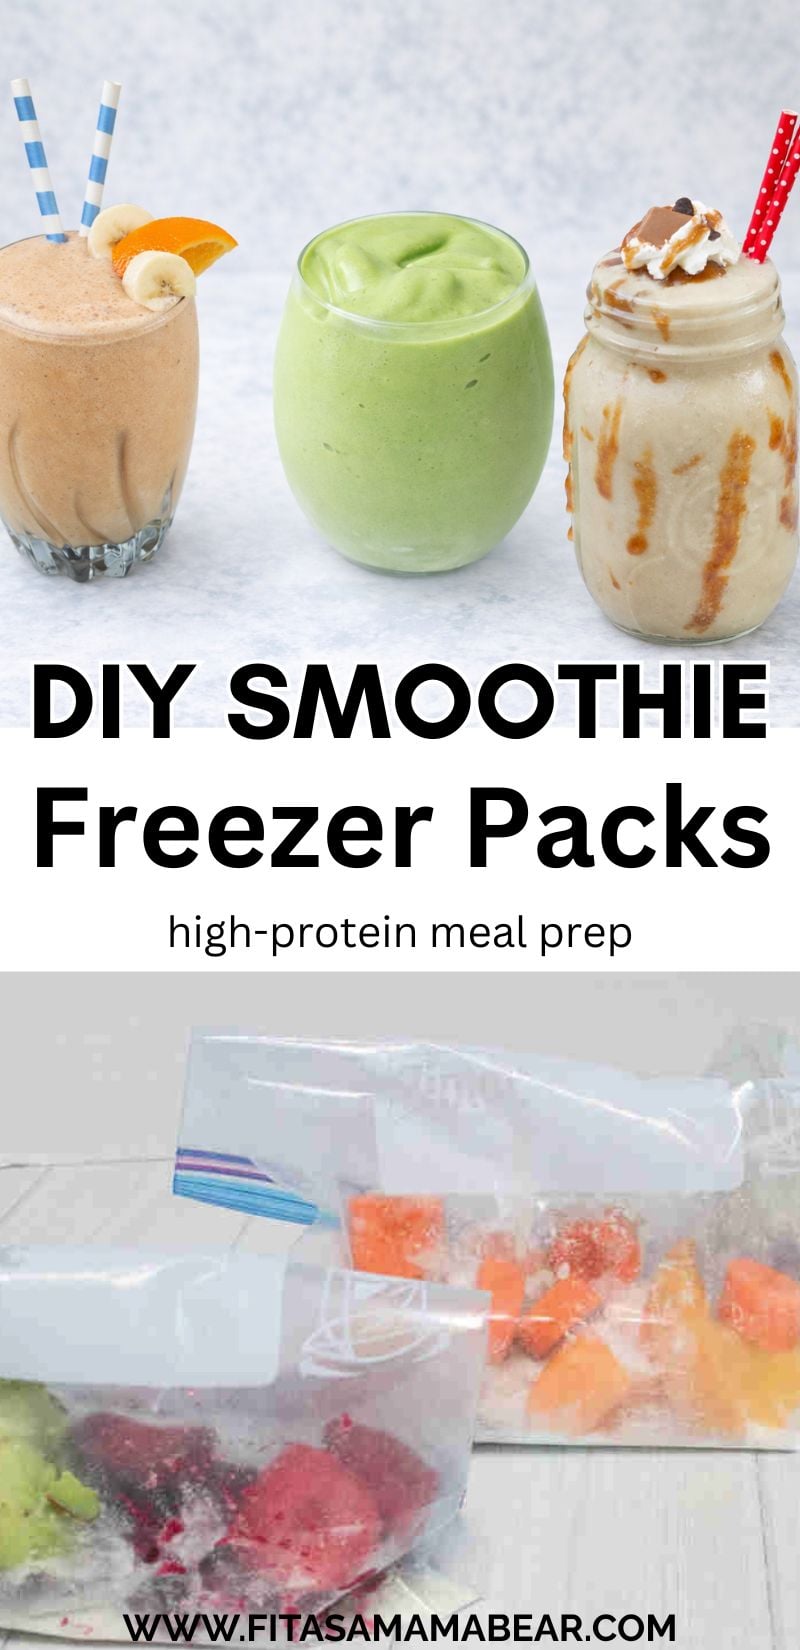
Save time on busy mornings by learning How To Meal prep Smoothies with homemade smoothie packs. Smoothie packs can be thrown together in just 5 minutes and make it easier to ensure you have a protein-packed, fiber-filled breakfast in the morning.
DIY frozen smoothie packs have been a game-changer for both my SMASH workout clients and me (I actually host a smoothie challenge every other month!).
They take all the guesswork out of mornings by having everything pre-portioned and ready to go, no measuring, no thinking, just blend and move on with your day (though I do love good meal prep breakfast recipes in general, given my Rise and Shine Breakfast E-book).
These freezer smoothie packs are the easiest way to make meal prep smoothies that actually work in real life. These freezer smoothie packs are simple to put together, easy to customize, and make it so much easier to stay consistent with your nutrition, even on the busiest days.
Jump To
How To Meal Prep Smoothies
It’s literally as easy as the three steps below, and when done correctly, it allows you to take the thinking out of your morning.
- Prep ingredients into freezer smoothie packs
- Store in the freezer
- Dump into a blender with liquid and blend
Why They Work
Time saver: No measuring or scrambling for ingredients in the morning.
Decision fatigue: You’re not left guessing what to make for breakfast or which smoothie to make.
Nutrients: Having freezer smoothie packs ready to go means you’re guaranteed to get a bump of protein and fiber in the morning (so long as you make well balanced smoothies)
No skipped meals: You always have something on hand you can grab in a pinch.
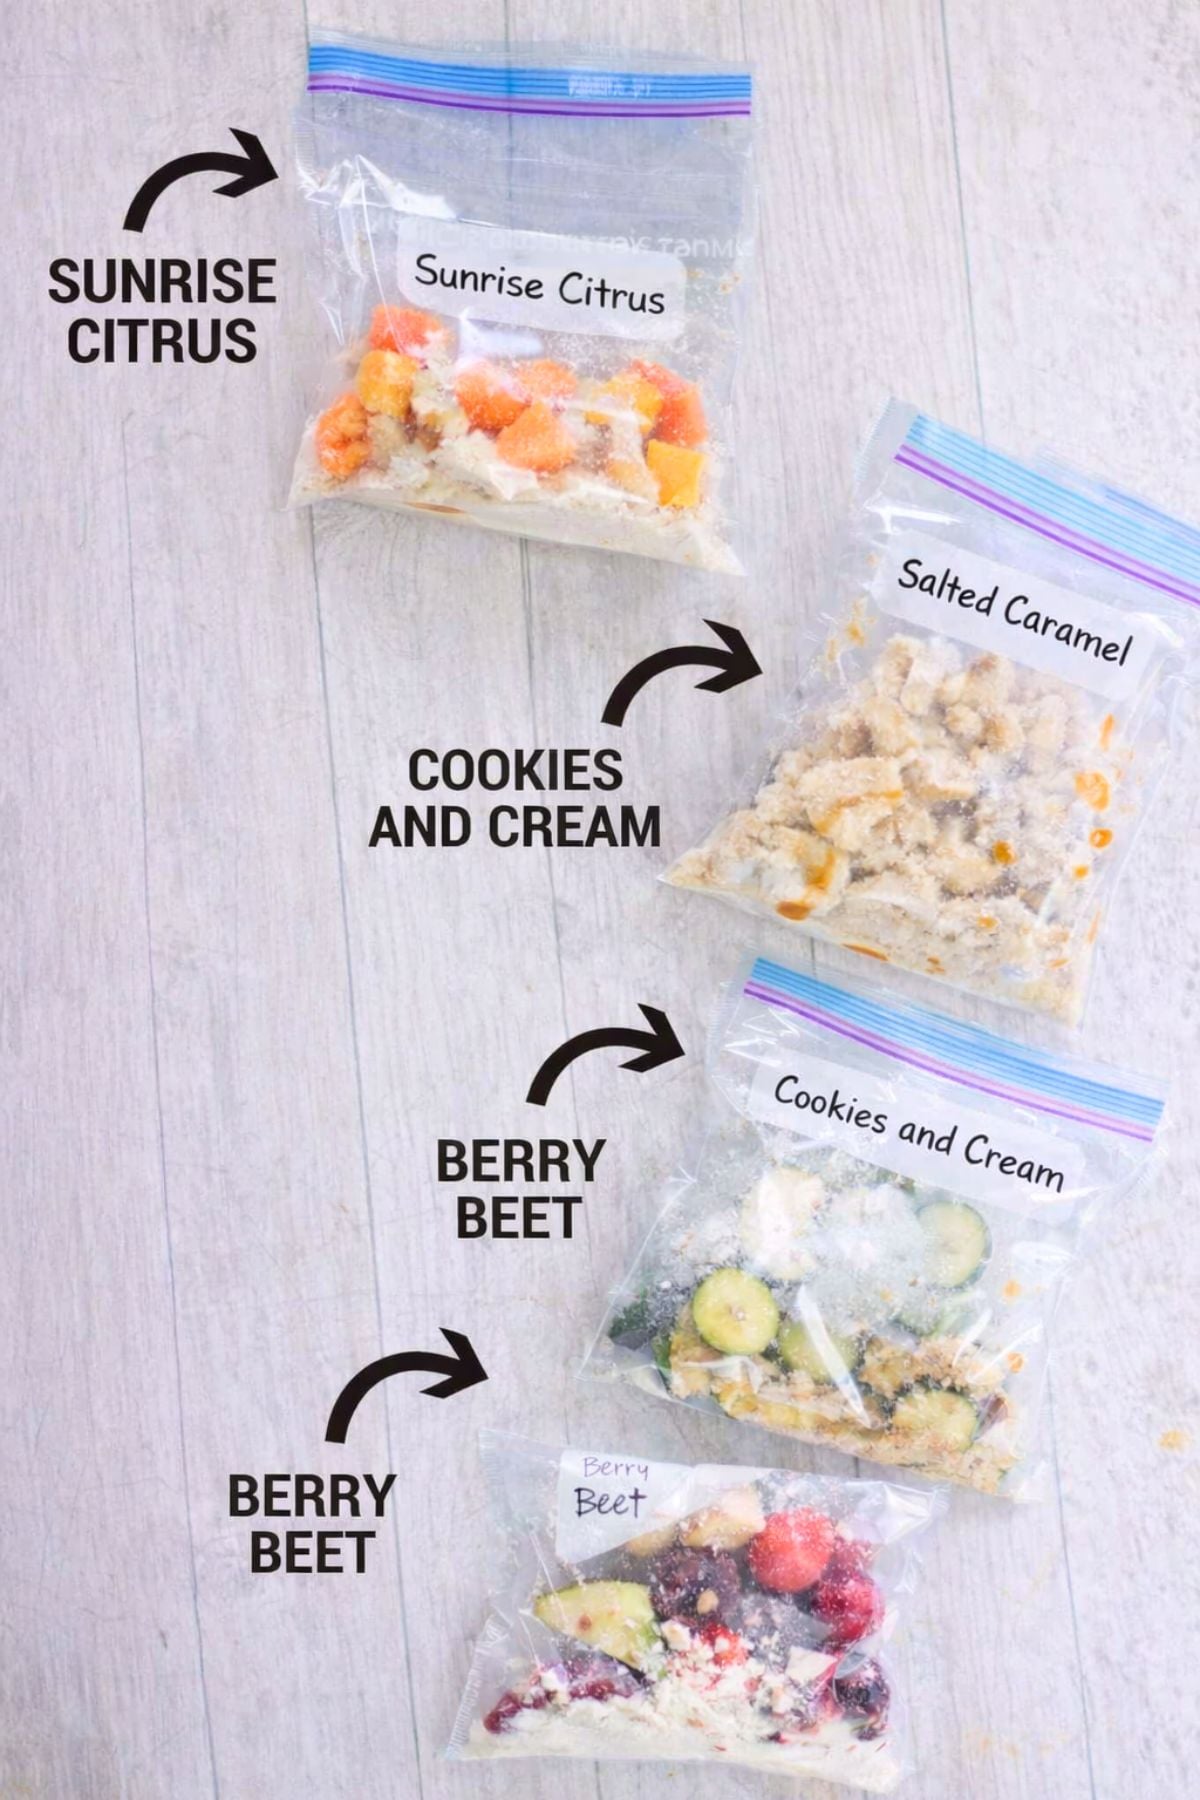
How To Meal Prep Smoothie Packs
This blog post goes over how to make DIY frozen smoothie packs. Though technically you can prep smoothies by blending them and storing them in the fridge, they never taste as delicious. So, I personally prefer to prep them this way and blend them fresh.
- Start with larger fruit : Add larger frozen fruit like banana halves, peaches, or apples first. This means when you flip the bag into the blender, they land furthest from the blades, so they don’t clunk everything up.
- Add the greens or veggies: Layer in spinach, zucchini, or carrots next so they don’t get stuck directly on the blades and blend more evenly.
- Add seeds and powders: Sprinkle in chia seeds, protein powder, or collagen in the middle layers to prevent clumping at the bottom of the blender. You can also add extracts and nut butters here.
- Finish with smaller fruit: Add berries or chopped fruit last so they’re on top of the bag and fall in first, helping get the blender moving right away.
- Freeze your smoothie packs: Seal and freeze your smoothie packs until ready to use.
Expert Tips
If you’re going to go through the trouble of meal prepping smoothies, you want to make sure they’re healthy ones. This means that every smoothie should have a protein source, healthy fat, and a bit of fiber. Everything else is extra. Learn more about how to build a healthy smoothie as well as ways to add protein to smoothies. Personally, I always aim for at least 20g of protein per smoothie to keep me full longer.
Frozen bananas and mangos, and fresh avocados are what make smoothies ultra-thick and creamy. So, if you prefer ice cream-like smoothies, add some of those in.
If you’re using a protein powder like my all-time favorite Equip Protein you have enough sweetness there already. If using something like collagen powder or Greek yogurt (which, yes, you can add into the smoothie bags!), you’ll need a sweetener like dates or honey along with your fruit for flavor.
Personally, I try adding a vegetable into every smoothie so that my intake stays high. Spinach, cucumber, zucchini, and carrots are my favorite as they all adapt to the taste of the smoothie.
Chop your veggies small or grate them. This way, they blend more easily. Also, don’t go insane on the greens, and if you do, at least make it spinach. Kale and Swiss chard have very potent flavors and don’t blend as nicely.
Know that you don’t add the main liquid (dairy-free milk) until you’re ready to blend them. This is what helps get the smoothie packs going.
Texture Tweaking
As mentioned, I prefer a thicker smoothie. This means I scale back on liquid like plant-based milk and bump up on thickeners. I use a tamper to keep it processing.
If you prefer a “drinkable” smoothie, all you need to do is continue to add liquid (normally I do up to ¾ cup of homemade hemp milk, then switch to water) until your desired consistency is reached.
How To Use The Smoothie Packs
When you’re ready to enjoy your smoothie, grab the pack out of the freezer and bang it on the counter a few times. Basically, you want to just break up the ingredients so that you’re not trying to blend one big chunk.
Add the liquid (normally a dairy-free milk, but sometimes an orange juice) to the blender and then pour the smoothie pack in.
Blend on medium to high, using a tamper as needed and adding extra water as needed until it’s smooth.
DIY Frozen Smoothie Packs FAQs
Yes, you can freeze smoothies both as smoothie packs for meal prep or once blended. Smoothie packs are made with the ingredients of the smoothie (except the liquid) and will stay fresh in the freezer for up to 2 months. Already made smoothies can be stored for up to 1 month in the freezer and need to be re-blended before you enjoy them.
Frozen fruit like bananas, berries, mangos, peaches, and pineapple, along with leafy greens, zucchini, and carrots, Greek yogurt, protein powders, and dates.
Homemade freezer smoothie packs are a baggie filled with smoothie ingredients that you can grab, dump, and blend to make mornings easier.
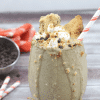
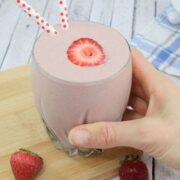
5 Smoothies To Use For Smoothie Packs
When making smoothie packs, choosing the right combinations matters. The best smoothies use ingredients that freeze well, blend easily, and still taste great once everything is mixed.
Know that once blended, you can top your smoothies with any toppings for smoothie bowls to make them as indulgent or simple as you need them to be.


Leave a Reply