
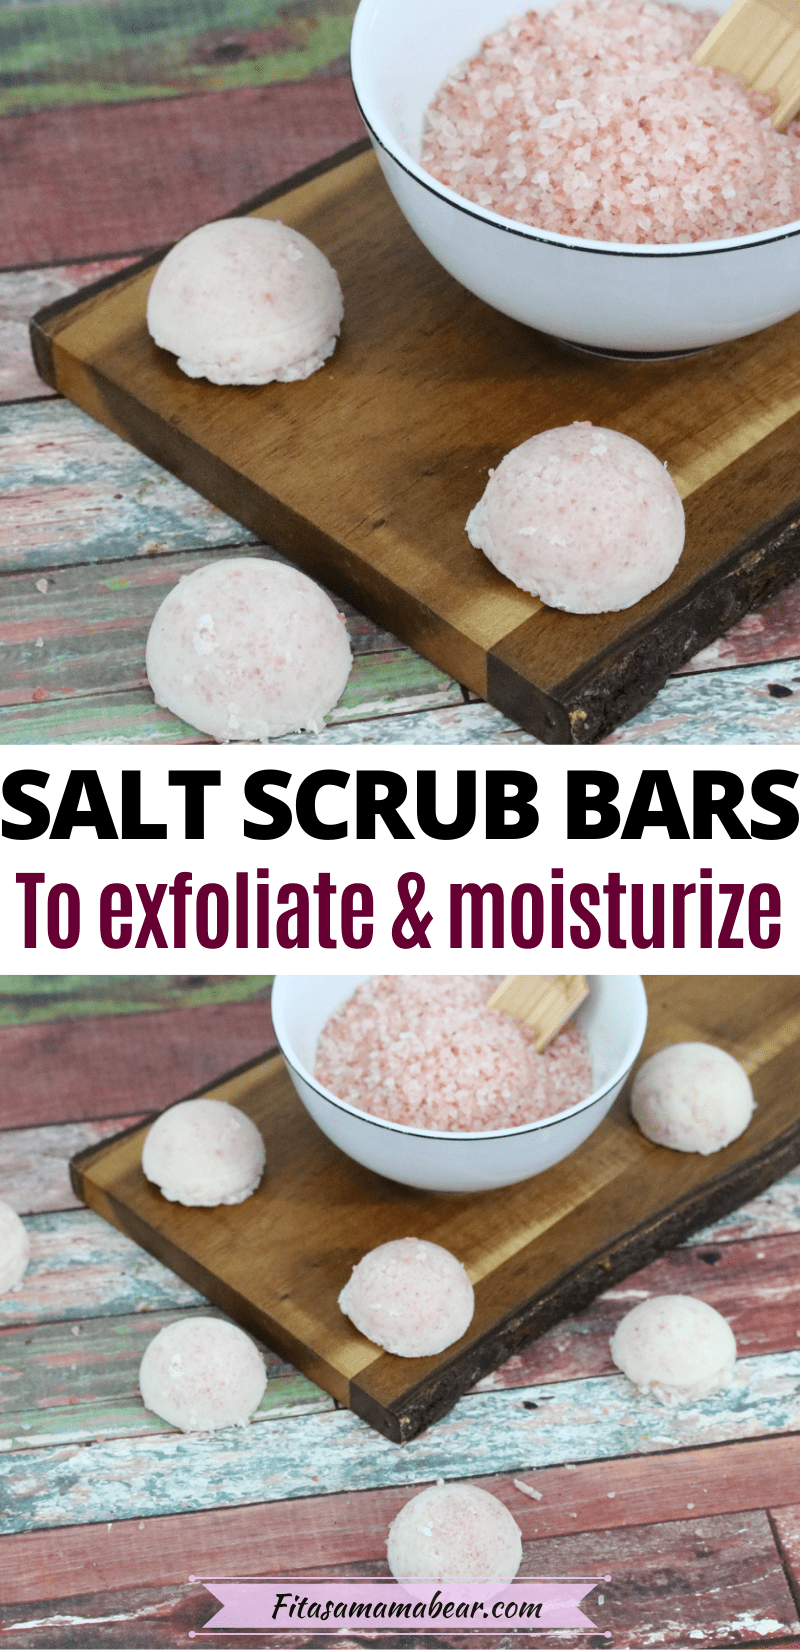
There are only four ingredients in these DIY salt scrub cubes making them an easy DIY project for beginners. These shea butter salt scrub cubes both exfoliate the skin while nourishing it. Exfoliate dry skin, and moisturize at the same time with these individual salt scrubs!

As a mom of soon-to-be three, there isn’t a lot of time for traditional self-care things or pampering. In fact, if I get a solo shower it’s a win.
This is why anything I can do to combine two birds with one stone is a huge plus! These DIY salt scrub cubes do just that. They exfoliate, moisturize, and take only minutes to whip up.
Sugar Versus Salt For DIY Scrub Cubes
You may be wondering why I chose salt for these DIY scrubs and not sugar. Typically, sugar tends to be softening on the skin and thus is used often.
However, I find that sugar just doesn’t always do the best job when it comes to areas like my legs and feet which are a bit tougher.
While I adore these lemon sugar scrub cubes as they wash (they’re soap based), exfoliate, and moisturize, I find that in the winter my legs need a bit more.
These DIY salt scrub cubes exfoliate more than their sugar alternative and they hold together a bit better too.
Quick Tips
I chose to use pink Himalayan salt for these salt scrubs but it’s not the only option. Sea salt or Epsom salt would work too.
In fact, Epsom salt would be a great idea to help soothe muscle aches and tension in general. It’s why they’re so amazing in homemade headache relieving bath bombs.
However pink salt is amazing too and like all other salts, it has great detoxifying properties.
One thing to note/remember is not to skip the step of grinding the salt. Salt comes in all different sizes (coarse, finely ground etc). Using a coarser salt doesn’t exfoliate, it simply tears at your skin.
Thus, make sure to grind up the salt (I use a coffee grinder) until the salt is more finely ground.
Ingredients To Make Them Effective
There are only four things you need to make these salt scrubs which makes them a crazy simple DIY. It also makes them a great, cost-effective homemade gift (like these other homemade spa gifts).
Beeswax: this acts as a barrier to your skin. It also helps hold the salt scrub cubes together
Shae butter: shea butter is one of the ingredients that helps moisturize your skin after exfoliating! Mango butter would probably work as well if you really wanted to switch it up (learn more about choosing butters for DIY projects)
Coconut Oil a staple for so many Diy’s. Coconut oil is the other ingredient that helps moisturize your legs in these salt scrubs. Given that it is solid at room temperature, it also helps hold the cubes together.
Choosing Scents And Coloring
Depending on your skill (and patience!) level, you can easily jazz these scrubs up a bit. While I don’t feel the need to add any essential oils into the scrubs, it’s definitely an option.
If adding essential oils make sure you follow proper dilution rules. You’ll want to add the oils in at the very end after everything is melted.
Find blends you love or to counter something specific:
- Headaches or tension: lavender and peppermint
- Mood-boosting: anything citrus
- Relaxing: lavender
As for coloring the salt scrubs, you can use mica powder for that. Mica is a natural mineral used in many cosmetics. You only need a teeny bit (¼-1 teaspoon) and you want to add it at the same time as the salt.
One thing to note is that mica powder will leave a bit of a shimmer on your legs and the tub!
Using And Storing Them
These salt cubes are solid at room temperature. Thus, when it comes to storing them, placing them into a mason jar will do.
One of the struggles I have with regular salt or sugar scrubs is that it’s easy to get water into the jar. Once there’s water in the jar the scrub will mold pretty quickly.
Because these DIY salt scrub cubes are individual, you only need to take one into the shower with you!
One cube lasts me 2-3 showers and I just leave the cube in there when I’m done.
Remember, they both exfoliate and moisturize your skin. So,
- Get the cube wet
- Gently rub it up and down your legs and as it warms it will melt slightly, thus exfoliating your skin with the salt
- As it does that, the oil and shae butter will also melt onto your skin- rub that in.
- Then, rinse off any salt still on your skin
- Pat your legs dry when you’re out of the shower
Note: it can make the tub a bit slippery from the oil so take care!
How To Make The Scrubs
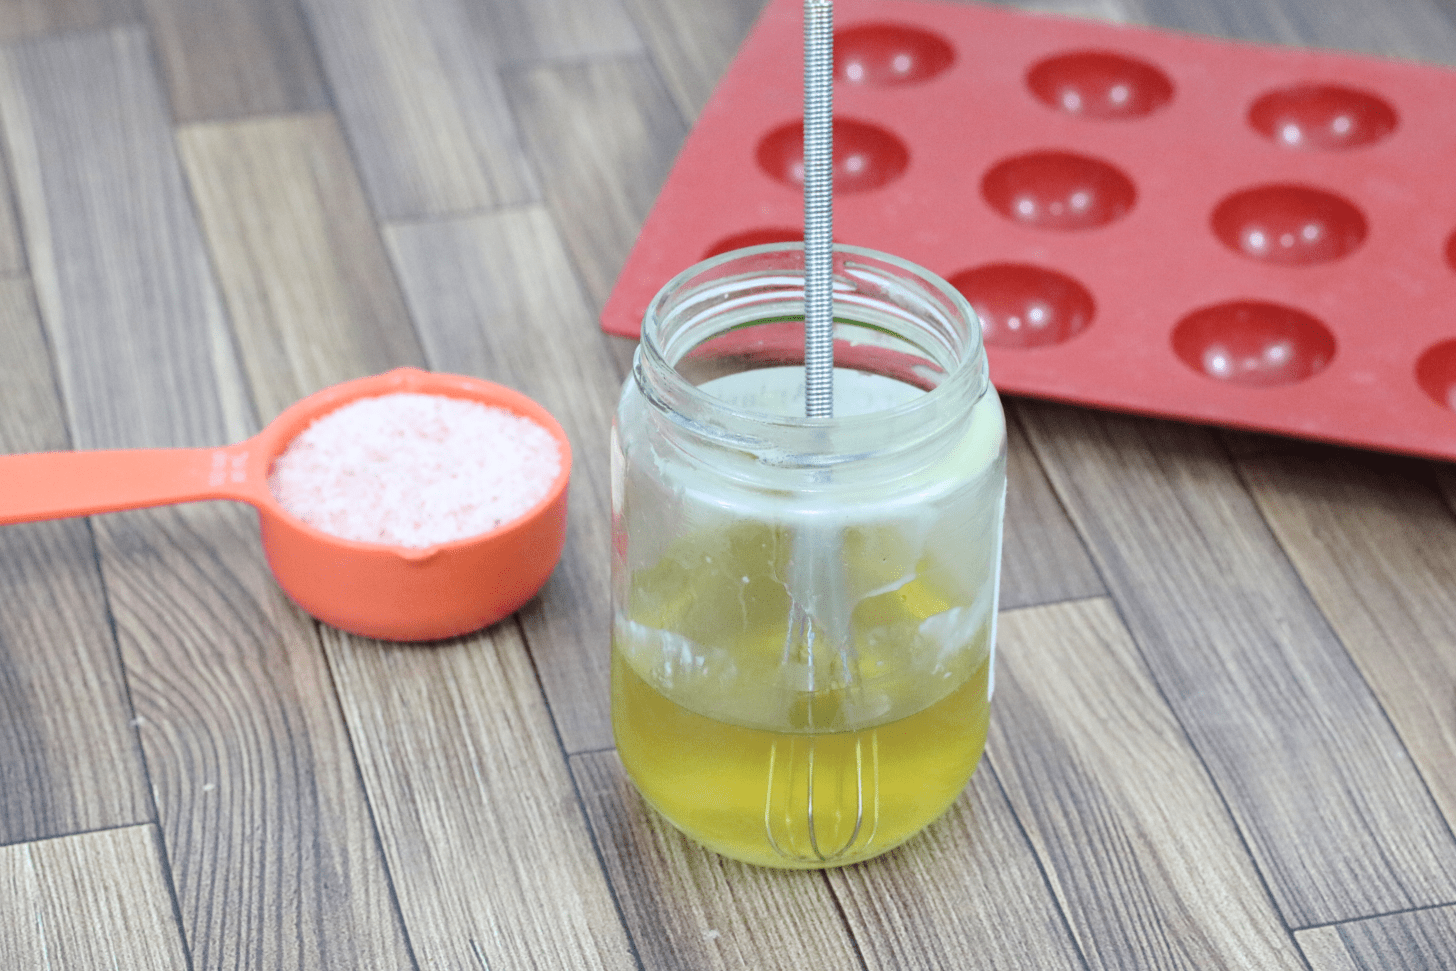
In a double boiler melt the butter, beeswax, and oil until fully melted. Let cool for 1-2 minutes so you don't dissolve the salt.
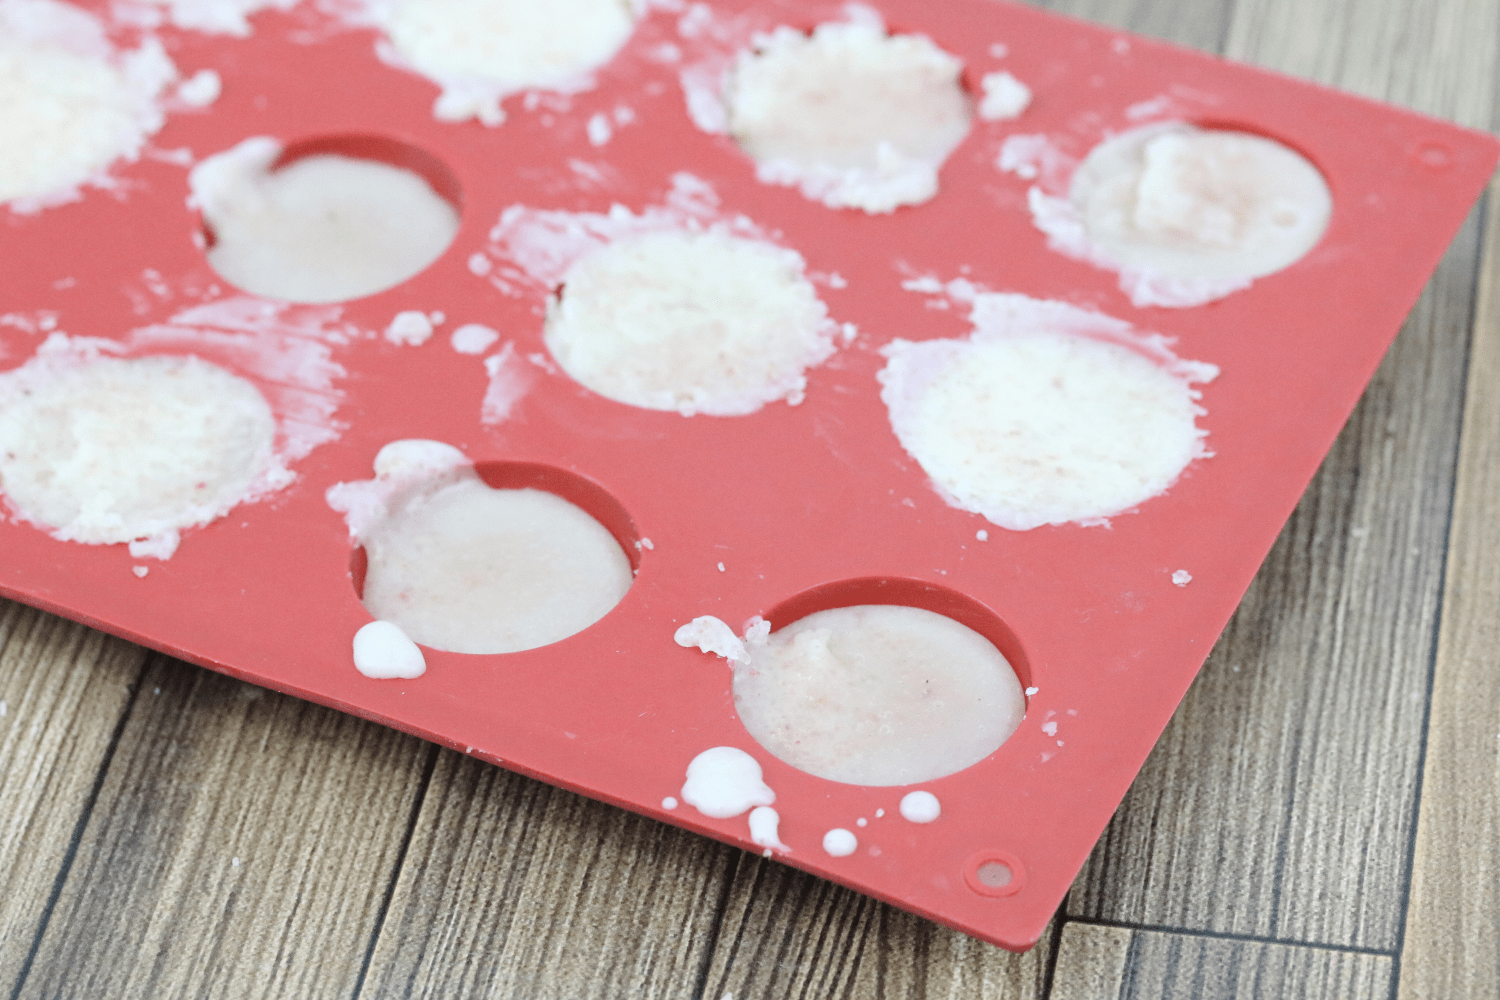
Stir in the salt and QUICKLY use a spoon to portion the mixture into silicone cups. It hardens quickly so you may end up needing a spatula. Make sure the mixture is even in the molds & let sit overnight before popping them out.
Store in a jar in the cupboard.
The BEST DIY Beauty Products For Busy Moms
Packed with quick, natural recipes that fit seamlessly into your busy mom life, giving you safe, glowing skin without the hassle!
The DIY Beauty Ebook For Busy Moms contains 21 easy-to-make beauty recipes from lip chaps, to lotions, and scrubs to washes.

You'll also learn the exact tricks I stumbled through on my journey and how to avoid them.
And BONUS, if you're into the self care vibe, this bundle comes with a guide to start journaling, tips to make self-care a habit, as well as the grocery list you need to make everything.. all for just $9.99.
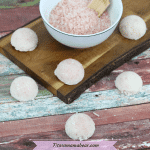
DIY Salt Scrub Cubes
Equipment
- Double boiler or mason jar
- Mini Whisk
Ingredients
- ¼ cup beeswax
- ¼ cup shea butter
- ⅓ cup Himalayan salt
- 2 tbs coconut oil
Instructions
- In a double boiler melt the butter, beeswax, and oil until fully melted. Let cool for 1-2 minutes so you don't dissolve the salt.
- Stir in the salt and QUICKLY use a spoon to portion the mixture into silicone cups. It hardens quickly so you may end up needing a spatula.
- Make sure the mixture is even in the molds & let them sit overnight before popping them out.
- Store in a jar in the cupboard.
Video
Notes
Exfoliating has never been so easy! Use these individual DIY salt scrubs to both exfoliate and moisturize in the shower. Thus, leaving you with more time on your hands and super soft legs!


Leave a Reply