

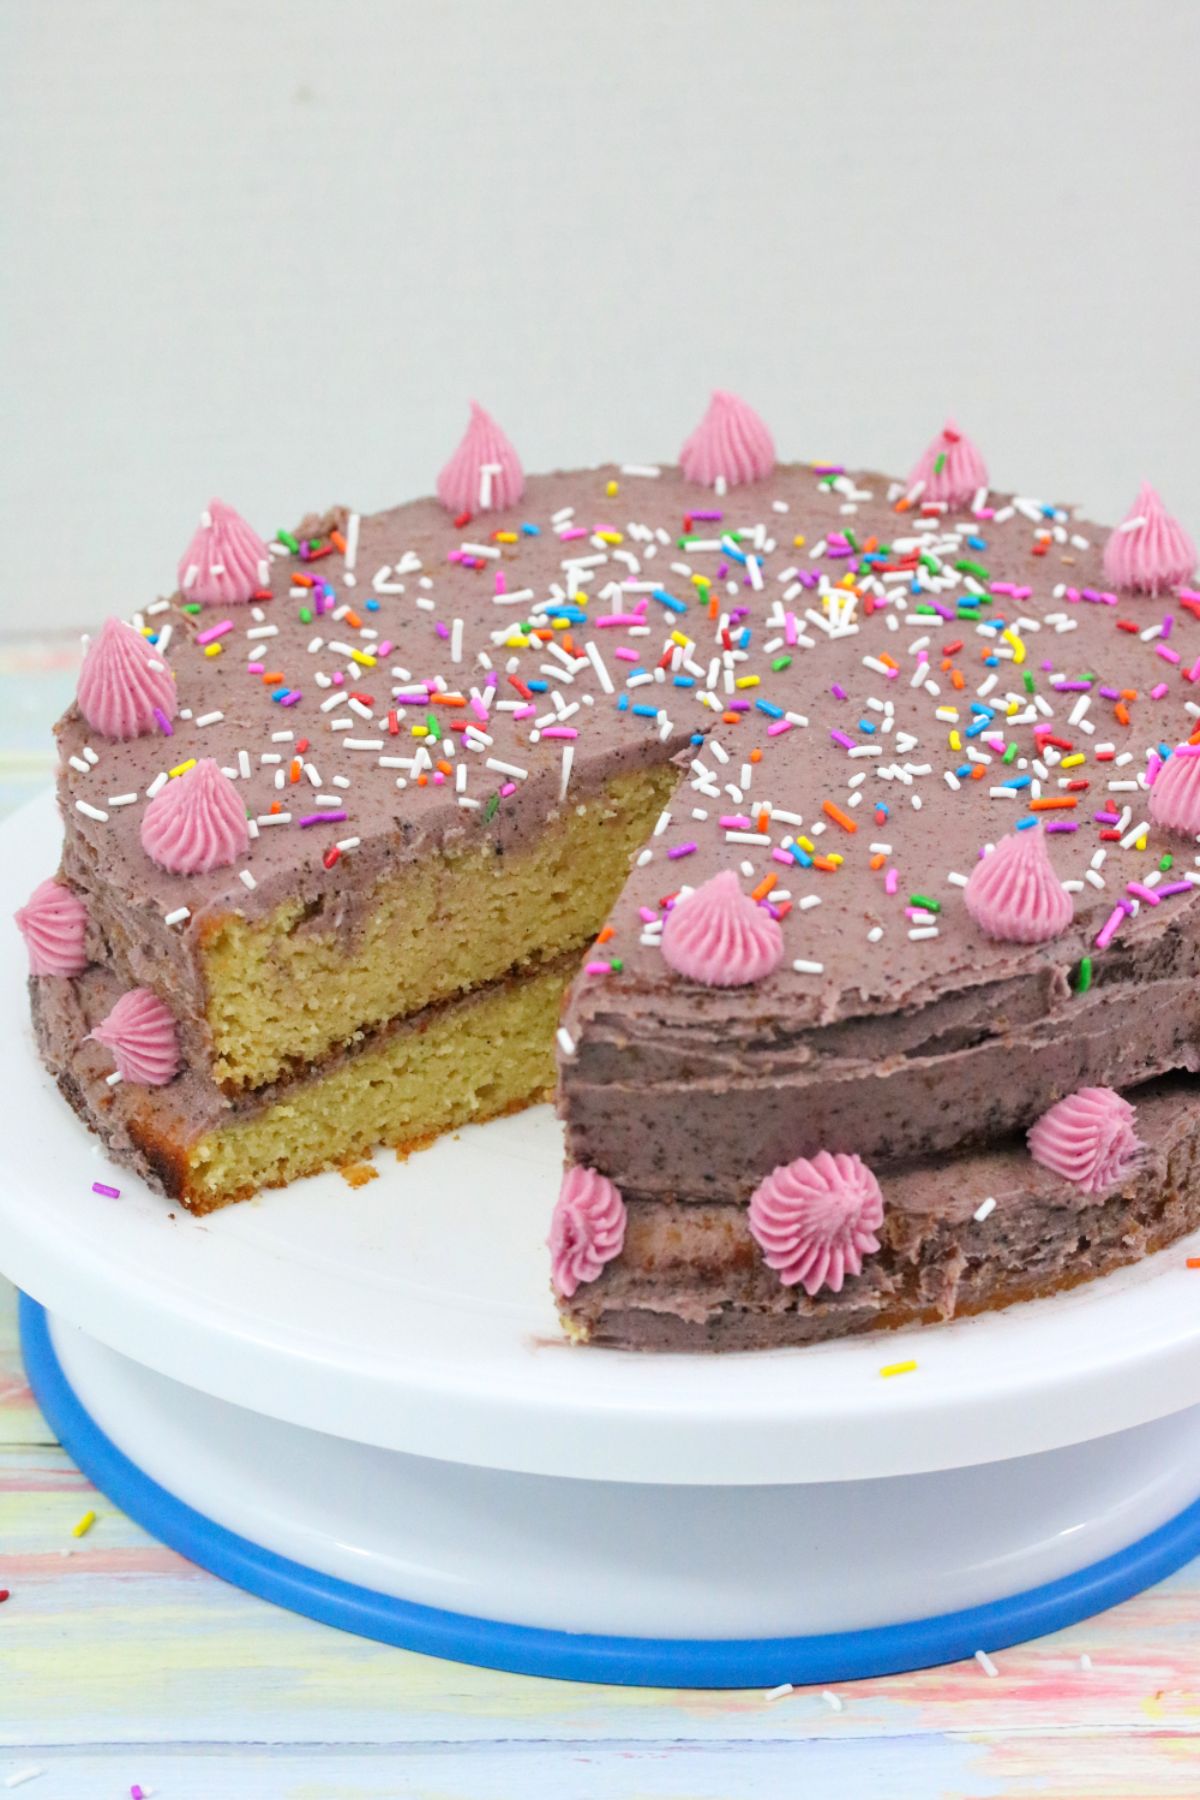
Light and soft, this Dairy-Free Birthday Cake is made without wheat ingredients (so naturally gluten-free too) and vanilla-based. Topped with a simple dairy-free frosting, it's an allergy-friendly cake that's moist, delicious, and perfect for celebrations.
"This was really good! Has a mild honey flavor. Made as cupcakes and baked for less time than I would a cake. Also added sprinkles in the batter. Yum! Husband approved, as well! A keeper"-J
A Quick Look At The Recipe
- ⏲️Ready In: 45 Minutes
- 👪Serves: 12
- 🍽 Calories and Protein: 565 kcals and 5 grams of protein
- 📋Main Ingredients: Eggs, coconut flour, unsweetened applesauce, olive oil, and honey.
- 📖 Dietary Notes: Dairy-free, gluten-free, grain-free, nut-free, and vegetarian.
- ⭐ Why You'll Love It: A soft, naturally light birthday cake that feels indulgent but uses dairy-free gluten-free ingredients for a better-for-you celebration.
SUMMARIZE & SAVE THIS CONTENT ON
Celebration cakes can feel stressful when you’re (or your kid is!) avoiding dairy or gluten, but they absolutely don’t have to be disappointing. As a mom of three, I’ve tested my fair share of allergy-friendly birthday cakes (these first birthday cupcakes being a fave for a while), and this dairy-free, gluten-free cake is the one I come back to every single time (especially when I don’t want to rely on things like my protein cupcake recipe).
It’s soft, fluffy, and made with coconut flour (not almond flour), so you skip the heavy or grainy texture many gluten-free cakes have. I’ve served it at birthday parties, baby showers, and kid-packed gatherings where allergies matter but taste still has to win. And, with its simple dairy-free frosting and colorful sprinkles, it’s always a hit (just like these gluten-free cupcakes with almond flour).
Jump To
- A Quick Look At The Recipe
- 💭Why You'll Love This Recipe
- Ingredients and Substitutions
- Flavor Variations
- How To Make Dairy-Free Birthday Cake
- Important Tips To Know Before You Bake
- How To Frost A Double-Layer Cake
- Natural Coloring Options
- How To Store It
- Dairy-Free Birthday Cake FAQs
- More Dairy-Free Dessert Recipes You'll Love
- Vanilla Dairy-Free Birthday Cake
💭Why You'll Love This Recipe
Flavor: The gluten-free, dairy-free birthday cake recipe results in a moist and tender cake with a rich vanilla flavor. Its texture is almost light, unlike many coconut flour recipes.
Make ahead: The dairy-free vanilla birthday cake can be made a day or two in advance to save yourself time in the kitchen.
Versatile: There are lots of easy ways to adapt the flavor, icing, and toppings on the birthday cake to suit any occasion (just like these birthday cake protein balls)
Ingredients and Substitutions

- Applesauce: This is what helps keep the dairy-free vanilla cake light instead of dense, which can often happen with coconut flour. If you don't have any on hand, you should be able to use yogurt here.
- Olive oil: You can use olive oil or avocado oil for this recipe. However, coconut oil will change the texture and shouldn’t be substituted.
- Honey: The gluten-free vanilla cake is naturally sweetened with honey! This makes the cake itself sweet but not too sweet. That way, you can adjust the flavor a bit based on the icing.
- Dairy-free icing: The recipe uses a vegan cashew-based butter I get locally for the icing. However, any dairy-free butter should work. Just know that a nut-based butter will cause the icing to melt more quickly than a traditional, lactose-free one.
- Make the birthday cake paleo: The only non-paleo part of the birthday cake is the sugar and icing. To make the cake paleo-approved, use coconut palm sugar in place of cane sugar and homemade paleo, powdered sugar for the icing.
See the recipe card for full information on ingredients and quantities.
Flavor Variations
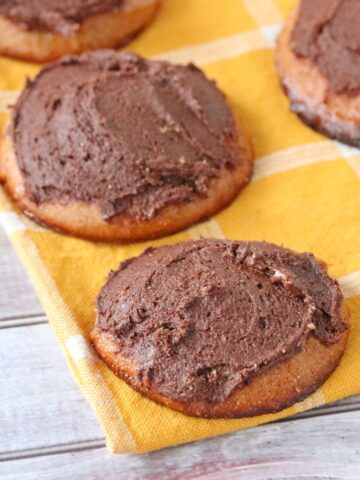
Chocolate: Make a chocolate base by adding 2 tablespoons of cocoa or cacao powder to the mix.
Mix-ins: You can swirl in chocolate chips, chopped pecans, or sprinkles into the raw batter.
Toppings: In place of icing in the middle, try drizzling coconut milk caramel sauce for a gooey bite. Or top the dairy-free cake with a drizzled dairy-free chocolate glaze. Non-dairy cream cheese frosting or even protein buttercream can be fun, too.
How To Make Dairy-Free Birthday Cake

Step 1:Portion out the ingredients for one cake (so halve the recipe).

Step 2: Mix the cake batter together and let it sit before pouring it into the pan. Then, repeat step one and mix together the second layer of the cake and pour it. Bake until cooked through.

Step 3: While the cakes are cooling in the fridge, whisk together the icing until fluffy and add any coloring
you need to.
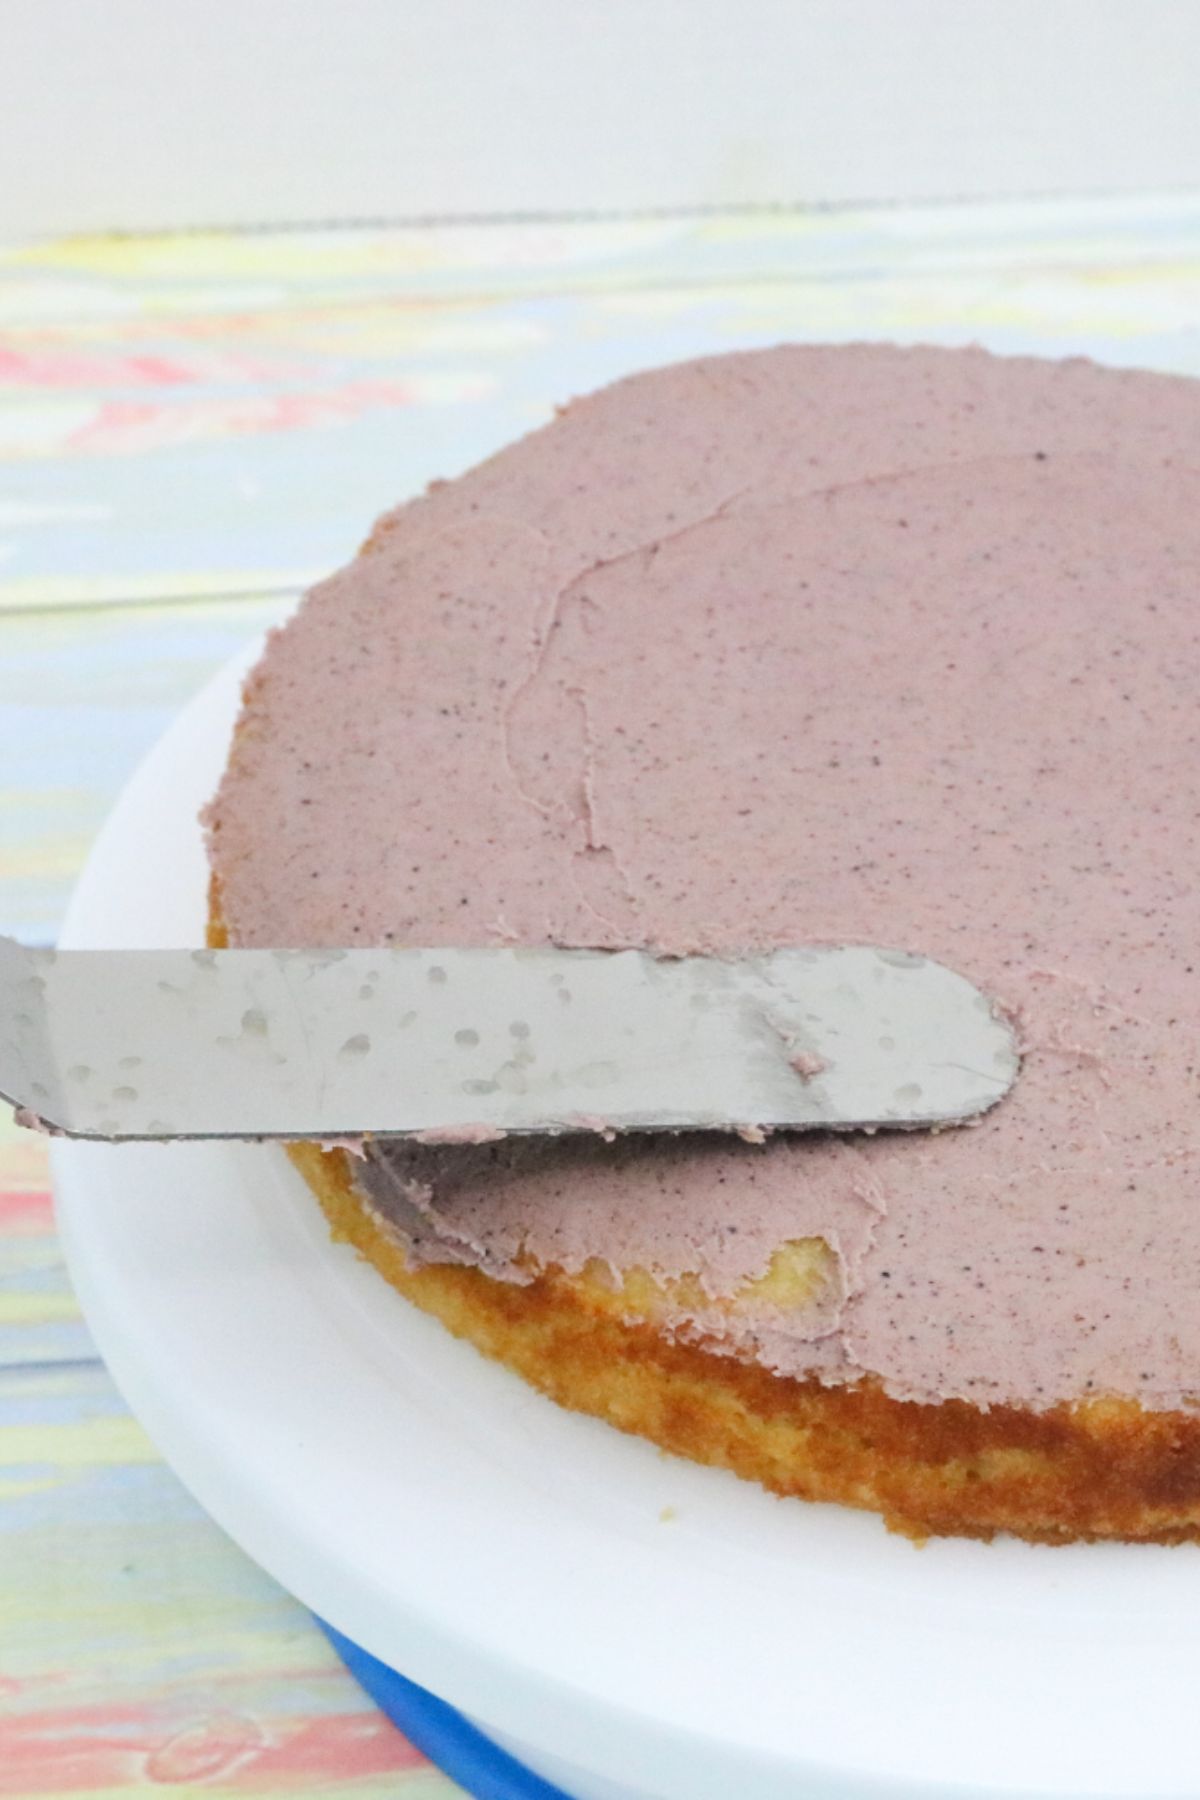
Step 4: Use an icing spatula to spread the icing onto the first cake.
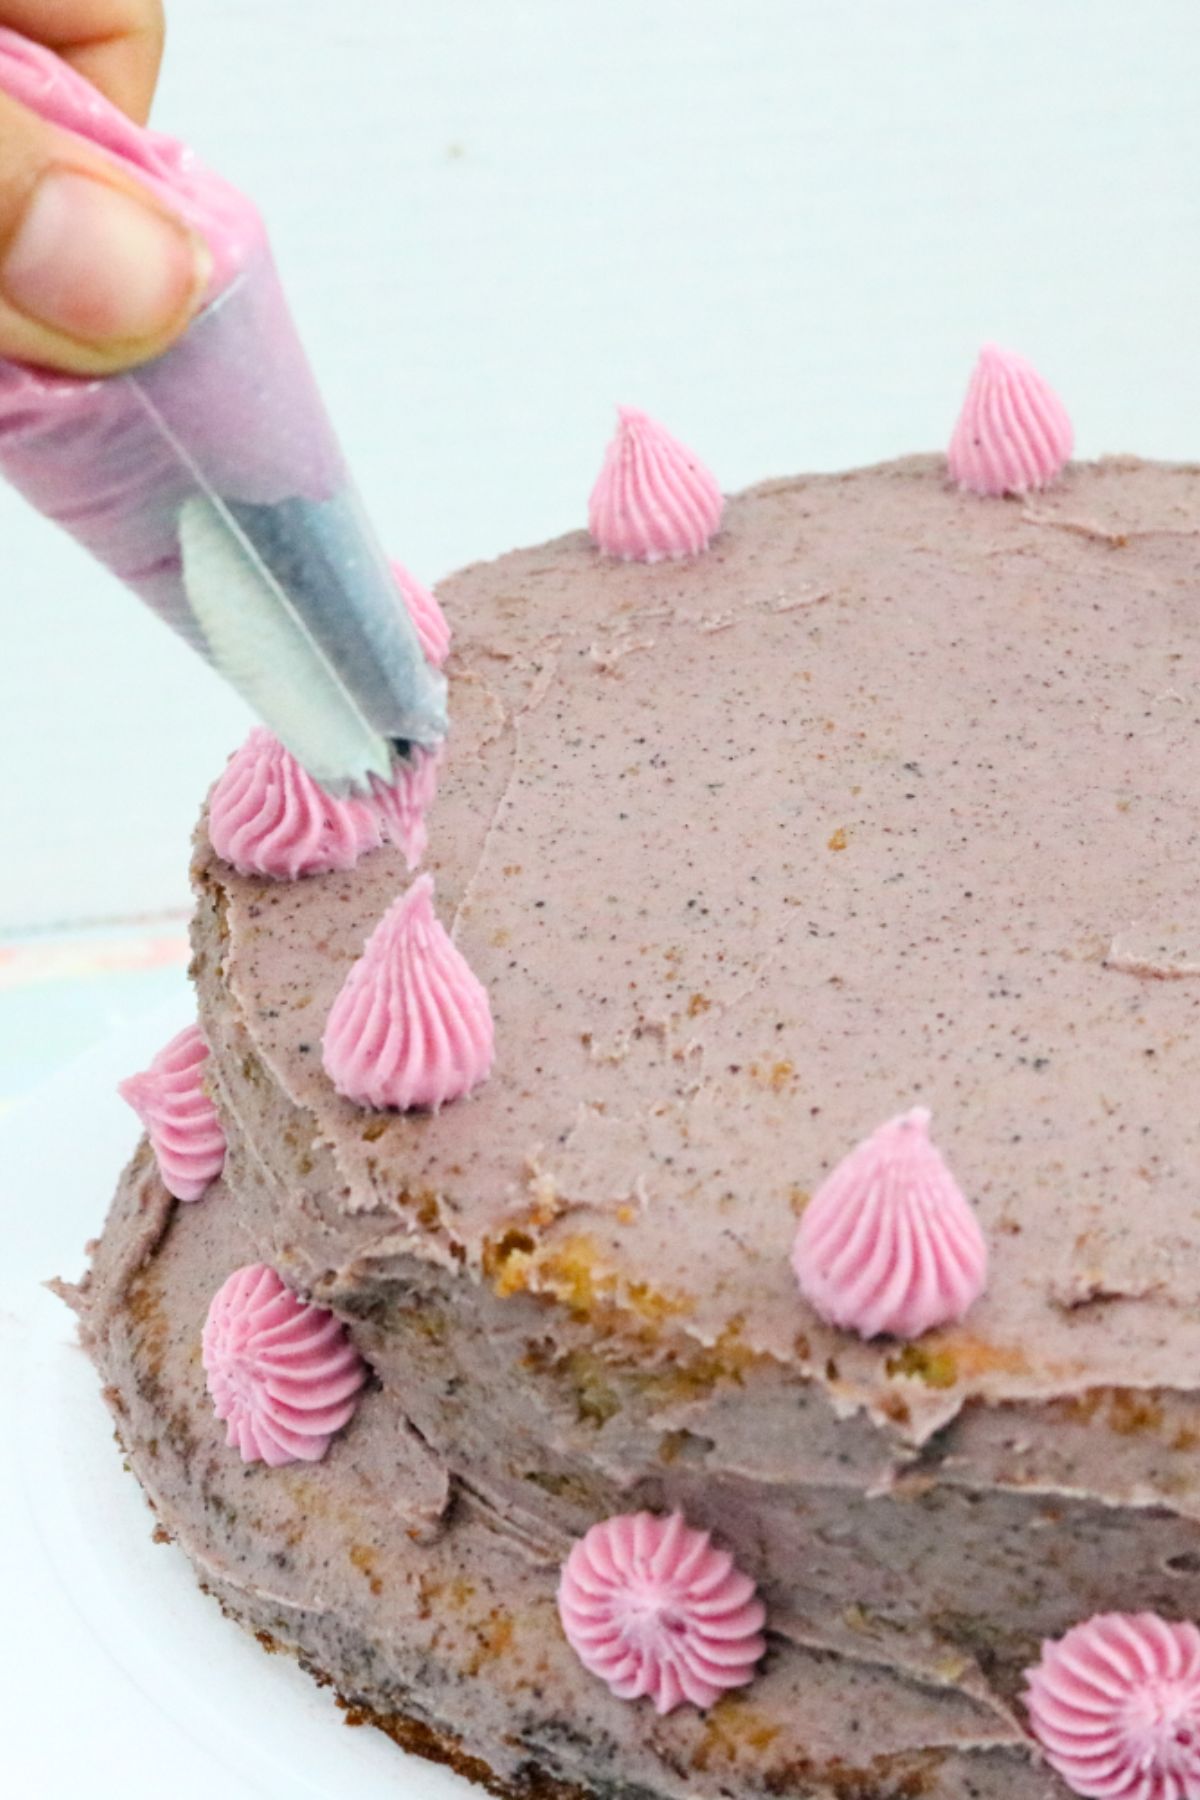
Step 5: Add the second cake on top, finish off the icing, and pipe decorations onto the cakes.
Important Tips To Know Before You Bake
Since coconut flour absorbs so much liquid, I recommend halving the recipe and mixing each layer in its own bowl. This keeps the texture light; otherwise, the batter can turn dense and uneven if split after mixing.
Because the cake is soft, chill the layers for an hour before icing them to prevent tearing. If using multiple icing colors, whip the frosting first, then divide and color.
For smooth piping, use the icing right after whipping. If it firms up in the fridge, it won’t pipe well. Runny frosting? Add more icing sugar or decorate in batches, chilling the cake between layers.
How To Frost A Double-Layer Cake
If you're new to cake decorating (like I was!), use these easy steps to ice your cake. I invested in this cheap cake decorating kit, and it helped immensely.
- Add the first layer to your turntable and spread icing on top, this will be the filling, so make it as thick or thin as you like.
- Place the second cake on top and repeat, covering the top with icing while rotating the turntable.
- Frost the sides using a smaller spatula to smooth icing evenly around the cake.
- Decorate by piping flowers along the seam between the layers and on top using a piping bag and your preferred tip.
Natural Coloring Options
While traditional food dye will work, the following natural options work just as well. Below are some of the ones we use.
- Pink: beet crystals or freeze dried strawberries
- Blue: spirulina
- Green: chlorella
- Purple: freeze-dried blueberries
It’s important to note that these “dyes” will change the flavor of the dairy-free icing slightly. Thus, only add the tiniest bit (¼ tsp) to get started. Of course, regular food dye works just as well as purchasing natural food dyes.
How To Store It
Prepping in advance: The cake is best iced when it’s had time to cool fully. Thus, it can be stored in the fridge for 1-2 days before adding the frosting.
When storing the vanilla birthday cake layers (before frosting), make sure they have had time to cool fully before wrapping them in plastic wrap and putting them in the fridge. Otherwise, moisture could get in, and it would alter the texture/making the cake soggy.
Storing leftovers: Once the cake is fully finished, it can be stored in the fridge until ready to eat! Simply let it sit out 3-5 minutes before serving. The cake will stay fresh for 3-4 days once made and frosted.
Freezing the birthday cake: The vanilla cake can be stored unfrosted in the freezer for up to a month. Make sure to wrap each layer individually in plastic wrap before placing it into a freezer bag. When you need it, let it thaw in the fridge overnight before icing it.
Dairy-Free Birthday Cake FAQs
You can easily substitute cornstarch for arrowroot powder in a dairy-free, gluten-free cake. Both ingredients help thicken the liquid: dry ingredient ratio, and will yield the same texture.
Unfortunately, no. When baking with coconut flour, you need eggs to both bind it and create a light texture. An egg substitute won't work.
These flours are not interchangeable, so no. Gluten-free flour absorbs liquid much more than coconut flour, so the texture would be drastically altered.
For most recipes, almond, oat, hemp, or coconut milk from a carton can replace traditional milk when baking.

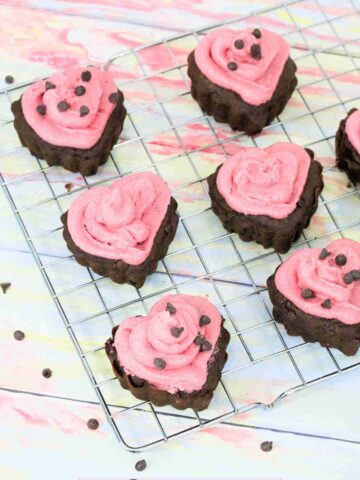
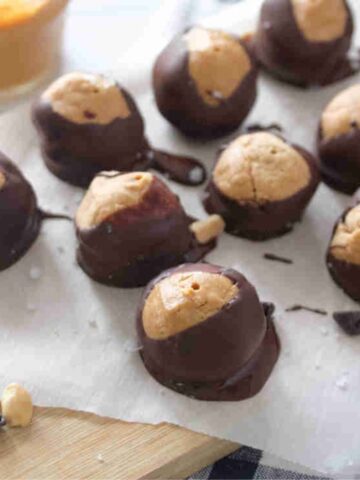
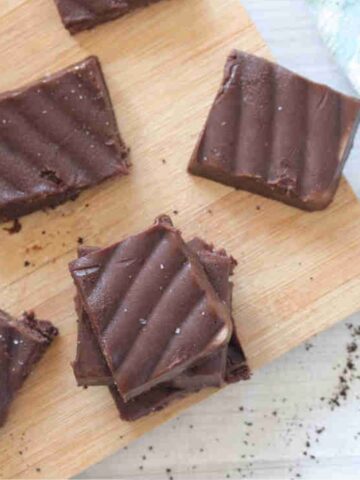
More Dairy-Free Dessert Recipes You'll Love


If you tried this Dairy-Free Vanilla Birthday Cake Recipe or any other recipe on my blog, please leave a 🌟 star rating and let me know how it goes!

Vanilla Dairy-Free Birthday Cake
Video
Equipment
- 2 8 Inch Cake Pan
Ingredients
For the birthday cake
- 1 cup Unsweetened applesauce
- 8 eggs
- 1 cup olive oil
- 6 tbs honey
- 2 teaspoon vanilla extract
- 1 cup coconut flour
- ½ cup arrowroot powder
- 4 teaspoon baking powder
- ½ teaspoon sea salt
- ½ cup cane sugar
For the dairy-free frosting
- 1 cup vegan butter
- 3 cups icing sugar
- 1-3 teaspoon color optional
Instructions
- Preheat the oven to 350 degrees Fahrenheit.
- Halve the cake ingredients and portion them out (you need to mix the layers separately, see notes).
- Mix together the dry ingredients in a large bowl. In a separate bowl, whisk the eggs, oil, honey, and vanilla extract ingredients until combined.
- Add wet to dry. Grease two cake pans. Pour the cake batter into one of the cake pans and let sit while you repeat the steps above for the second cake.
- Once both cake pans are full, let sit for 5 minutes to absorb.
- Bake the cakes for 30-33 minutes keeping an eye on them in the last few minutes. They should be golden on top and VERY soft to the touch.
- Remove from the oven and let the cakes cool fully (for roughly one hour) in the fridge in their pans before using a silicone spatula to remove them. Take care as they're delicate.
- Once removed from the pans, pop the dairy-free vanilla cakes into the fridge until ready to ice.
- Use an electric mixer to whip together the icing ingredients until fluffy.
- Remove the cakes from the fridge and begin icing and decorating as you prefer.
Notes
-
- This dairy-free birthday cake is double layered. This means two cakes! However, because coconut flour absorbs so much, I find it better to make the cakes separately (halve and mix the ingredients separately) then pour the batter into two cake pans (see notes in blog post for more information).
- This vanilla birthday cake uses two 8 inch circular cake pans and yields roughly 10-12 servings.
- The cake is soft and therefore a bit delicate. It’s better to ice it after having it in the fridge for at least an hour, otherwise, you risk tearing it a bit.
- The icing is best pipped immediately after whipping. If you place it in the fridge for longer than five minutes it tends to harden and won't easily come through the piping bag.
- If you plan to use multiple icing colors, before adding the color, whip the ingredients and separate the icing into batches to color individually.
- While the amount of frosting in the recipe card is great if you're just icing the gluten-free cake, if you want to truly decorate it, you may want to make 1.5x the batch.
Disclaimer:
Nutrition values are estimates only, using online calculators. Please verify using your own data"
Nutrition


Sherry says
A great recipe for a dairy free cake. Easy to make and great tasting! Love this recipe!!
fitasamamabear says
Easy is crucial for my baking skills hehe
Donna says
I just made this for my nephew with allergies and it was very well received! Definitely a keeper.
fitasamamabear says
So happy he loved it!
Greta says
Super delicious and easy to make. Thanks for sharing the recipe!
Jennifer says
This really is the perfect cake. So moist and delicious, and my whole family loved it!
fitasamamabear says
It's the best that it's a hit with regular dairy, gluten, sugar-loving people too!
Allyssa says
Thank you so much for sharing this amazing dairy free cake recipe! Will surely have this again! It's really easy to make and it tasted so delicious! Highly recommended!
fitasamamabear says
So glad you loved it!
Tessa says
This looks so delicious - I can't wait to try it! We're really trying to step away from too much grain use, so I love these alternative flour recipes that actually taste great.
fitasamamabear says
Yay! Sometimes it's hard reducing grains because we're so used to them so it's nice having yummy things on hand.
J says
This was really good! Has a mild honey flavor. Made as cupcakes and baked for less time than I would a cake. Also added sprinkles in the batter. Yum! Husband approved, as well! A keeper
fitasamamabear says
Mm sprinkles make everything better!
Susan says
So nice to be able to celebrate even with food sensitivities!!!
fitasamamabear says
Right?!
Glenda says
Used this for my mother-in-laws birthday. It was a huge hit with the family! Thanks for sharing!
fitasamamabear says
Yay! So happy to hear you liked it!