These Salt and Vinegar Chickpeas are crispy, tangy, and super easy to make at home. Oven-roasted with just 4 simple ingredients, they turn canned chickpeas into a crunchy, gluten-free snack that’s perfect for meal prep, lunchboxes, or on-the-go snacking.
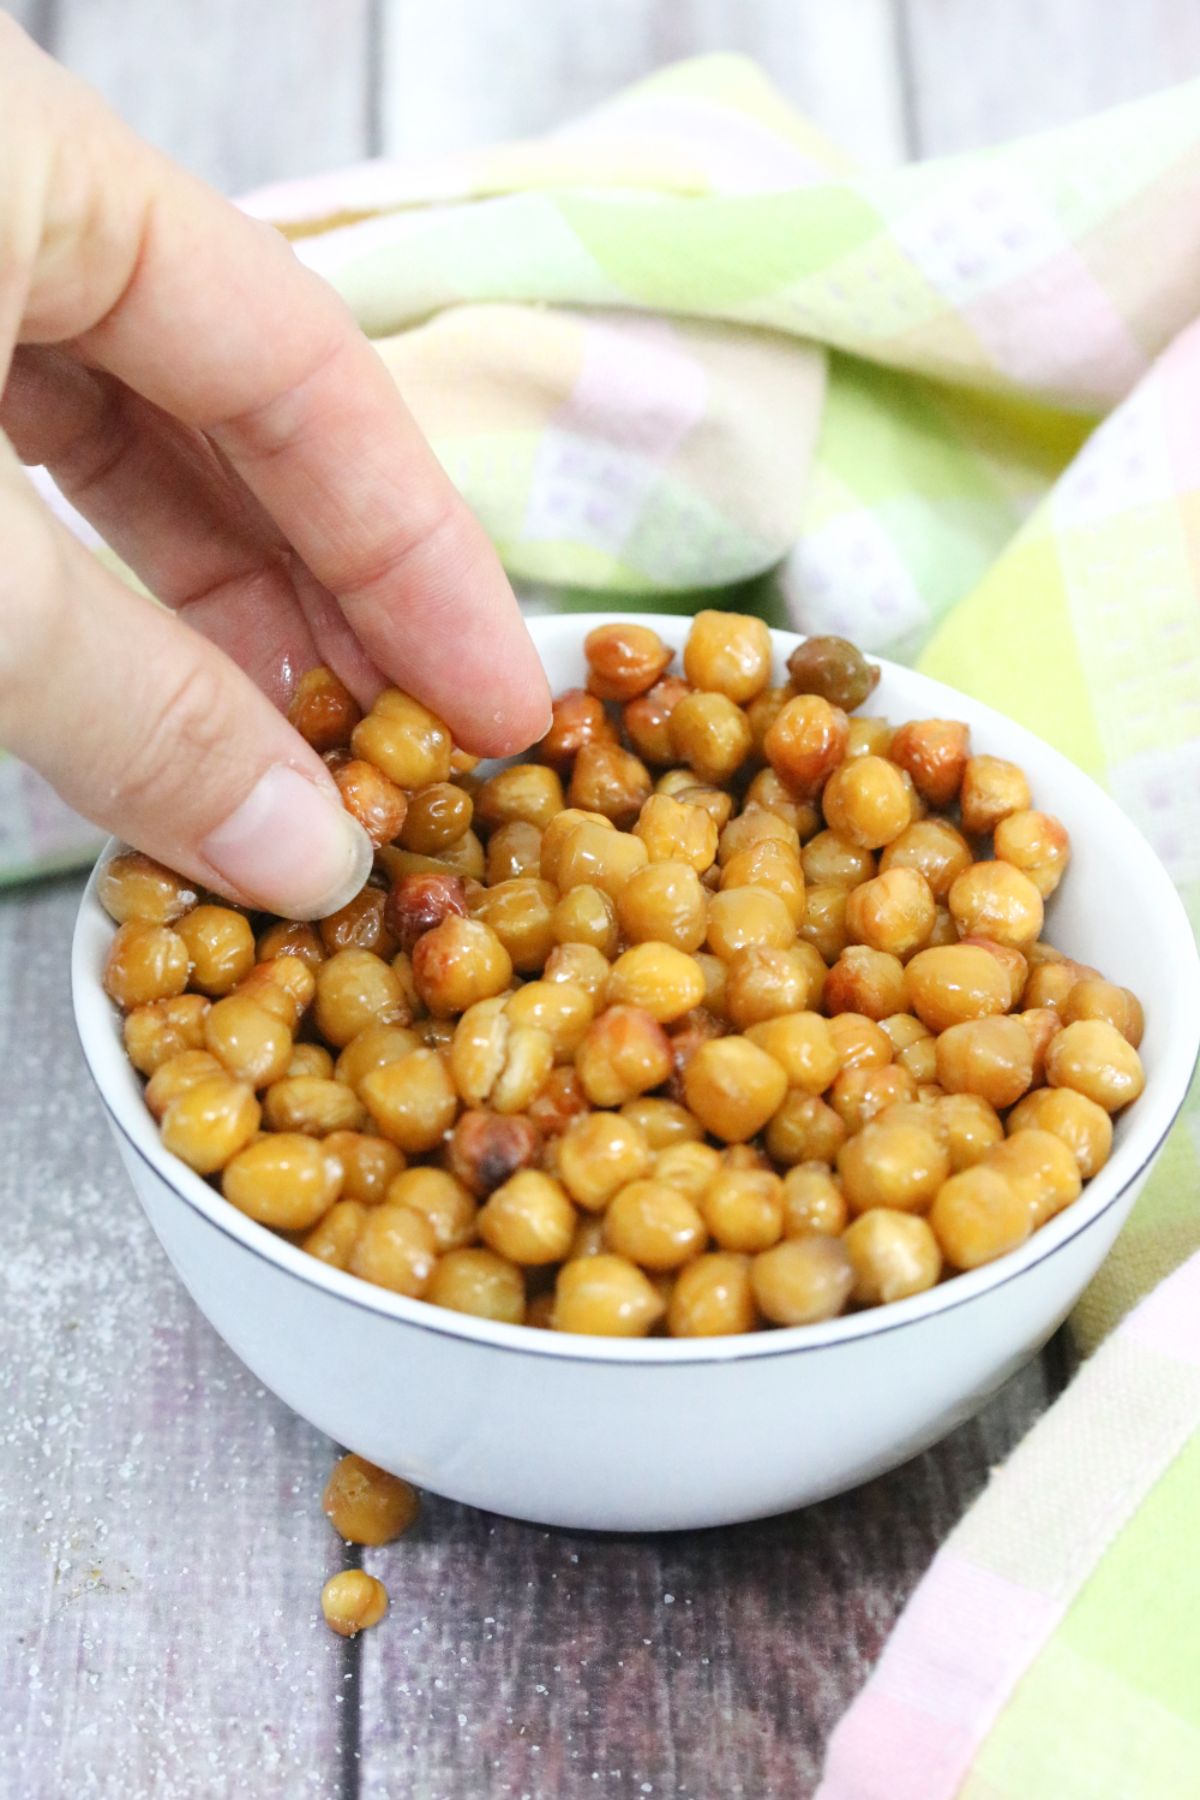
"I love how versatile chickpeas are. I'll have to try your recipe. I've fried them before and tossed them with chopped fresh herbs, salt and pepper, but this sounds healthier!" -Stephanie
A Quick Look At The Recipe
- ⏲️Ready In: 1 hr 15 mins
- 👪Serves: 10
- 🍽 Calories and Protein: 132 kcals and 4 grams of protein
- 📋Main Ingredients: Chickpeas, white vinegar, avocado oil, and sea salt.
- 📖 Dietary Notes: Dairy-free, gluten-free, grain-free, vegan, nut-free.
- ⭐ Why You'll Love It: They deliver bold salt and vinegar flavor with a satisfying crunch, making them a snack that feels indulgent but is made from simple, whole ingredients.
SUMMARIZE & SAVE THIS CONTENT ON
Healthy roasted chickpeas are one of the things I make regularly to always have on hand (they're a meal prep staple!). My girls actually love the tangy flavor and take them to school in their lunchpails because they're such a great, filling snack.
On top of a healthy snack, the salt and vinegar chickpeas made a great hiking snack or easy dinners like a beet Buddha bowl. I personally love that they're great for "munching" and we've replaced a lot of movie night chips with these.
Jump To
💭Why You'll Love This Recipe
Easy: You only need 4 pantry staples for these chickpeas to come together.
Crunchy: With a tangy flavor and a crunch better than chips, these chickpeas are the snack you want more of.
Versatile: These roasted chickpeas can be used as an easy, high-fiber snack or addition to a tasty grain bowl.
Ingredients and Substitutions
- Chickpeas: These are a must for this recipe, and you can use canned and drained chickpeas or raw and cooked ones. I haven't tried this recipe with cannellini beans, but they should work too.
- Vinegar: Traditional white vinegar will give the best flavor to the crunchy snack. However, apple cider vinegar can work as well
See the recipe card for full information on ingredients and quantities.
Flavor Variations
You can adjust the taste of the roasted chickpeas to give them a bit of a new flavor each time. Below are some family favorites.
Cheesy: Add nutritional yeast to the chickpeas before or even after you roast them. If you have extra of these, use them to make hummus for the base of a grilled vegetable hummus wrap.
Seasonings: Sprinkling some smoked paprika or garlic powder onto them is a hit in our house. Or, rock a homemade fajita mix like in these sheet pan steak fajitas if using them for a bowl.
How To Make Salt and Vinegar Chickpeas
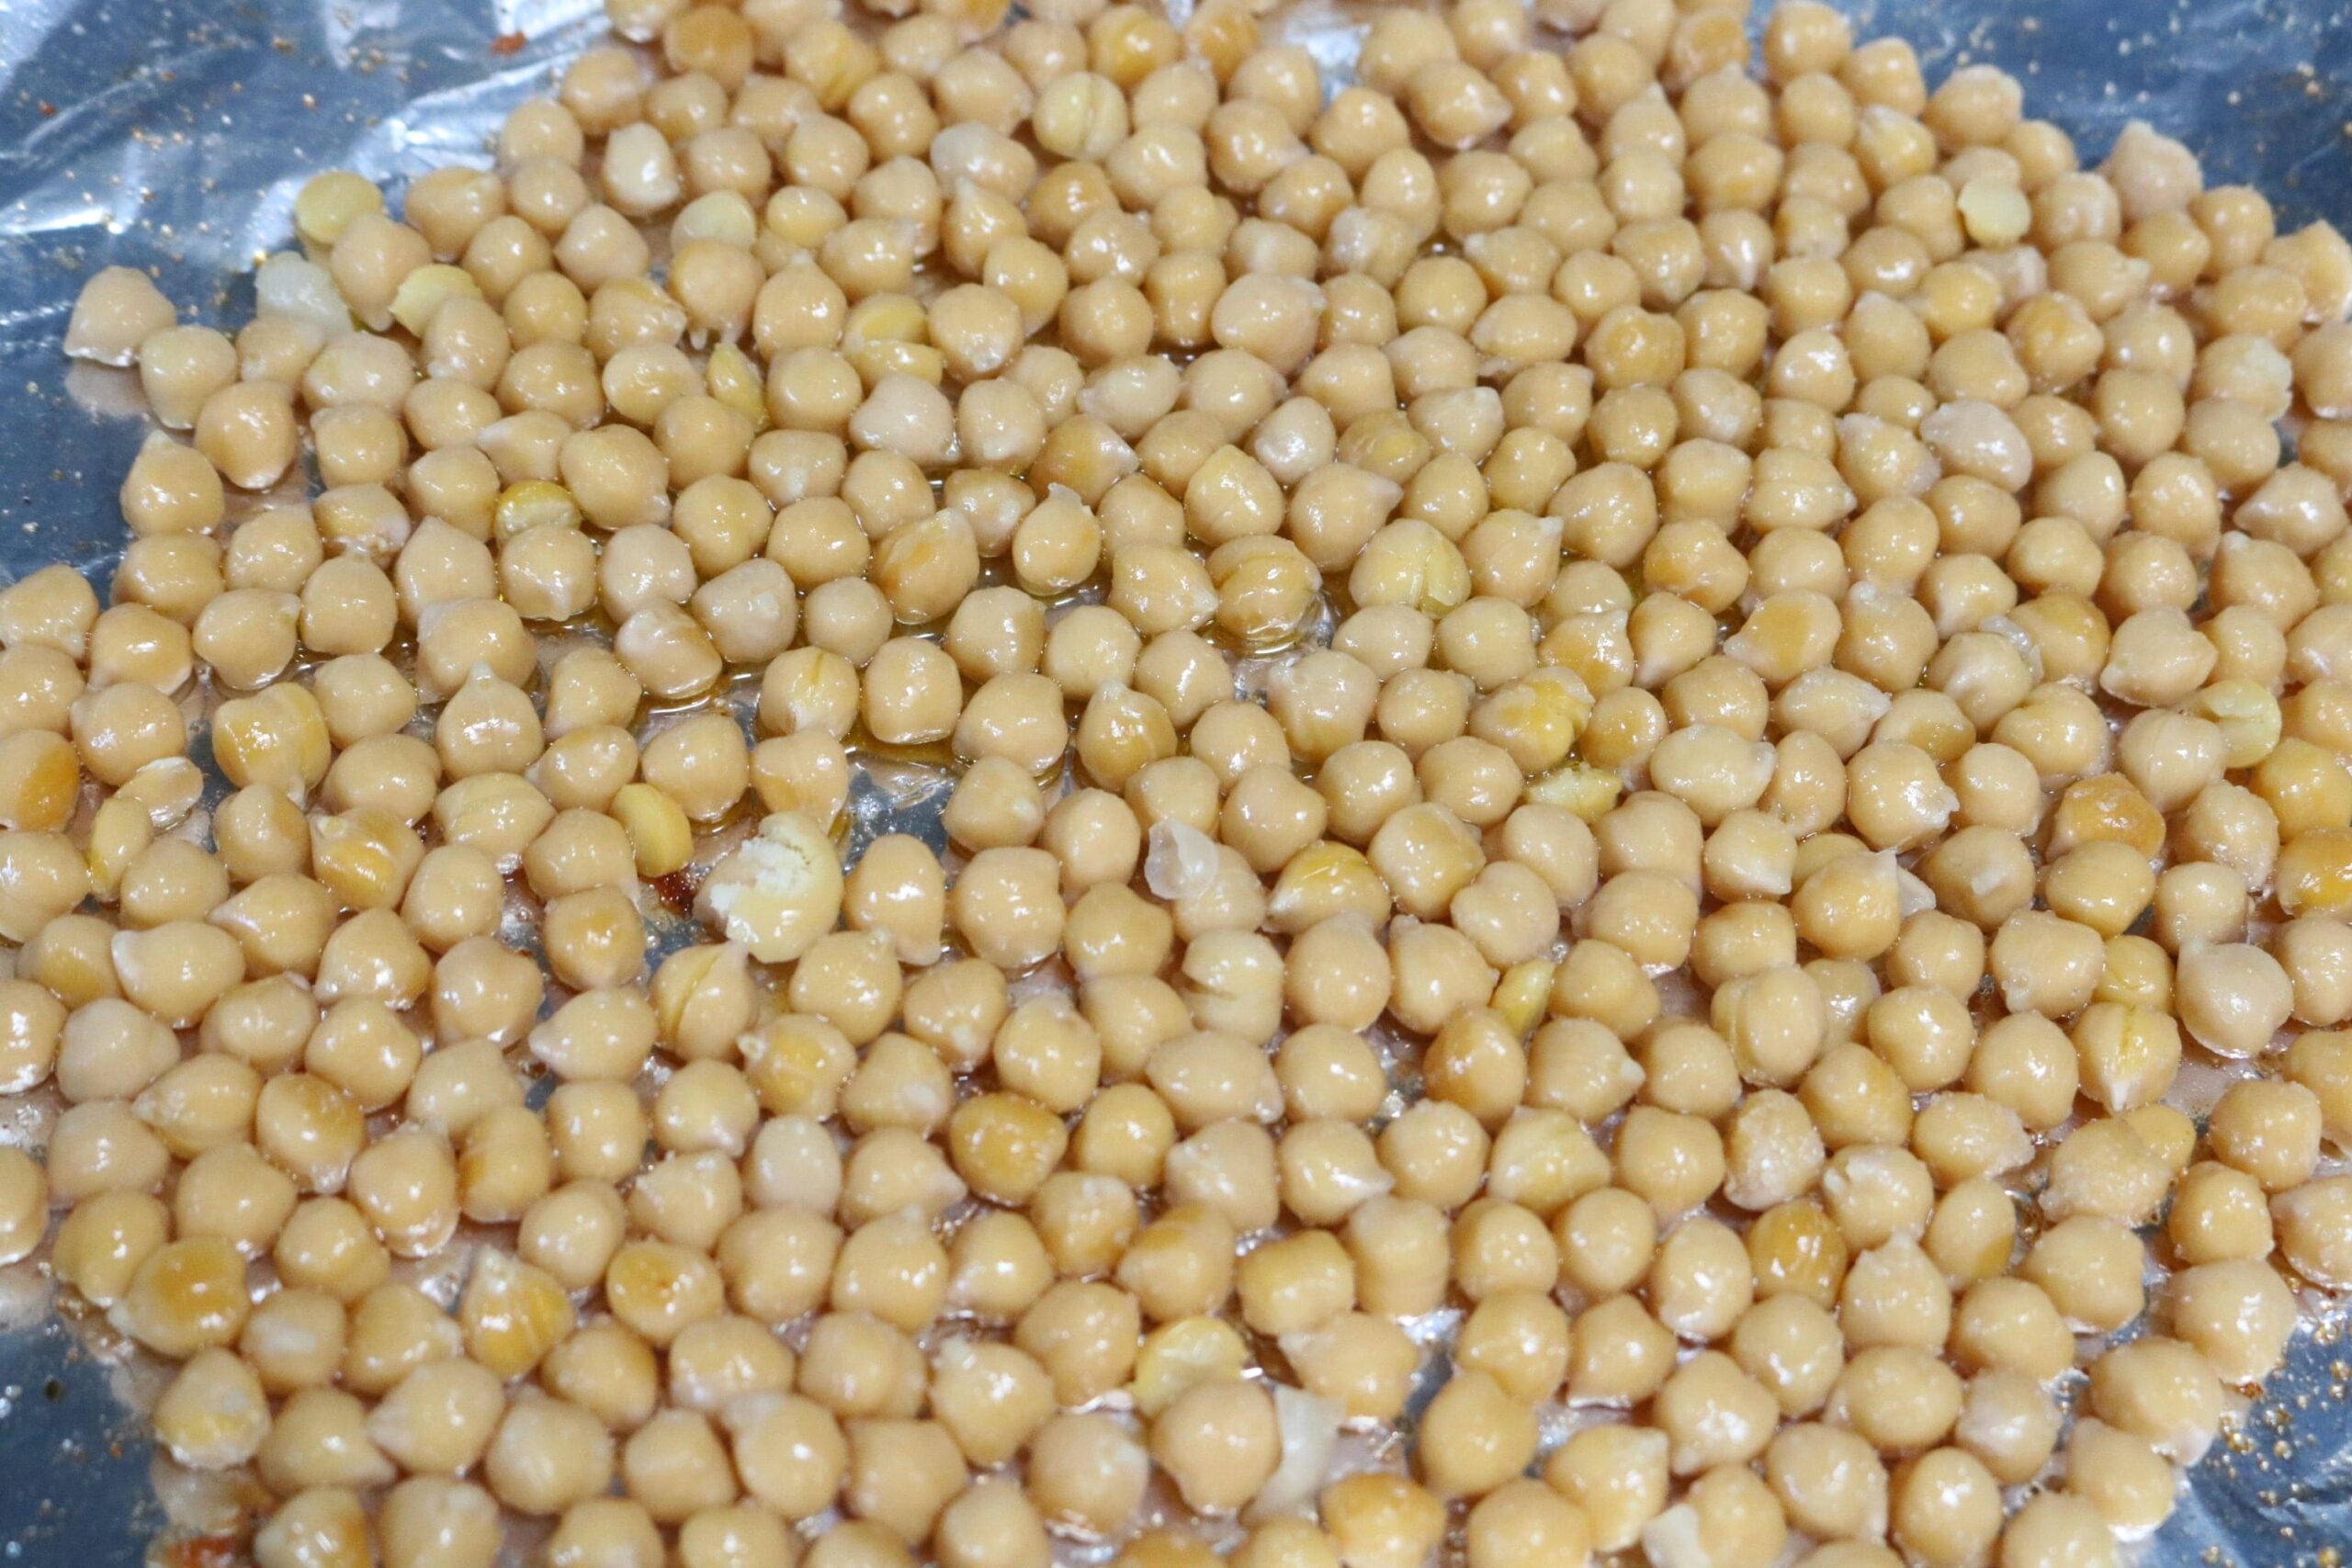
Step 1: Rinse the chickpeas and boil them in vinegar.
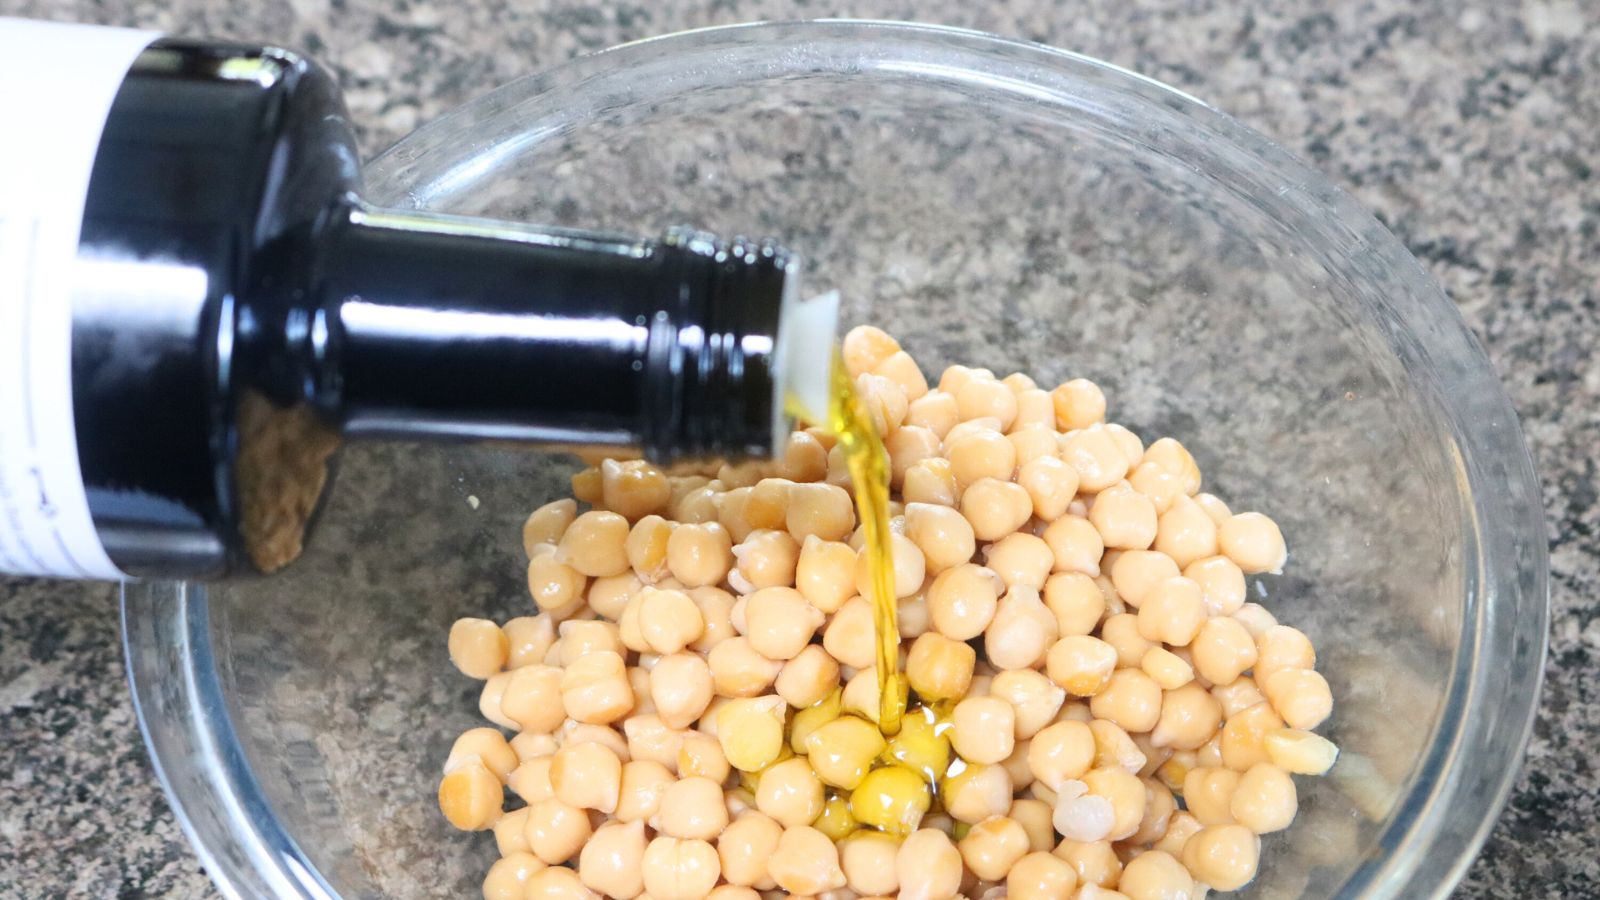
Step 2: Toss them in oil and salt.
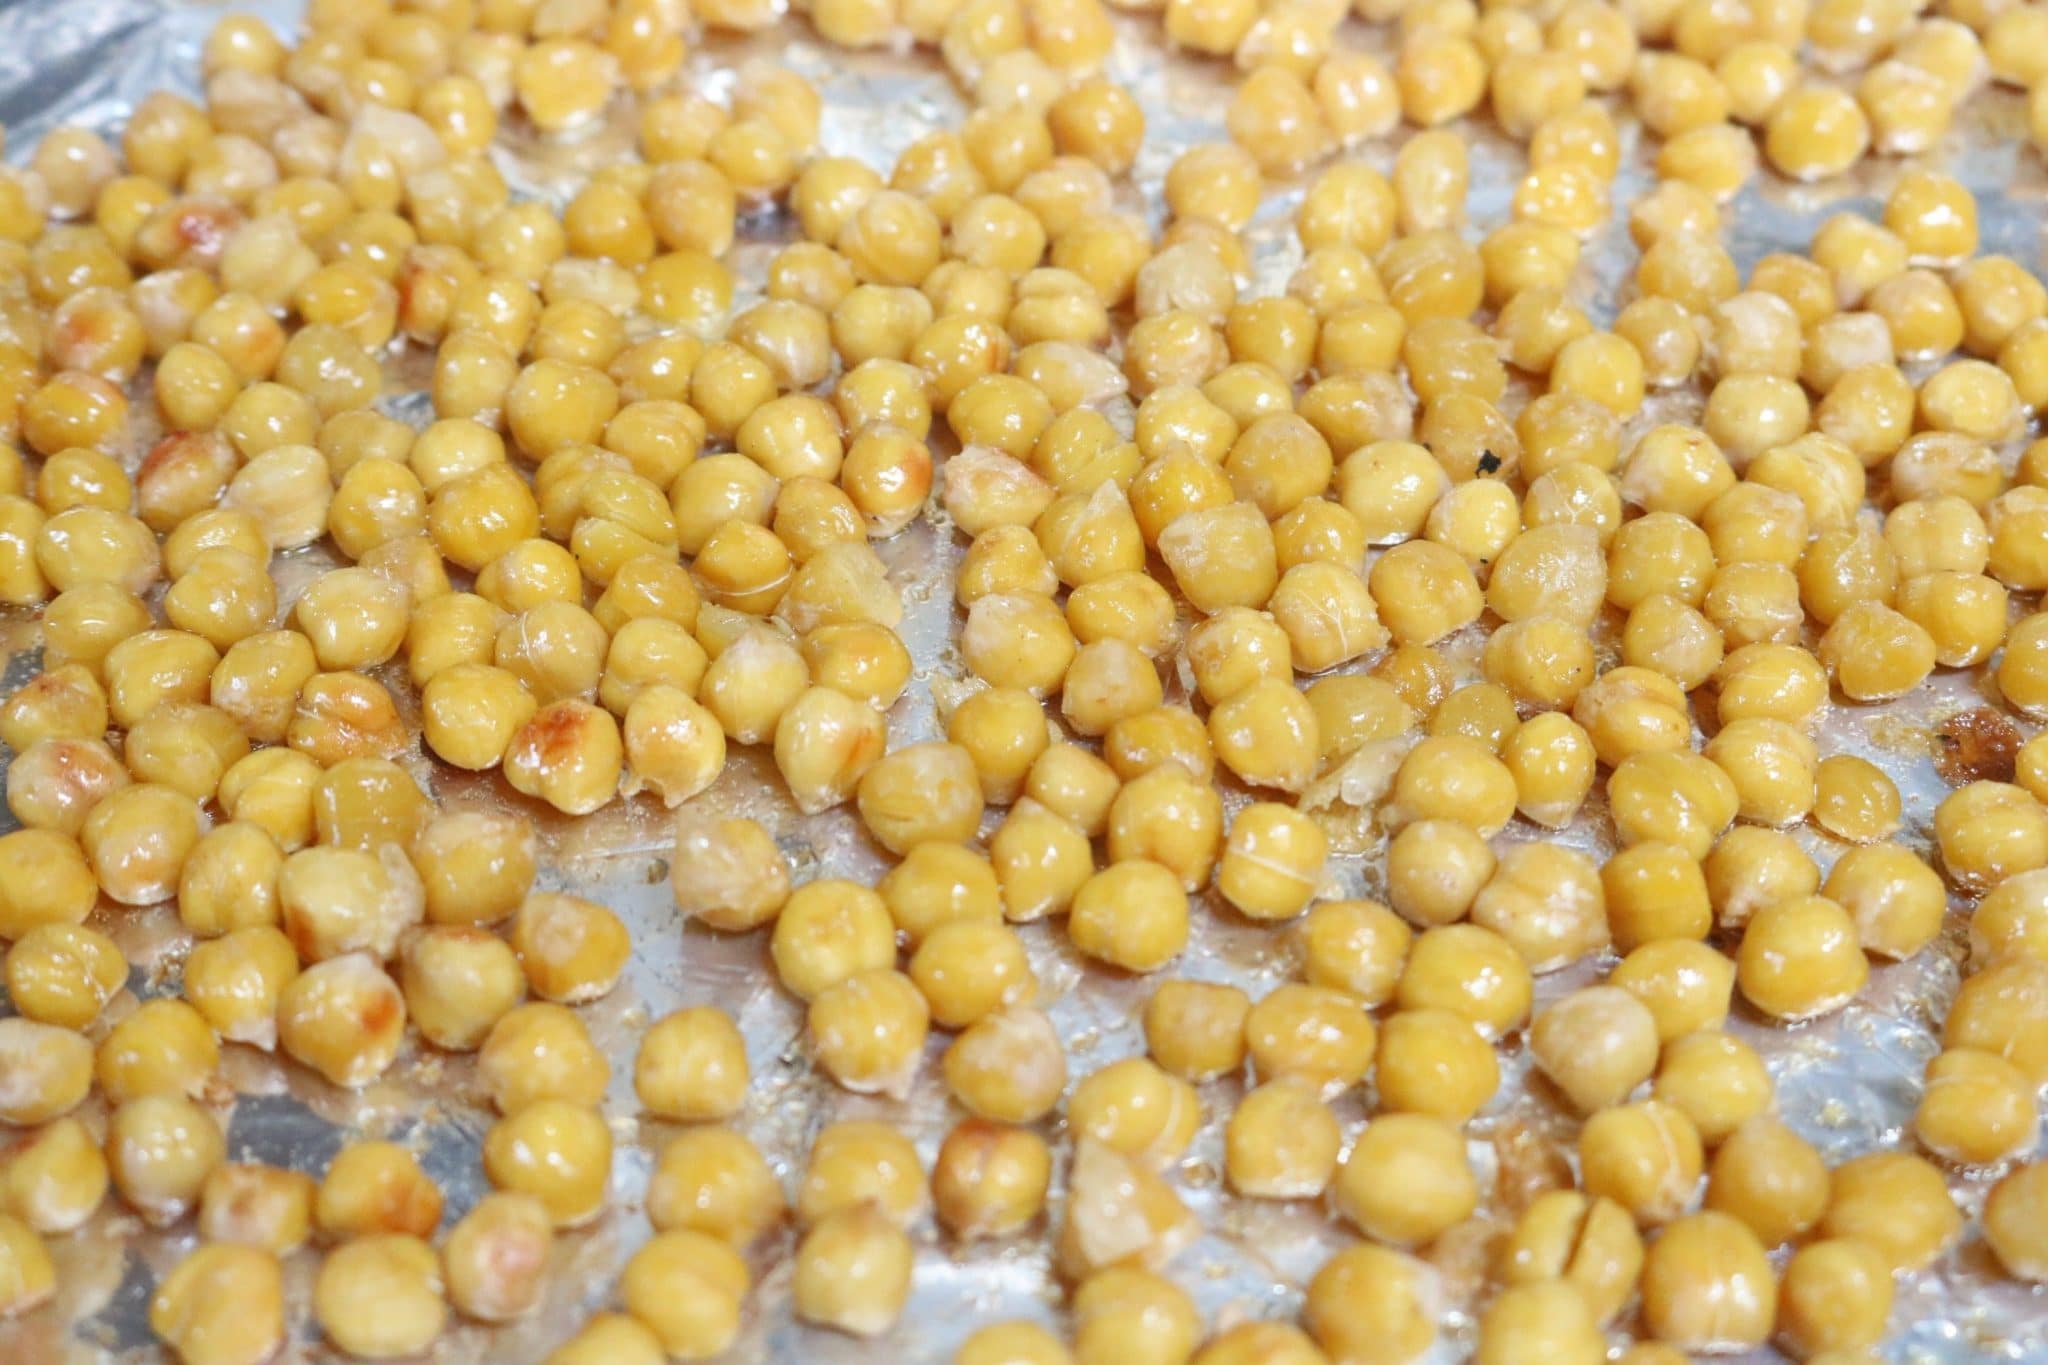
Step 3: Roast until crunchy, stirring once.
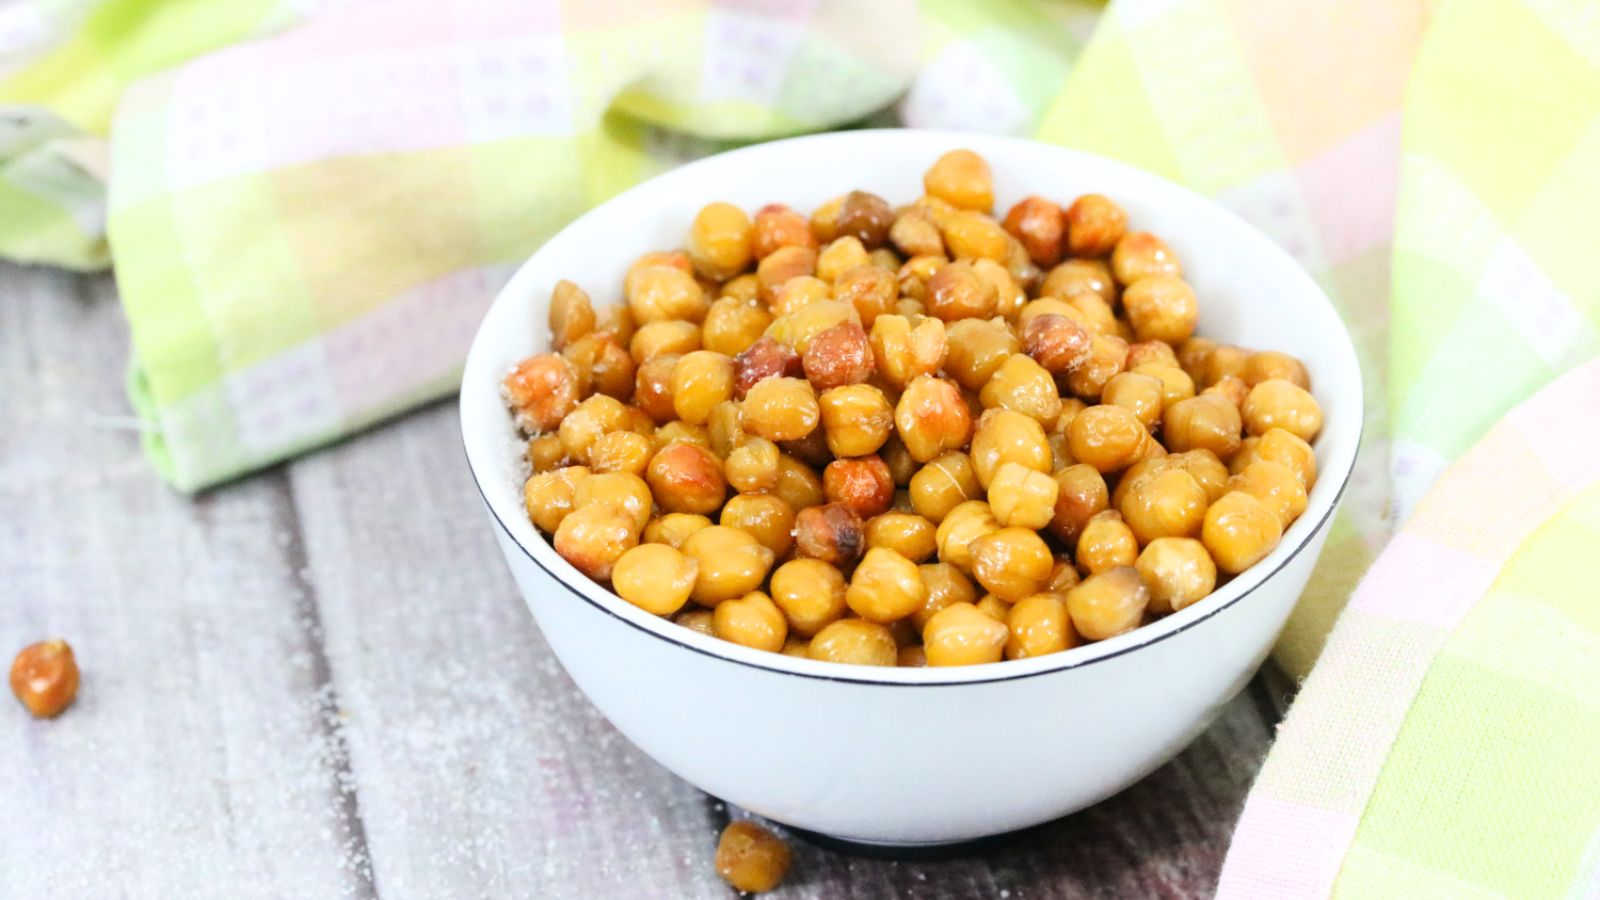
Step 4: Season again as needed and enjoy!
Expert Tips To Make It
Cooking times will vary for the chickpeas. If you enjoy really crisp, crunchy chickpeas, roast them for longer, but keep an eye on them closely so that they don't burn.
Know that the chickpeas on the outside of the pan tend to burn the fastest, so when those told golden is when they're about done.
If you're using raw chickpeas, you'll need to soak them, rinse, and cook them before you start on this recipe. If using canned chickpeas, make sure they're properly rinsed.
Once cooled, store the oven-roasted chickpeas in an airtight container on the counter for up to 2 days. After which, you'll want to store them in the fridge. The longer they're in the fridge, though, the less crispy they'll be.
Salt and Vinegar Chickpeas FAQs
Yes, you can roast chickpeas in the air fryer. You'll still want to boil the chickpeas in vinegar and toss them in oil and salt. From there, air fry them in a basket at 400F for 10-12 minutes or until crunchy.
If your chickpeas aren't crunchy, it's because they were not roasted long enough. You want the chickpeas to be golden and turning ever so slightly darker when you remove them from the oven. That's how you know they'll be crispy.
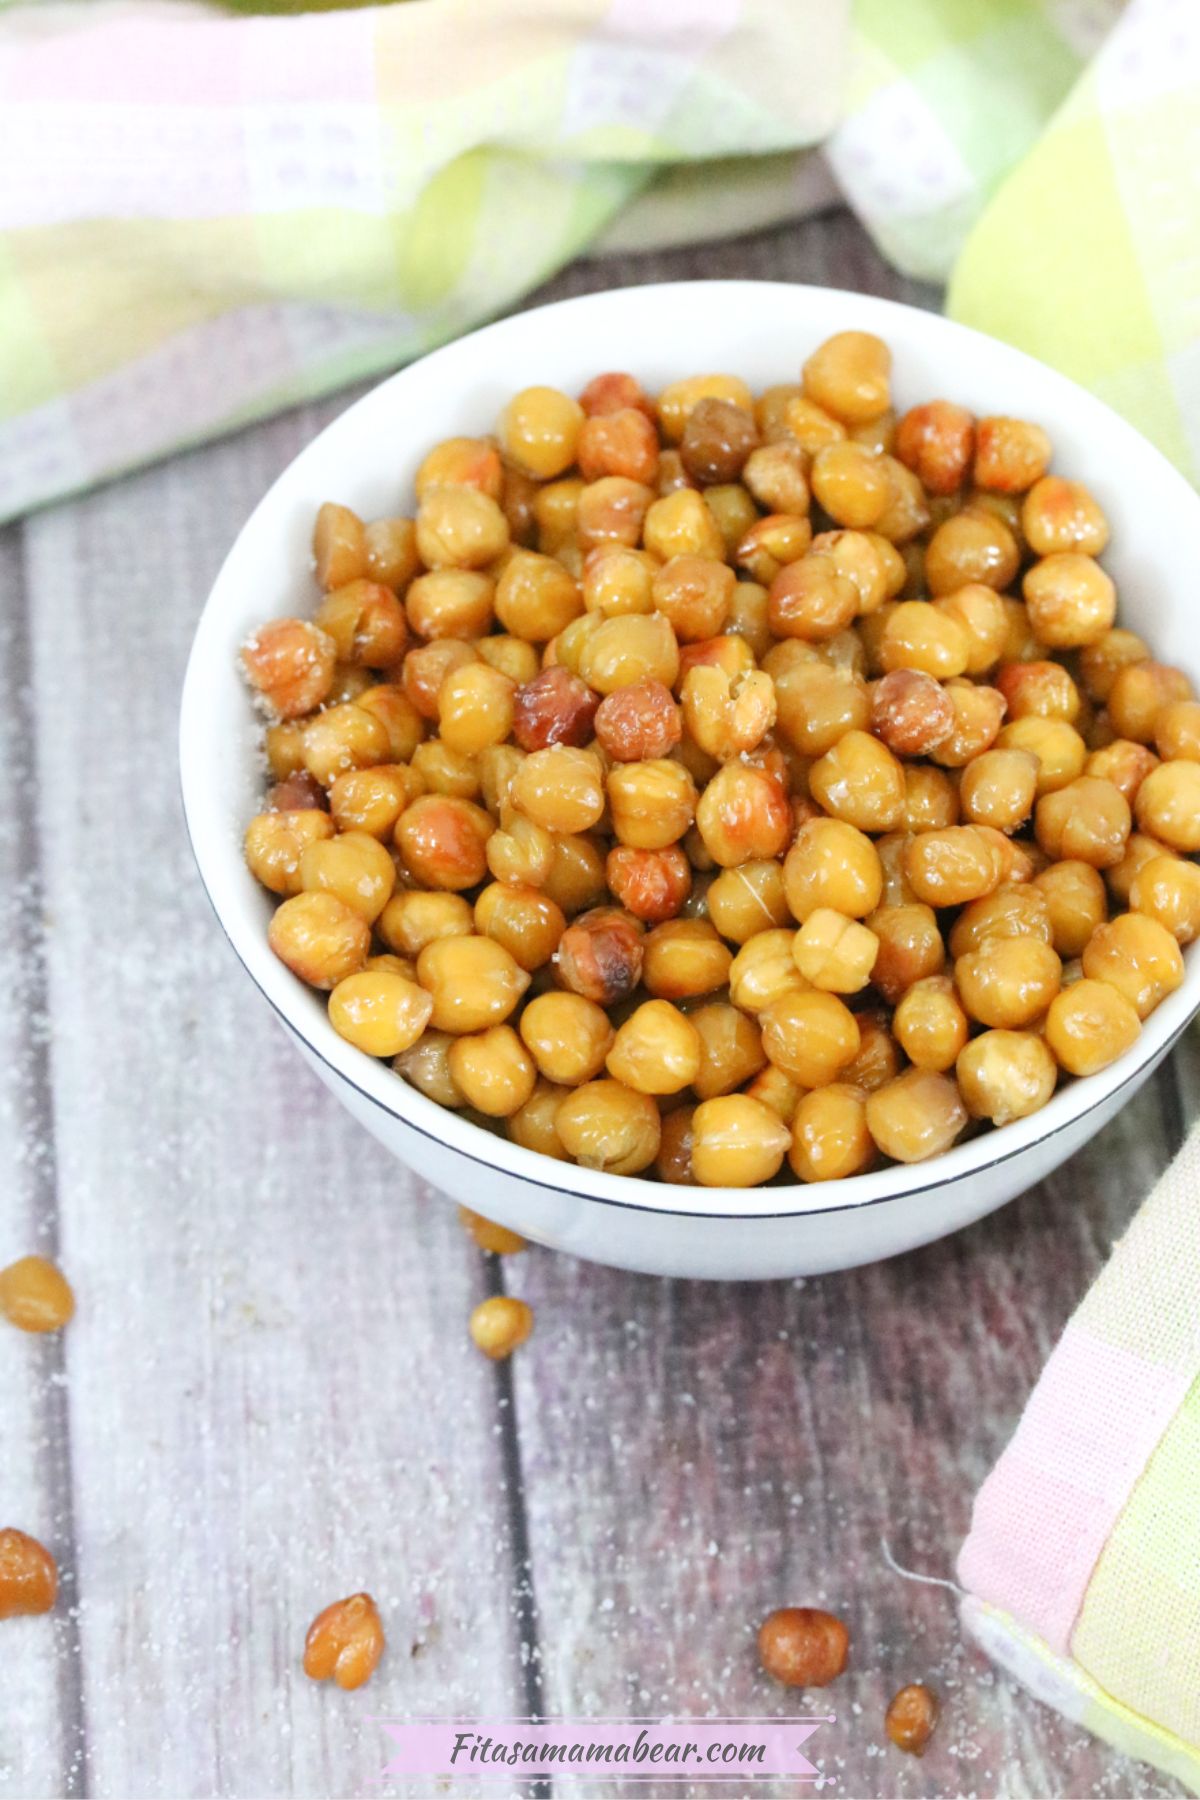
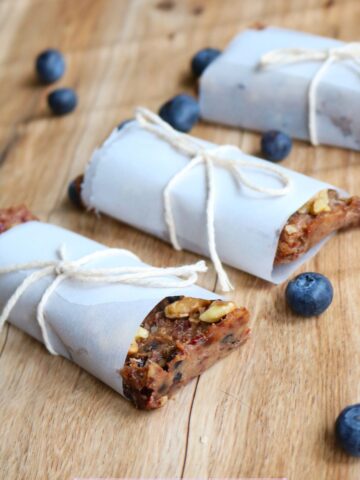
More Healthy Snack Recipes You'll Love
If you tried this Salt And Vinegar Chickpeas Recipe or any other recipe on my blog, please leave a 🌟 star rating and let me know how it goes!
Roasted Salt And Vinegar Chickpeas
Video
Equipment
- Large baking tray
Ingredients
- 5 cups cooked chickpeas
- 5 cups white vinegar
- 3 tablespoons avocado oil
- 2 tablespoons sea salt
Instructions
- If using canned chickpeas, rinse them wet. If using dried, soak them overnight, boil until cooked, and drain.
- Add the chickpeas and vinegar to a small pot. Bring to a boil. Simmer for five to eight minutes. Remove from heat and let sit for twenty minutes.
- Pre heat the oven to 350 degrees.
- In a large bowl, pour oil over chickpeas and toss until all are covered. Sprinkle 1.5 tablespoons sea salt over the chickpeas and mix until combined.
- Line a baking tray with parchment paper and spread the chickpeas so they're flat. Sprinkle the last half tablespoon of salt over the chickpeas.
- Bake in the oven for fifteen minutes. Remove from the oven, flip/stir the chickpeas. Making sure that the chickpeas on the outside come in towards the middle.
- Bake for another twelve minutes and stir again.
- Bake for 3-6 more minutes watching closely. You want the chickpeas to be slightly crunchy but not over done so they're hard.
- Remove from the oven and let cool on the pan for twenty minutes.
Notes
Disclaimer:
Nutrition values are estimates only, using online calculators. Please verify using your own data"
Nutrition





Shelby S says
They taste just like my favorite chips but crunchier! Such a great camping or hiking snack.
gretchen hites says
Why is prep and cook time 21 hours? What am I missing?
fitasamamabear says
Hey Gretchen- you're not missing anything! When no amount is listed in the "prep" the recipe card defaults to 21hours (I have zero clues why). Many of my older recipes didn't have the times listed so I'm working my way through updating them. The recipe most definitely does not take 21 hours lol
Elizabeth Brico says
I LOVE roasted chickpeas, but I've never done em with vinegar. I'll have to try this--YUM! Have you ever had them with apple cider vinegar??
fitasamamabear says
They're rather addictive! Hrm.. I actually haven't tried them with ACV but I do love it- that might be my next attempt!
Megan @ Ginger Mom says
These sound great but mine always turn out mushy.
fitasamamabear says
I've had that problem before too- super frustrating. My two tips on that are to first dry them after you rinse/cook the chickpeas and also to turn them more int he oven. Meaning, move the ones on the outside of the pan to the inside and vice versa.. a lot lol
Besties Notepad says
Thumbs up for healthy snacking...always!!
I also add some fruits like apple, pear, pomegranate etc to my chickpeas to make it healthier 🙂
fitasamamabear says
I'm obsessed with chickpeas- honestly they go with everything!
Mel | The Wandering Darlings says
Interesing I might have to give this a try. never been a fan of chickpeas but you make them sound delish
fitasamamabear says
Thanks Mel! I love them because it's similar to popcorn to me which I can devour lol
stephanie says
I love how versatile chickpeas are. I'll have to try your recipe. I've fried them before and tossed them with chopped fresh herbs, salt and pepper, but this sounds healthier!
fitasamamabear says
Mmm I haven't really fried them so I'll have to try that!
Courtney says
I am so picky with my food, but these actually look and sound delicious. You have me convinced! Lol. Great read. Thanks for sharing!
fitasamamabear says
I hope you enjoy it!