
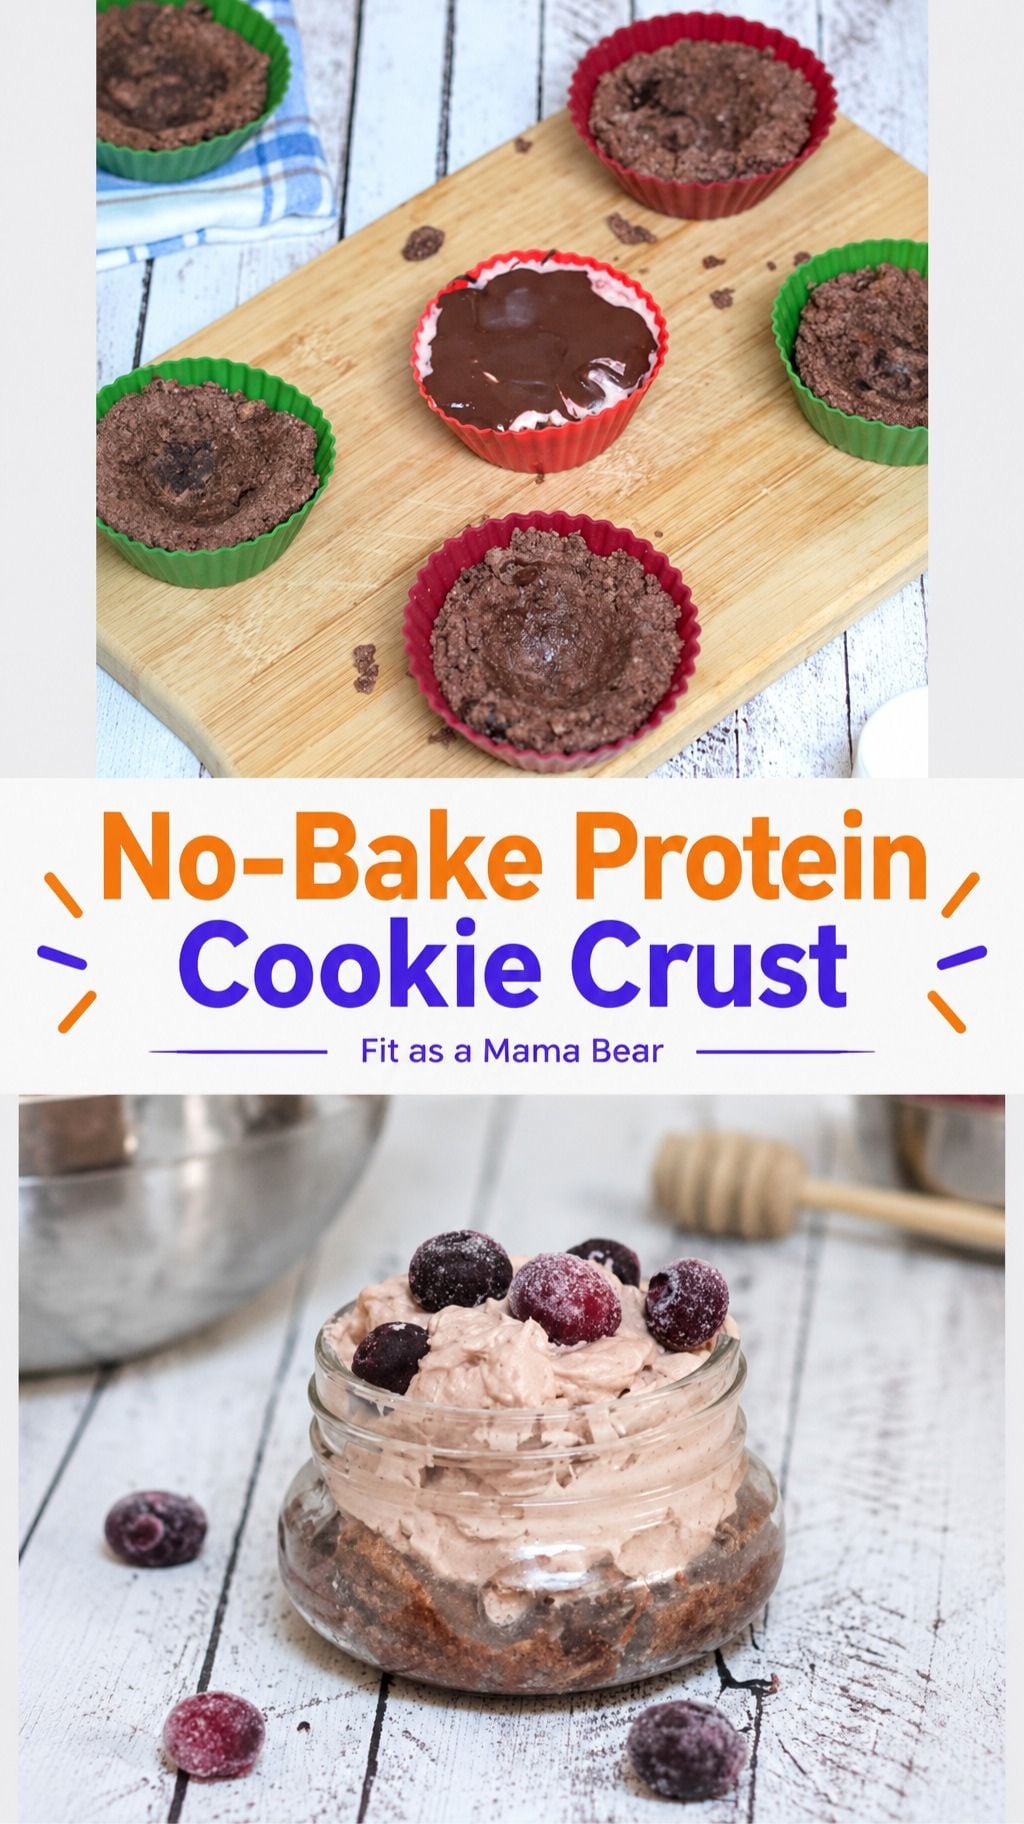
Use this for any kind of treat; this Protein Dessert Crust has a cookie-like base that whips up in just 5 minutes. Naturally a single-serve recipe, it can be doubled and used as a cookie pie crust as well.
A Quick Look At The Recipe
- ⏲️Ready In: 5 Minutes
- 👪Serves: 1
- 🍽 Calories and Protein: 257 kcals and 9 grams of protein
- 📋 Main Ingredients: Dates, almond flour, beef protein powder, and coconut oil.
- 📖 Dietary Notes: Dairy-free, gluten-free, and paleo.
- ⭐ Why You'll Love It: Quick to make and super versatile, this no-bake protein crust is the best kind of dessert base.
SUMMARIZE & SAVE THIS CONTENT ON
People will constantly tell you to avoid snacking if you have any kind of fitness goals. In my experience, that never works. Instead, I learned to just make my snacks better. It’s part of my entire plan in my Protein Playbook.
This easy protein dessert crust recipe has been on rotation these last few weeks, as has this high-protein popcorn recipe because it’s so simple to whip up and totally versatile. It’s sweet and chewy but can also be baked if you want a crisp cookie too.
Jump To
💭What Makes This Recipe Different
Date-based: These hold together really well and add a ton of sweetness which means you don’t need to bake the cookie crust at all.
Versatile: It can be used as a no-bake recipe or baked for larger desserts and a different flavor.
Ingredients and Substitutions
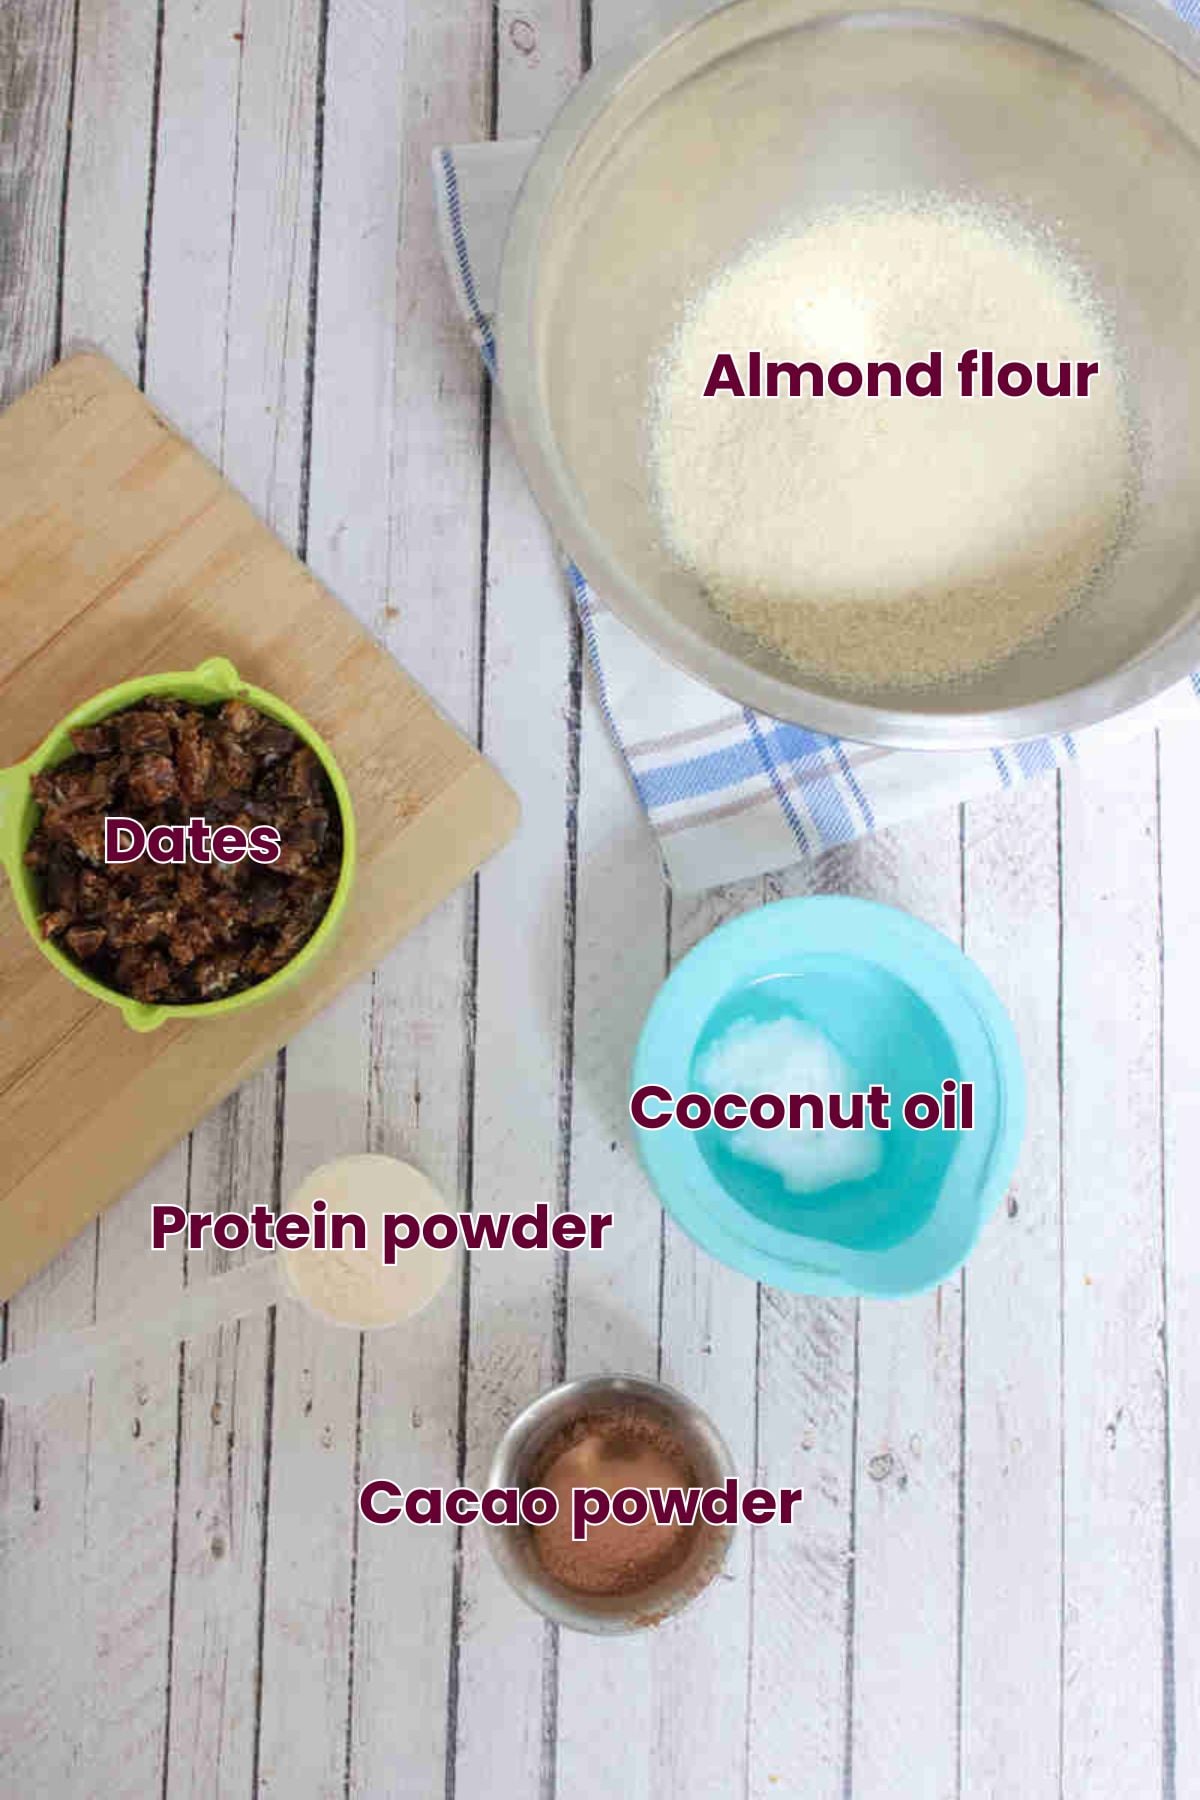
- Almond flour: Make sure to use almond flour and not almond meal or there will be a grittier texture.
- Protein powder: I use beef protein isolate now for health reasons. Specifically, Equip protein for its amazing flavor and lack of bloating. Protein powders don’t all behave the same, so read more about beef protein powder recipes if you’re switching.
See the recipe card for full information on ingredients and quantities.
How To Make Protein Dessert Crust
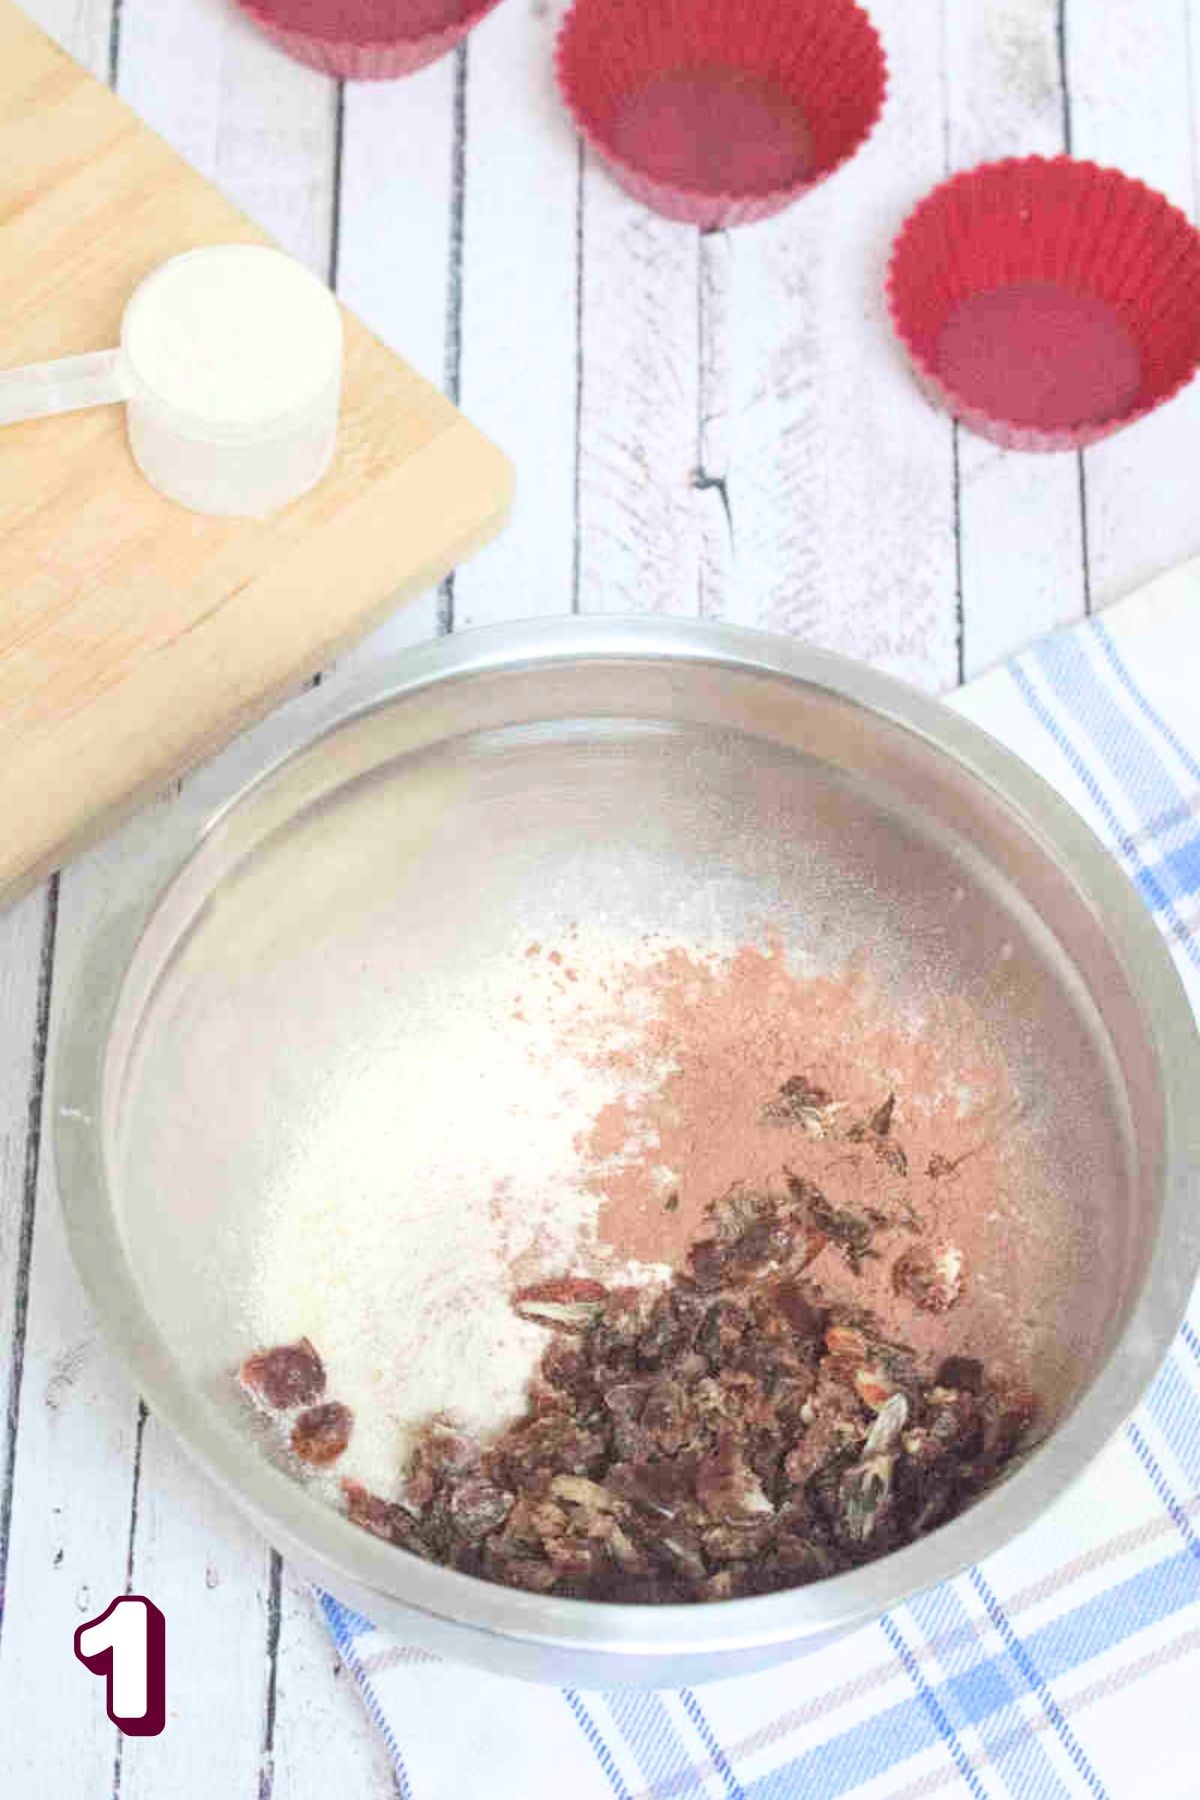
Step 1: Finely chop the dates and add them to the dry ingredients in a large bowl.
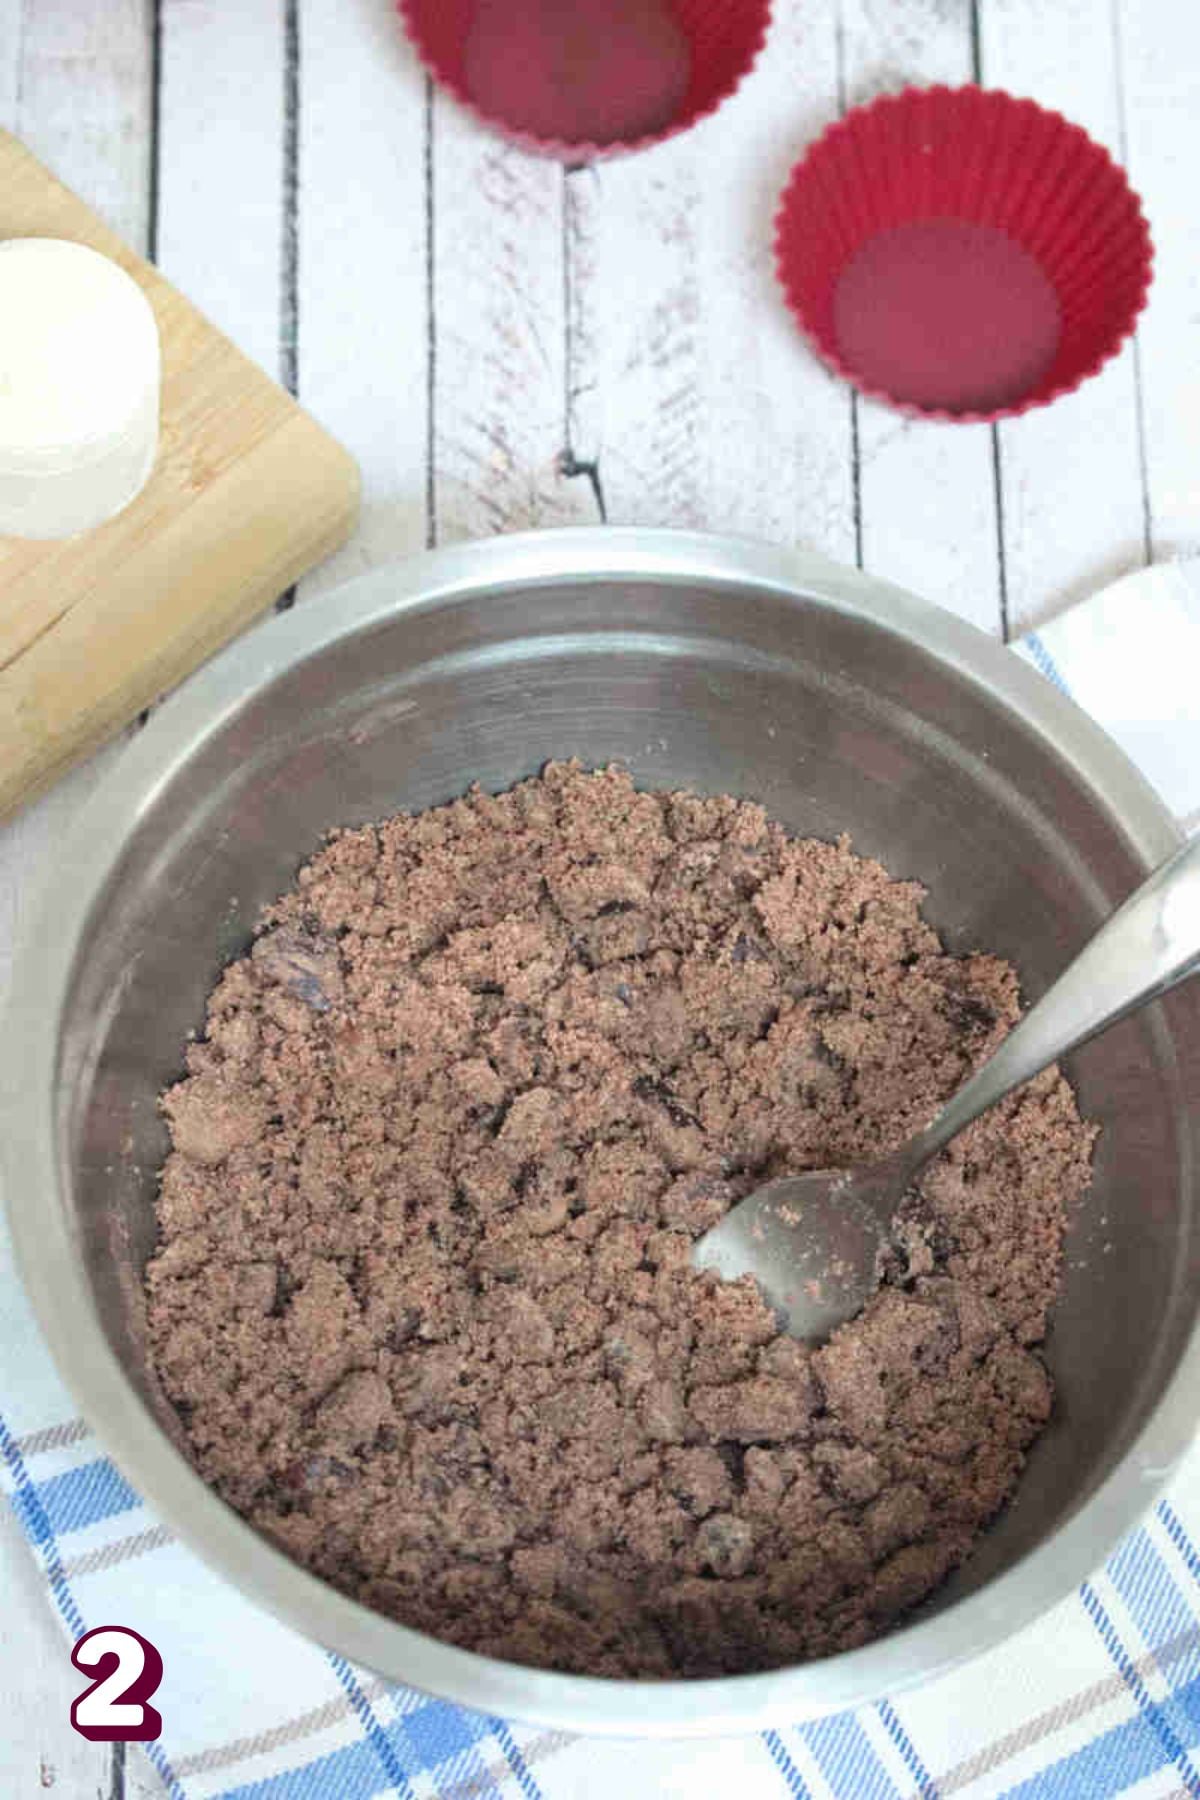
Step 2: Add the coconut oil and mix until mostly combined.
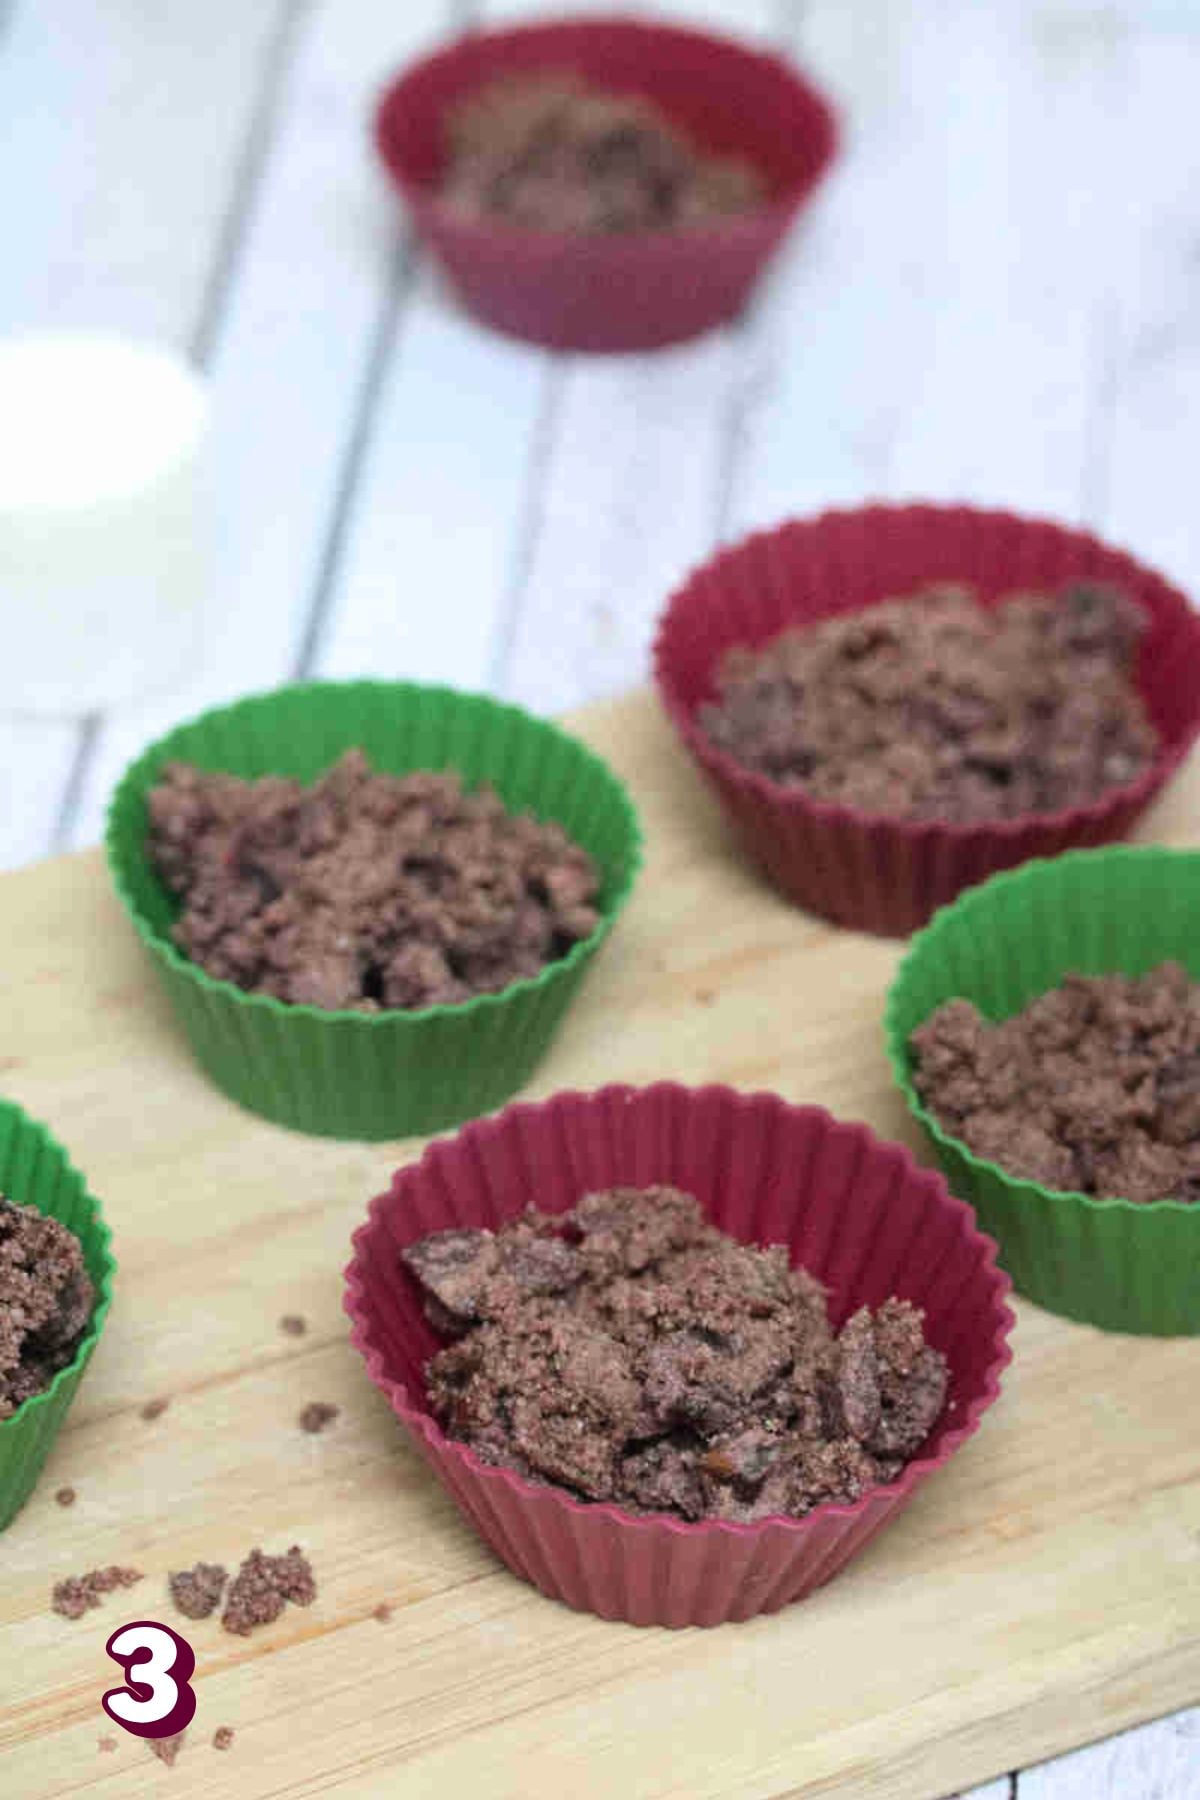
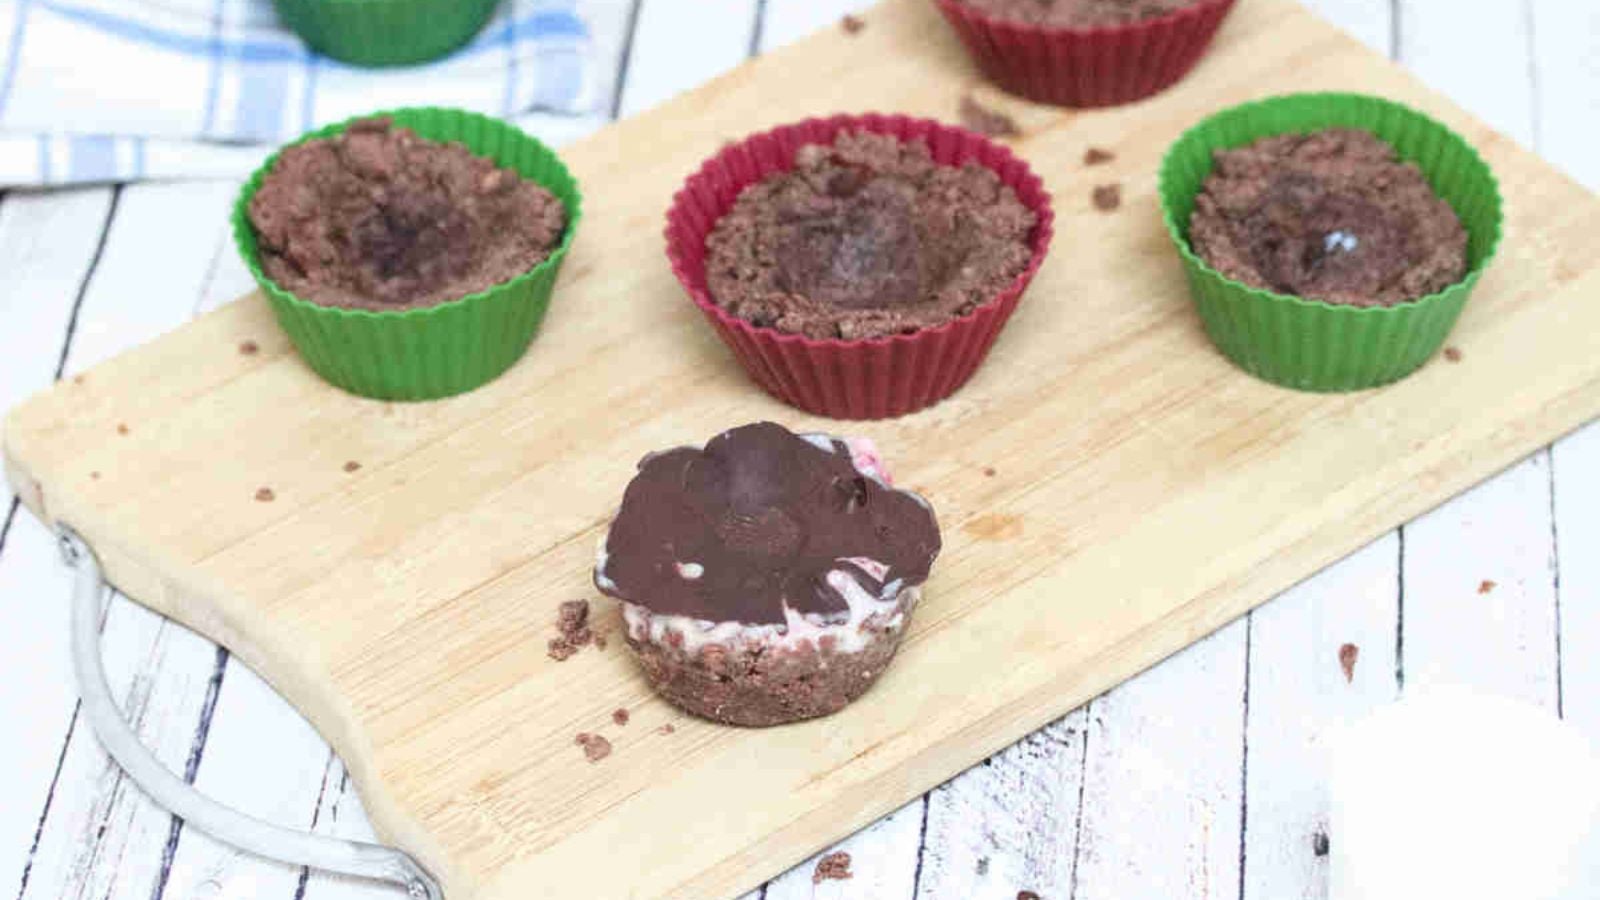
Step 3: Portion the mixture into a silicone mold.
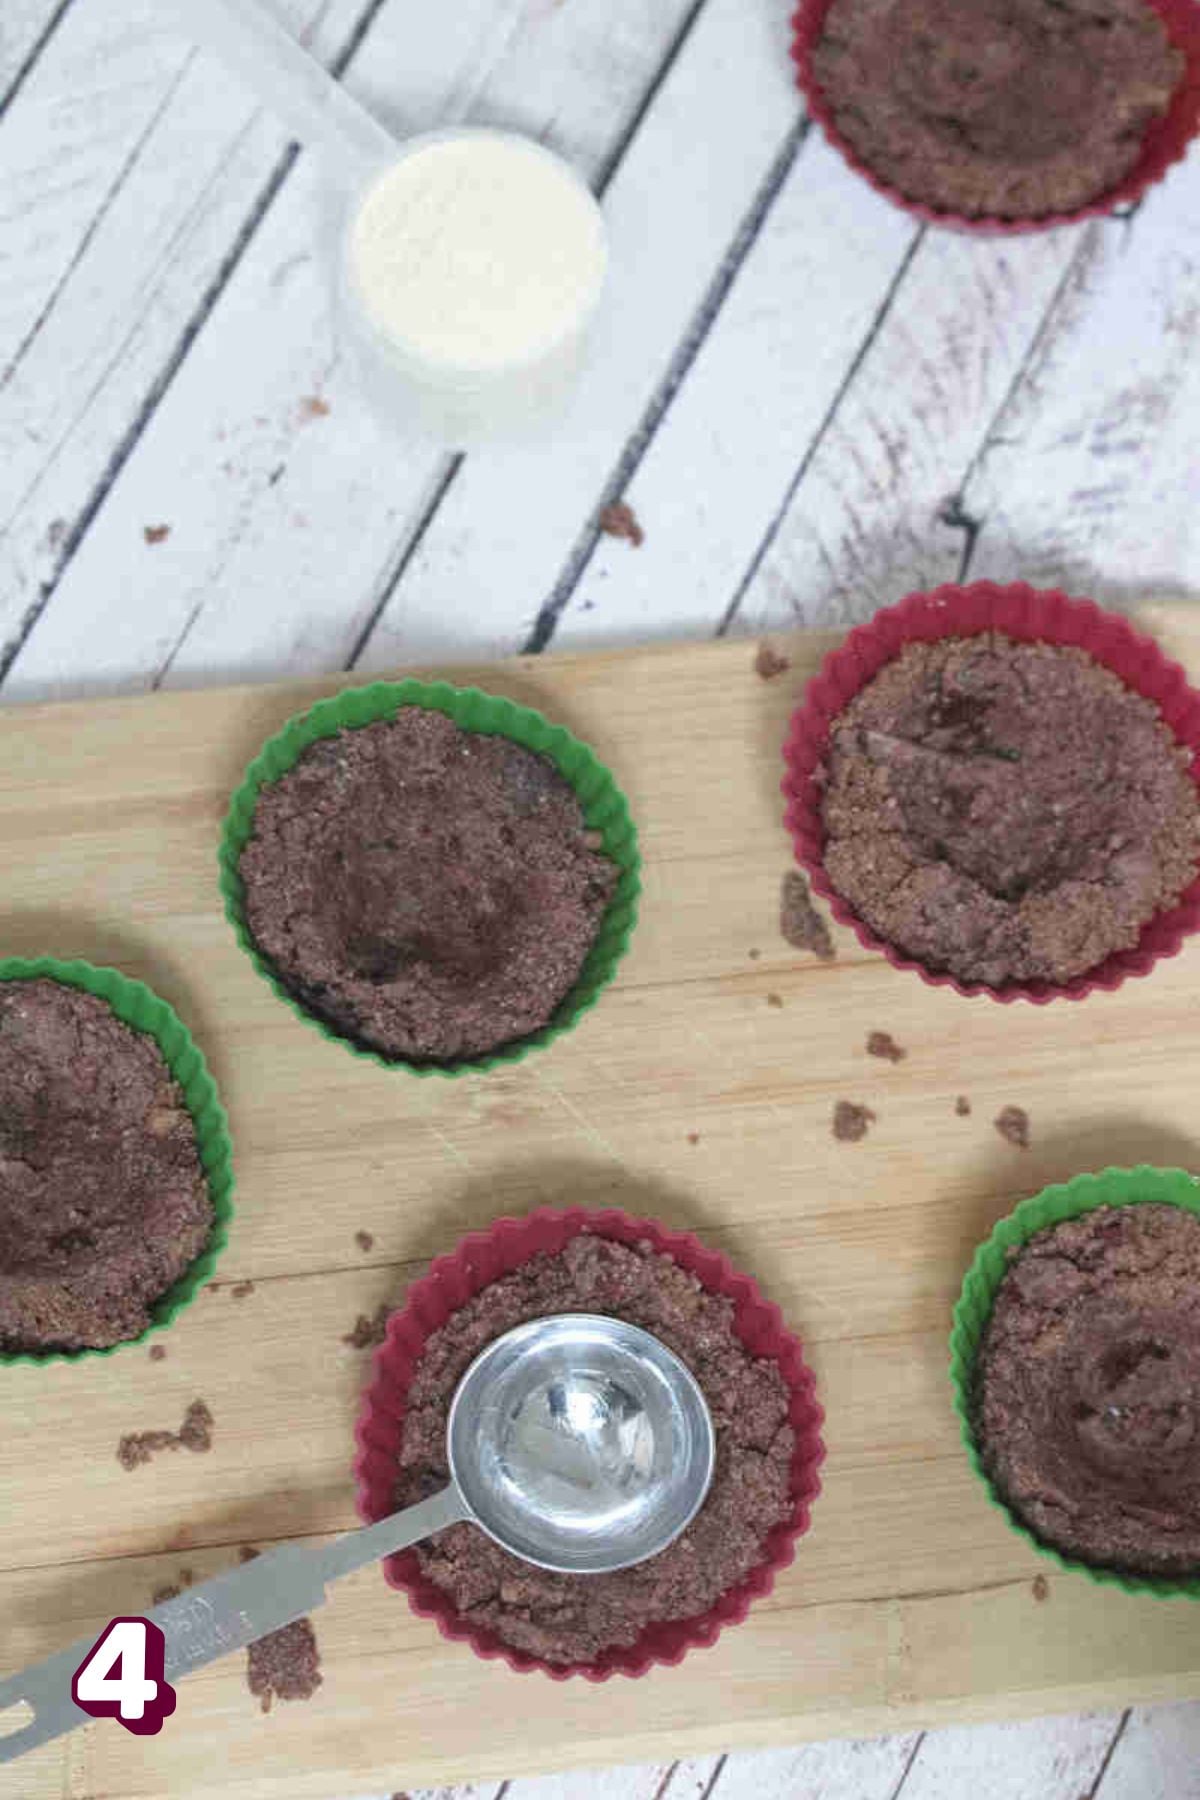
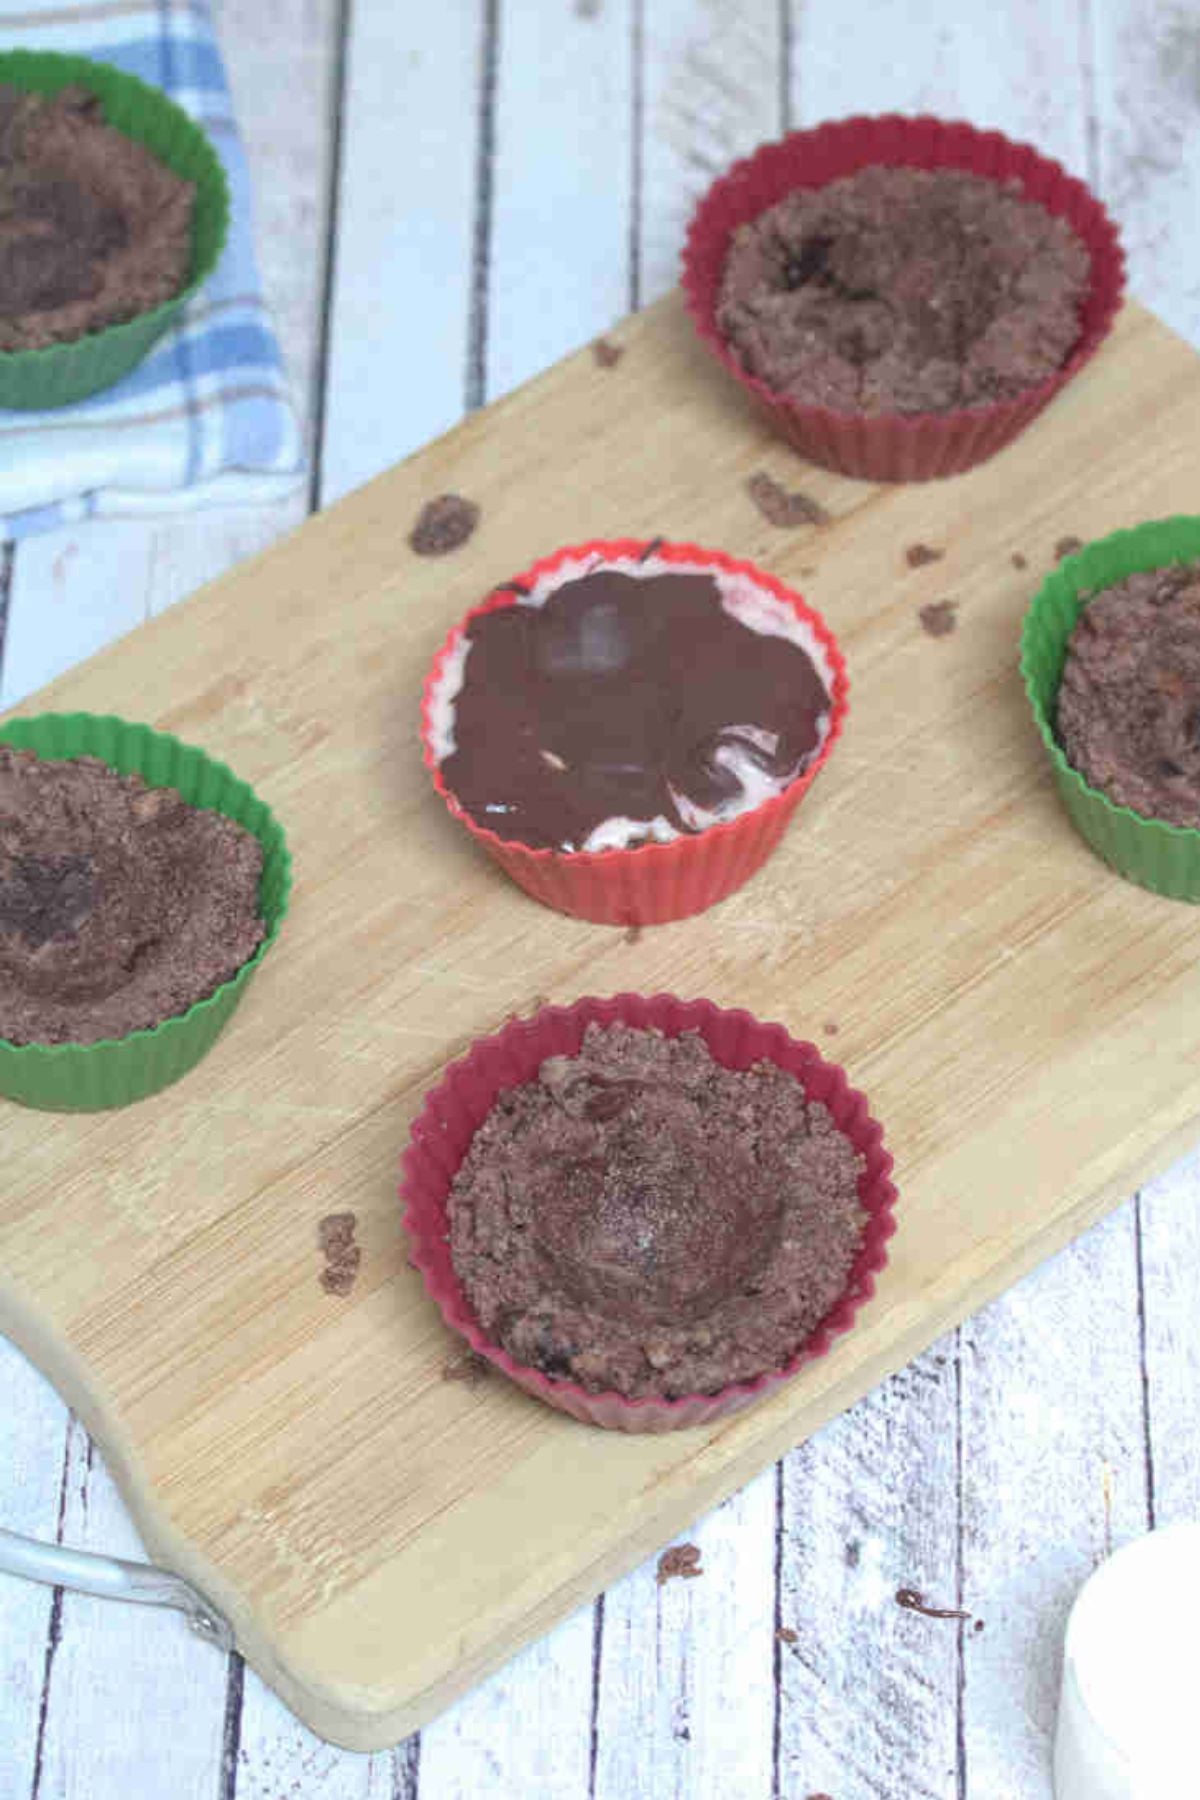
Step 4:Use a spoon or tablespoon to press down firmly, letting the mixture come up on the sides. Then, fill and enjoy!
Expert Tips To Make It
No protein powder? Add extra almond flour and 1 teaspoon of maple syrup for sweetness.
If you’re using a chocolate protein powder? Skip the cacao as you already have all the flavor you need.
If you’re using a different protein powder, you may need to adjust the texture. If it seems really dry and doesn’t hold together when pressed, add 1 teaspoon of dairy-free milk like homemade hemp milk and try again.
For mug cakes or to “hold” a filling, press the mixture firmly so it comes up the sides of the mold. A loose press is the main reason the crust won’t hold its shape.
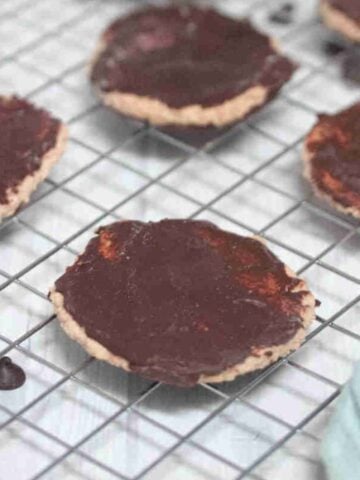
You can turn this protein cheesecake crust into a baked good by cooking it in the oven at 350F for 10 minutes. Let it cool fully before moving it, or it’ll crumble; once cooled, it firms up and tastes like a crispy cookie.
Store the protein healthy cookie crust in molds in the fridge for 5-7 days in an airtight container.
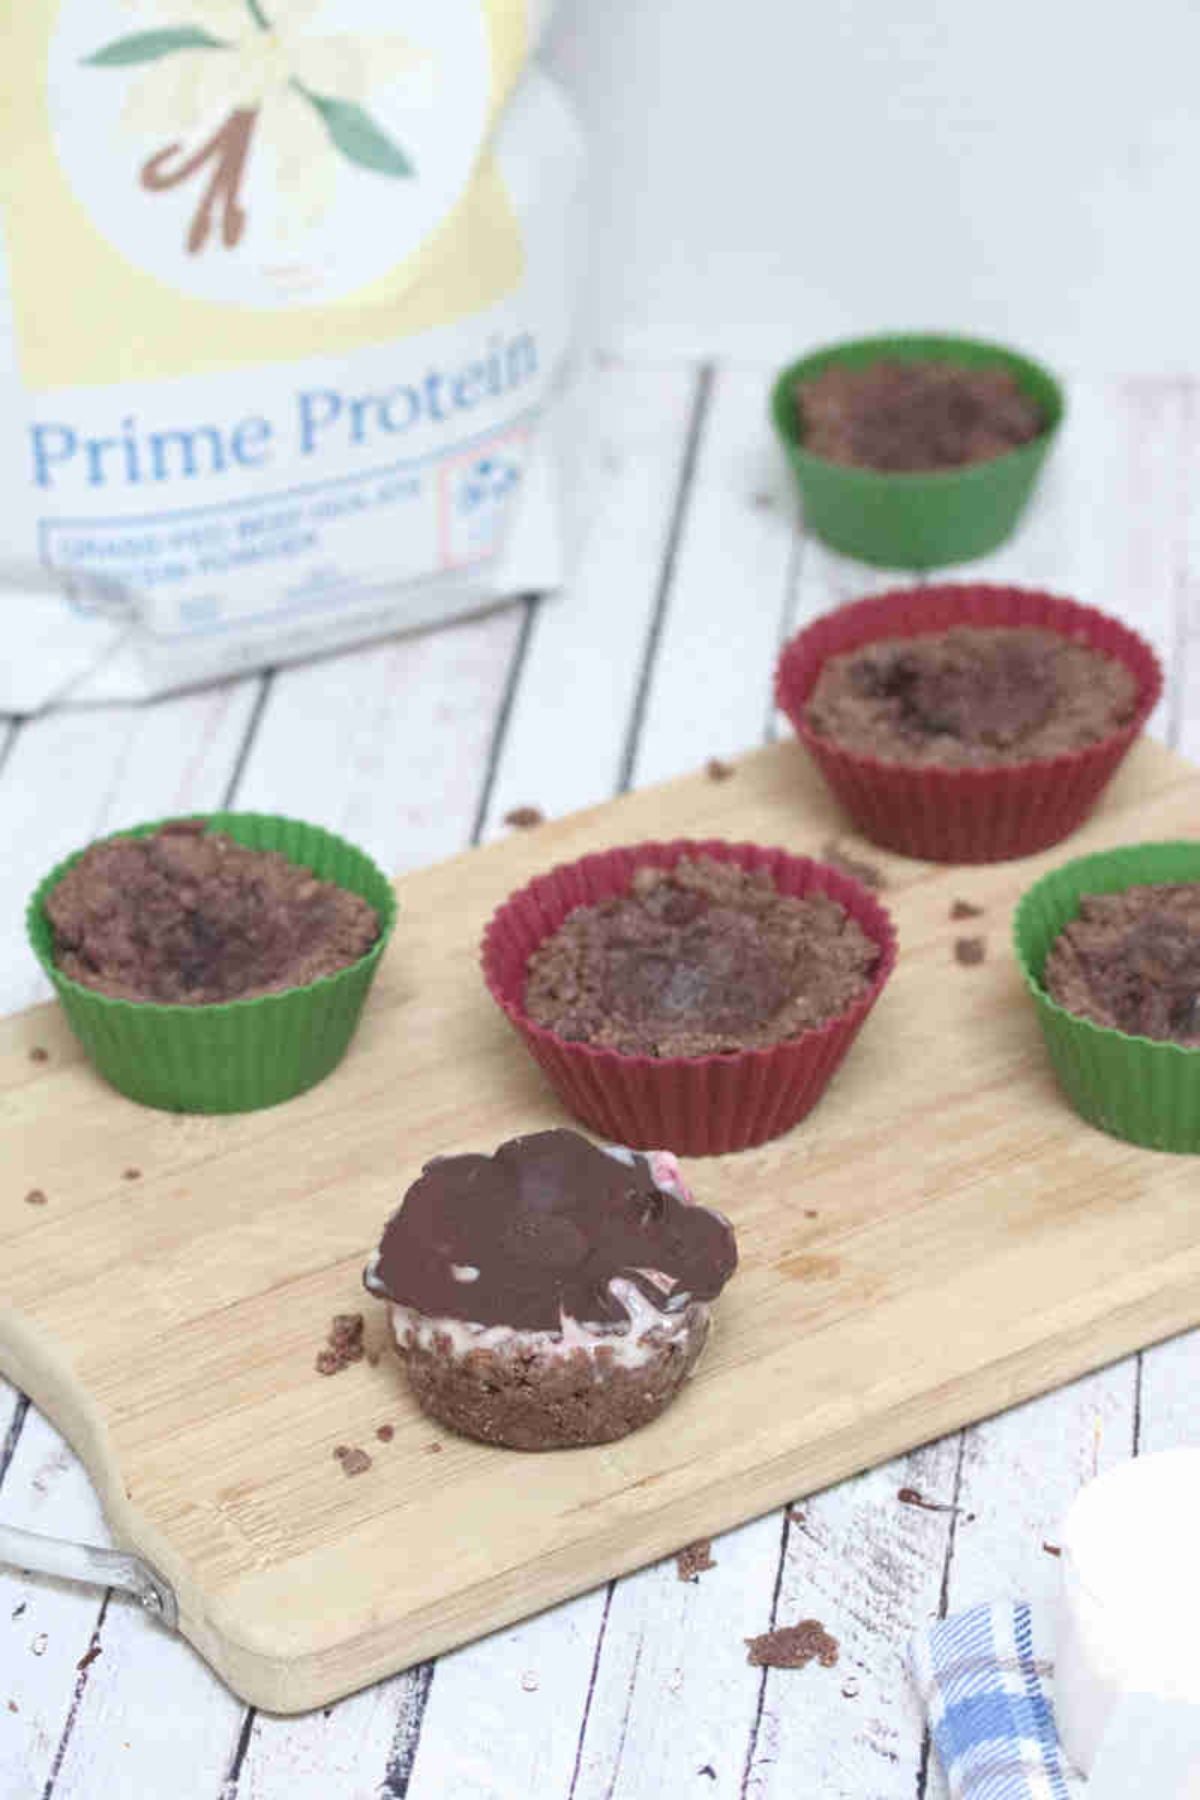
Ways To Use This Protein Dessert Crust
Once the crust is pressed, you can get pretty creative with how you fill it! Here are some of the things I’ve tried for myself and the girls:
- A dollop of Greek yogurt protein pudding
- No-bake protein cheesecake (recipe coming soon!!)
- An easy, chocolate-topped, no-bake mug cake
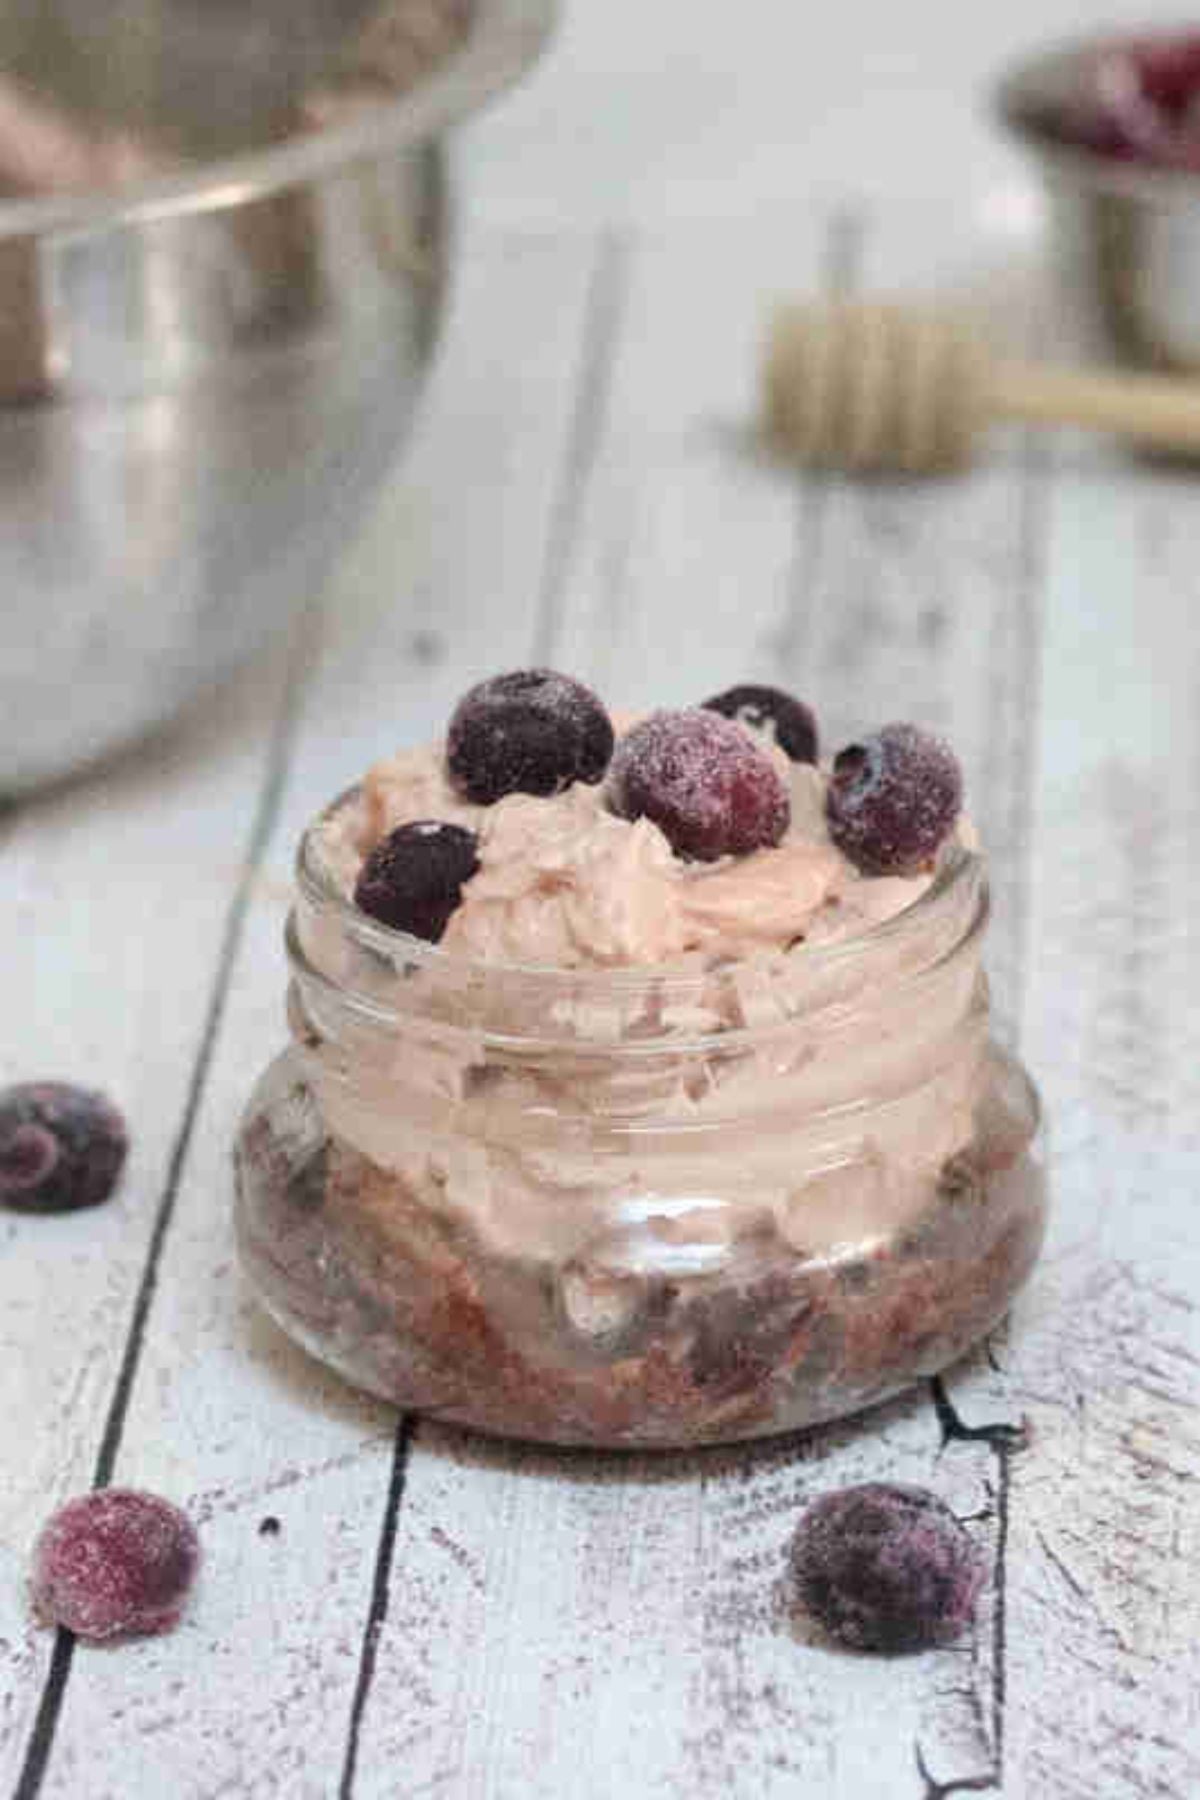
- Protein cookie butter
More High-Protein Snacks Recipes You'll Love


If you tried this Peanut Butter Protein Muffins Recipe or any other recipe on my blog, please leave a 🌟 star rating and let me know how it goes!
Easy Protein Dessert Crust
Video
Equipment
Ingredients
- 4 Dates
- 2 tablespoons Almond flour
- 1 tablespoon Beef-based protein powder
- 2 teaspoons Coconut oil
- ½ teaspoon Cacao optional
Instructions
- Finely chop the dates into small pieces.
- Add the dates and all of the dry ingredients to a bowl and give it a brief stir.
- Melt the coconut oil and add it to the bowl mixing until everything is semi-combined.
- It will look dry but should hold together if pressed.
- Portion the mixture into a silicone mold.
- Use a spoon to press it down firmly, letting the mixture come up on the sides.
- Either pop it in the fridge to use later, fill it immediately with your favorites, or bake it in the oven.
Notes
Disclaimer:
Nutrition values are estimates only, using online calculators. Please verify using your own data"
Nutrition

Leave a Reply