
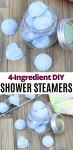


Use these DIY shower steamers to kick off your day and take your shower up a notch! Learning how to make homemade shower steamers means you can enjoy the benefits of aromatherapy or help ease cold symptoms all with only a handful of ingredients!

While I’ve previously used homemade shower melts for congestion and during the cold season, I recently wanted them for more.
I’ve found myself simply adding essential oils to my shower depending on my mood.
And while they do start off the shower nicely, they don’t last long.
This is the main benefit of DIY shower steamers: they keep the scent around longer!
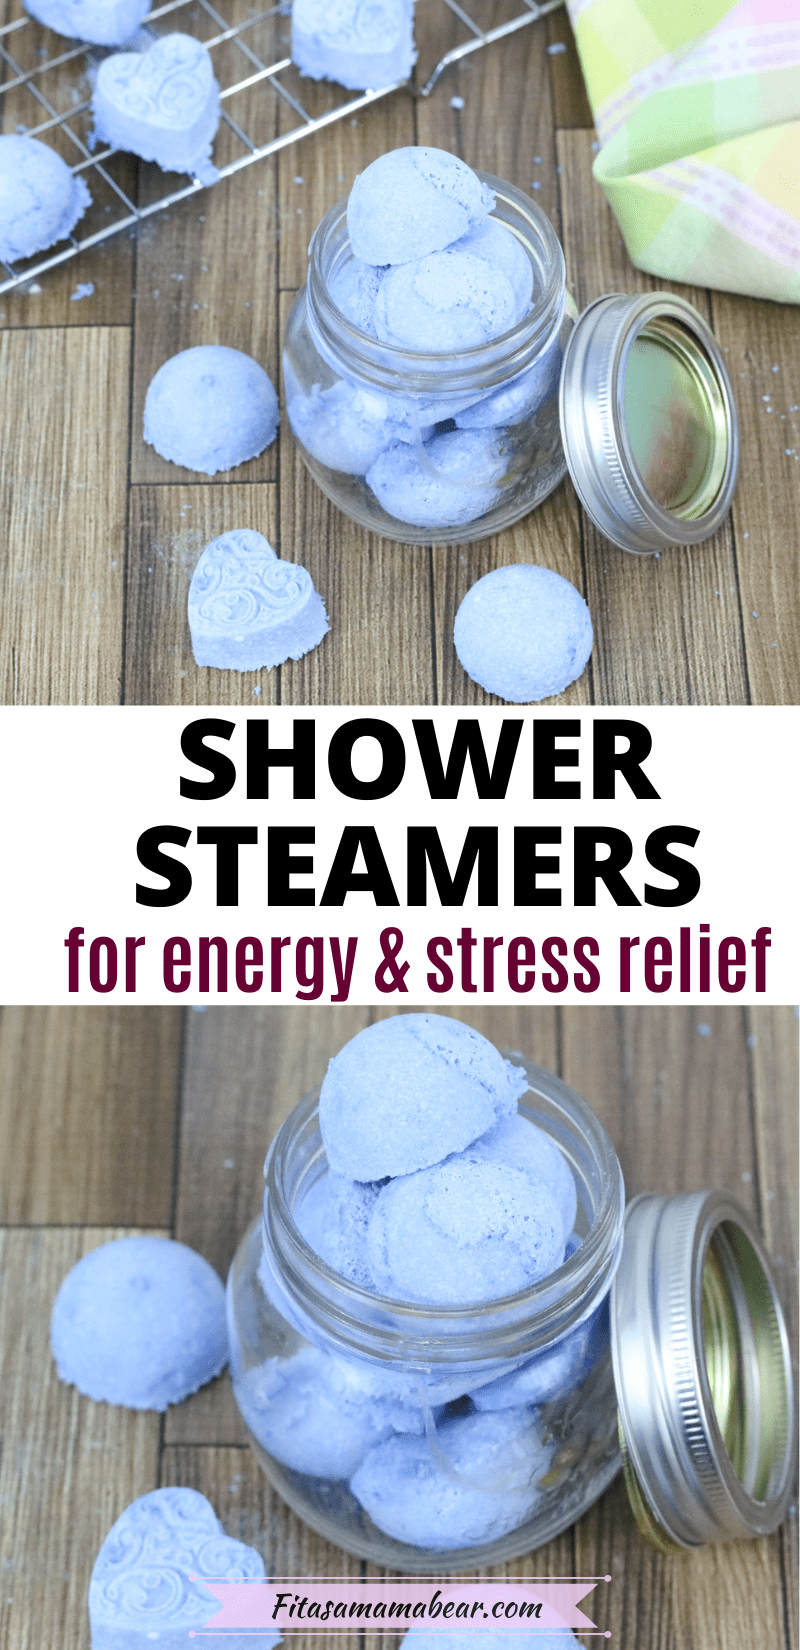
All of a sudden you can turn your everyday shower into a mood boost, headache relief, or congestion help. All with minimal ingredients.
Homemade shower steamers are an easy, natural alternative to traditional bath bombs.
They dissolve in the same way and use most of the same easy ingredients.
Ingredients You Need
Truth be told, there are a lot of ways to go about making a basic shower steamer.
With only three main ingredients + essential oil, they’re almost foolproof to throw together.
Cornstarch is what helps hold the the shower steamers together so that they don’t just crumble out of the mold.
However, you can substitute this with arrowroot flour if you want to make them cornstarch-free.
Baking soda is the base of the shower steamers.
Citric acid is what makes them fizzy. However, citric acid is actually not a crucial ingredient (more on that below!)
Essential oils this is the fun of homemade shower steamers as you can customize it to your liking.
Almond Oil is actually a trick I learned the hard way. I made multiple batches (haha six actually) and was struggling with keeping the scent strong. Then I remembered that normally it's oil in a recipe that carries the essential oils.
So, this ingredient is not crucial however, I find you get a better scent from the essential oil because of it.
How Does A Shower Steamer Work?
Shower steamers work by the water reacting with the baking soda and/or citric acid. The water melts the steamer thus releasing the essential oils.
Furthermore, the warmer the water the more potent the scent of the essential oils will be.
Where To Place It In The Shower
The DIY shower steamers need to come into contact with water in order for them to release the essential oil. However, placing it directly in the stream of water will cause it to dissolve pretty quickly.
Thus, I personally get my steamer wet and then place it at the back of the bathtub on the shower floor by the drain.
That said, I find the essential oil scent comes out more potent when the they're placed directly into the hot water spray.
How Long Do They Last In the Shower?
Homemade shower steamers dissolve fairly quickly- about 1-2 minutes.
The scent from the essential oils, however, will linger for roughly 5-6 minutes depending on the heat of the shower.
This can depend on what kind of essential oils dilution.
Not super long but long enough to enjoy. I use 1-2 shower steamers in my shower.
If you want something that lasts longer, you’ll want to look into homemade shower melts. I make mine specifically for cold season and thus they’re congestion-based.
Shower melts are solely oil-based (normally coconut oil). This means that they take longer to dissolve than just baking soda.
In my opinion, they take a bit longer to get going as well. But once they do, the scent lasts for about 10 full minutes.
I use shower melts when I’m sick and create a super-steamy shower which is when I find that they’re most effective.
What’s The Difference Between Shower Steamers & Bath Bombs?
Truthfully, they’re very similar! However, bath bombs tend to have more ingredients because they’re made for your skin.
However, homemade shower steamers are made more for aromatherapy purposes.
The other big difference is that because the bath bombs are directly in contact with skin, I would use a lesser concentration of essential oils (learn more about safe dilutions).
Whereas with shower steamers you’re inhaling so the dilution can be more. However, this is just my personal opinion.
Essential Oil Options
Choosing your essential oils is the fun part of how to make shower steamers! And much of it depends on preference.
For example, I use shower steamers for four reasons:
- as a mood booster
- to relieve congestion
- for relaxation and calming
- to relieve tension or headaches
This means that I like to keep a few variations of these DIY shower steamers on hand for just those purposes! Personally, my favorite essential oil blends are:
Mood booster: citrus, geranium, lemon (or lemongrass). I use this in homemade leave in conditioner too.
To relax: lavender, unwind from Saje, nighty night from Plant Therapy
To relieve congestion: breathe from DoTerra, Respir aid from Plant Therapy, pine essential oil, peppermint essential oil
For tension or headaches: lavender and peppermint
My biggest piece of advice is to do your research when it comes to the safety of essential oils. Which ones you can use for aromatherapy, contradictions (especially if pregnant) etc. I am not an aromatherapist, so this is all just personal preference.
Which Essential Oil Brand To Choose
This is personally a conversation I despise ha-ha. However, I’ll give you my two cents. I adore both Young Living and DoTerra essential oils They work well, and I used DoTerra for years before making the switch.
However, in the last year, I have begun to use Plant Therapy Essential Oils.
The reason being is that they use the same extraction and testing methods as the other two brands but they’re not an MLM company.
This means that the essential oils are far more cost-effective than others (and with my third babe on the way cost-effective is a big element).
Plus, they have kid specific blends which make it, so I don’t have to second guess dilution and safety as much when I need them.
I’ve been using them for almost a year now and find that they work just as well as the two other brands.
So basically, there are a few brands you can use. Find one that suits your needs.
DIY Shower Steamers Without Citric Acid
I've tried multiple times to rock these without citric acid. And while the scent from the essential oil comes through I find that they just don't bind together as well.
Every time I make them without citric acid (even when increasing the amount of cornstarch) they crumble out of the molds.
So, while you can technically make shower steamers without citric acid, I find you end up having to scoop the mixture into the shower instead of having something you can place.

The BEST DIY Beauty Products For Busy Moms
Packed with quick, natural recipes that fit seamlessly into your busy mom life, giving you safe, glowing skin without the hassle!
The DIY Beauty Ebook For Busy Moms contains 21 easy-to-make beauty recipes from lip chaps, to lotions, and scrubs to washes.

You'll also learn the exact tricks I stumbled through on my journey and how to avoid them.
And BONUS, if you're into the self care vibe, this bundle comes with a guide to start journaling, tips to make self-care a habit, as well as the grocery list you need to make everything.. all for just $9.99.
Frequently Asked Questions About Homemade Shower Steamers
Epsom salts plus and essential oil are the basics for homemade steamers. However, you want something to hold them together a bit longer so you need to add in some baking soda and arrowroot powder as well.
You don't NEED citric acid to make a shower steamer. Citric acid is what makes bath bombs fizzy which is not needed for steamers. However, I find that having it in helps hold the steamers together better and last longer.
Other DIY Recipes You'll Love
- DIY tinted lip balm
- How to make homemade bath bombs
- Easy homemade lotion
- The BEST DIY beauty products
- How to make homemade bath bombs (the biggest secrets!)
- Mini bath bombs for sleepy kids
- The do's and don't of homemade lotion
- Homemade muscle rub

DIY Shower Steamers
Equipment
Ingredients
- 1 cup baking soda
- ⅓ cup citric acid
- ⅓ cup cornstarch (arrowroot powder works too)
- 40-50 drops essential oils in total (split this between however many oils you're using)
- 2 teaspoon water
- 1 teaspoon almond oil
- spray bottle with water
Instructions
- In a small bowl combine the baking soda, citric acid, cornstarch, and mica powder if using. Mix well.
- In a mixing cup, whisk together the essential oils, water, and almond oil. Pour wet into dry.
- The mixture will fizz- this is fine as you don't need them to fizz later like bath bombs. Mix everything together until it looks slightly coated.
- Tip: Mix longer than you think. The mixture will still look dry but keep mixing.
- Portion the steamer mixture into the molds filling them about halfway. Press down firmly.
- Spray each mold cavity with a bit of water. Portion out the remaining mixture and press down again.
- Spray once more and press down. The better you press down the more they hold together.
- Let sit on the counter for 24 hours to firm up.
- After they set, pop them out and store until you use them!
Video
Notes
- You can find all the ingredients you need on my DIY Beauty Staples Page. You can use any essential oils you like, I personally grab mine now from Plant Therapy.
- The amount of shower steamers made depends on how big your mold is!
- Note: mica powder is a mineral colorant used for bath and beauty products. However, I only use this for videos, photos or when making shower steamers are a gift. Otherwise, it's not needed at all!
- Know that the water has to be HOT to really release the essential oil smell. Likewise, if too much water is added when you're making them, the essential oil smell will be activated too early.
Learning how to make shower steamers and adding in your favorite essential oil is a fun game-changer to something so basic. With just one little disc you can boost your mood, relieve tension, or simply embrace the calm.
Likewise, the homemade shower steamers are simple to make which makes having them on hand easy. Plus- they make really sweet gifts!


Jan says
Going to try some ;I gave my moulds away when I stopped making candles have to get some more can I ellimate almond oil can I use candle oil fragrance Thanku
fitasamamabear says
Hrm, not sure on the candle fragrance oil. You can definitely use jojoba or apricot oil but I've never played around with candle oil!
Aubrie says
I was so disappointed this didn’t work out. Followed your directions by the book. Used organic arrowroot powder instead of cornstarch. I also use plant therapy oils because I have grown to love that company as well.
The steamers smell amazing while you’re making them and while they have to sit in the molds, but once I put one in the shower, it’s like it wasn’t even in there😞 I couldn’t smell it at all. I used peppermint and lavender which are very fragrant, in my opinion. Not sure what I did wrong unless it was just because I used 1 instead of 2.
fitasamamabear says
Hey Aubrie,
Sorry they didn’t work out for you. I do find that you have to use a couple of them for the scent to come out because they’re so little.
These ones specifically dissolve very quickly so if they’re in before the really hot water hits them (and just in the stream) you don’t get the scent as much (where as with a melt like these https://fitasamamabear.com/shower-melts-to-reduce-congestion/ they’re in there longer so the scent releases more).
Were they crumbly or hold together? That can make a difference too.
Maria Thomson says
I am looking at the recipe for 16 servings, and would like to know what size the steamers come out to?
Thank you!
fitasamamabear says
Hey Maria, mine made small discs about and inch wide and deep I believe.
Maria Thomson says
Thank you! Do you have a specific silicon mold that you use? If so, do you have a link to it?
fitasamamabear says
So I normally use either these heart ones (https://amzn.to/3lnE2dO) or the semi circle ones (https://amzn.to/3YxSIVS). Both are affiliate links FYI.
Emily says
i feel like this made a lot! but maybe I was using molds that were too small?
they looked like candy sized molds so that 's what i got, but mine only does 12. but still, I have a lot of mixture left! i don't know if I can keep it and do it later?
fitasamamabear says
It could definitely be the mold! I have a 12 piece mold but the shapes are about one inch deep and wide (ish) not sure if that helps lol. It doesn’t store in the sense that it will harder and you can’t reshape it. You could use a muffin tin for the extra (silicone muffin mold). If it does harden you can break pieces off, or you can crumble it and use it as a toilet bowl cleaner (I kid you not it works really well!)
Kel says
Can you use vitamin E oil instead of almond oil?
fitasamamabear says
You should be able to! Any oil should work in theory. Vit. E is a natural preservative but it should react the same 🙂
Josi says
Hello. I can’t find the 4 ingredient recipe. Can you please email it to me?
fitasamamabear says
Hey Josie!
The recipe is in the recipe card towards the bottoms. Here's a list of the ingredients but check out the card for exact directions & tips 🙂
1 cup baking soda
⅓ cup citric acid
⅓ cup cornstarch (arrowroot powder works too)
2 teaspoon water
1 teaspoon almond oil
spray bottle with water
Serrana says
Hello there! Greetings from Uruguay. I love bath bombs but here, bath are very uncommon, so bath bombs are quite useless. But (and this is a big but) they could be perfect for manicure or for pedicure. I tell you this because I do not find a blog or video that indicates the size of the bath bombs. How big or small they should be? The same question goes for shower bombs. Please, please do help me. Thank you in advance.
fitasamamabear says
Hey Serrana! The size is actually up to you and depends on the molds you buy 🙂 For bath bombs we tend to make bigger ones (spheres about 2 inches in diameter), for shower ones I usually make discs about one inch in size total. They can be made into any shape or size you like though, just depends which molds you use. Hope that helps 🙂
Christe says
Looks really dry - should the wet ingredients be tablespoons?
fitasamamabear says
Valid question! They do seem pretty dry when you're putting them into the molds! However, by spraying and pressing them down they "crystalize" in a few hours and get harder 🙂
Vanessa says
Thanks for sharing! Does it keep long?
fitasamamabear says
Honestly, I feel "technically" I should say 6-10 weeks given there's no complete preservative in them but I've had mine upwards of six months before...
Suzanne says
This looks so good! What a great gift to make for friends or to have ready in your bathroom!
fitasamamabear says
Yes! I keep a stash with just a "pick me up" scent for crappy days haha
Pat says
I’d love to make some of these for holiday gifts but one recipient is allergic to nuts. I could probably still use the almond oil but I’m wondering if you have a suggestion for a substitute/alternate ingredient? Thanks!
fitasamamabear says
You're so thoughtful! You can actually apricot kernal oil in place of almond oil to keep it nut-free.
Katherine says
Does the almond oil help keep them together ?
I have MCT oil does that work the same?
fitasamamabear says
Honestly I don't think the almond oil is completely necessary, MCT oil should work fine. I find that it helps break them up a bit from becoming rock solid. If you try, let me know!
Donna says
Very simple to follow instructions. Thank you.
fitasamamabear says
Not a problem, thanks for dropping by. I hope you like them!