

These Almond Flour Thumbprint Cookies are soft, rich, and filled with a healthy chocolate frosting. With a base of almond and coconut flour, they’re naturally gluten-free, paleo, and made without refined sugar, perfect for holidays or afternoon treats.

A Quick Look At The Recipe
- ⏲️Ready In: 30 Minutes
- 👪Serves: 9
- 🍽 Calories and Protein: 148 kcals and 4 grams of protein
- 📋 Main Ingredients: Almond flour, shredded coconut, coconut flour, honey, egg, and chocolate frosting.
- 📖 Dietary Notes: Dairy-free, gluten-free, and paleo.
- ⭐ Why You'll Love It: Sweetened with honey and light in texture, these cookies are a pop-in-your-mouth treat you can't resist.
SUMMARIZE & SAVE THIS CONTENT ON
These almond coconut thumbprint cookies are my go-to when I want a treat that feels special and keeps ingredients simple, just like almond flour cupcakes. They’re sweet but not over-the-top, which makes them perfect for little ones (especially compared to sugar bombs like traditional gingerbread cookies or sprinkle-topped cupcakes). And that chocolate center? Pure bliss.
I’ve brought these to everything from mom-group potlucks to holiday cookie exchanges, and they always disappear fast. If you’re looking for a cookie that feels indulgent but is made with better-for-you ingredients, these are it. Serve them alongside my paleo hot chocolate recipe, or on a dessert board with peanut butter date bark and protein brownies for a healthy treat spread.
Jump To
💭Why You'll Love This Recipe
Easy to make: There's no fancy kitchen skills required to make these coconut thumbprint cookies, and they whip up in about 30 minutes (even with cooling time).
Healthy: The cookies are naturally dairy-free, gluten-free, and paleo-approved. Plus, they're sweetened with just honey.
Versatile: Top the coconut thumbprint cookies with the healthy chocolate frosting, your favorite chia jam, or a dairy-free protein frosting. The flavor is easy to adjust.
Ingredients and Substitutions
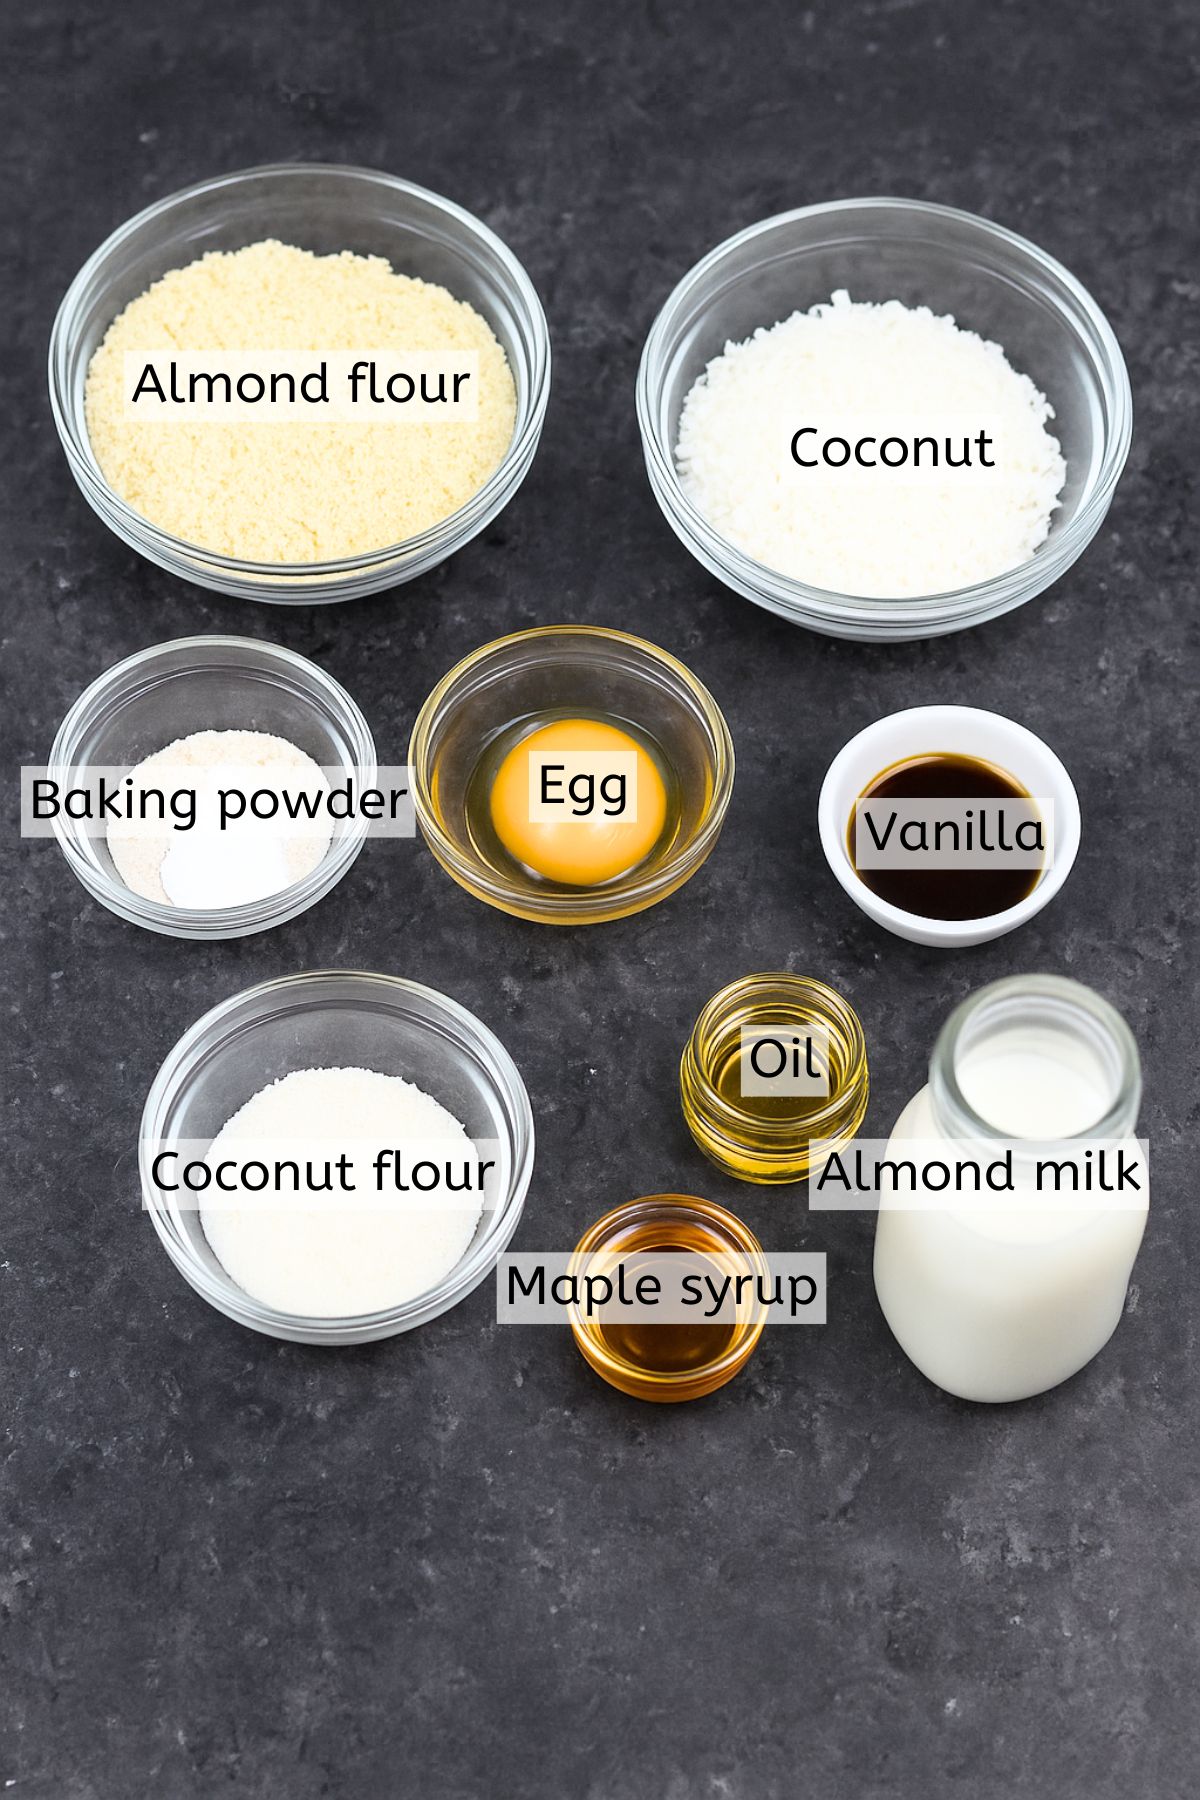
- Almond flour: Though you can use almond meal, it won't make the thumbprint cookies look as pretty, and they'll have a grittier texture. Learn the difference between almond flour and ground almonds.
- Coconut flour: This gives the thumbprint cookies with almond flour cookies some "bulk" while still keeping them light, essentially giving them the feeling of carbs without the actual carbs, kind of like coconut flour sugar cookies. Learn more about coconut flour vs. almond flour.
- Almond milk: Any non-dairy milk will work. We use homemade hemp milk the most, as that's what we have on hand.
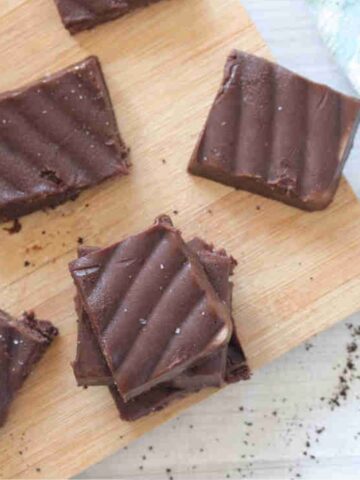
- Chocolate frosting: My chocolate dairy-free frosting is whipped up in just five minutes, light, silky, and perfect to top off the cookies.
See the recipe card for full information on ingredients and quantities.
Flavor Variations
Below are a few ways to vary the flavor of the coconut thumbprint cookies as per your preference.
Frosting: If you don't want a chocolate frosting, try using your favorite jam like in these flourless peanut butter and jam cookies, dairy-free cream cheese frosting, or dairy-free homemade caramel sauce.
Chocolate: Want a rich chocolate base? Add a tablespoon of cacao powder to the mix.
Extracts: Change the flavor of the thumbprint cookies by adding in almond extract, lemon extract, or even peppermint.
Toppings: Get festive and sprinkle on some crushed candy canes, sprinkles, or Halloween eyes to the chocolate topping.
How To Make Almond Flour Thumbprint Cookies
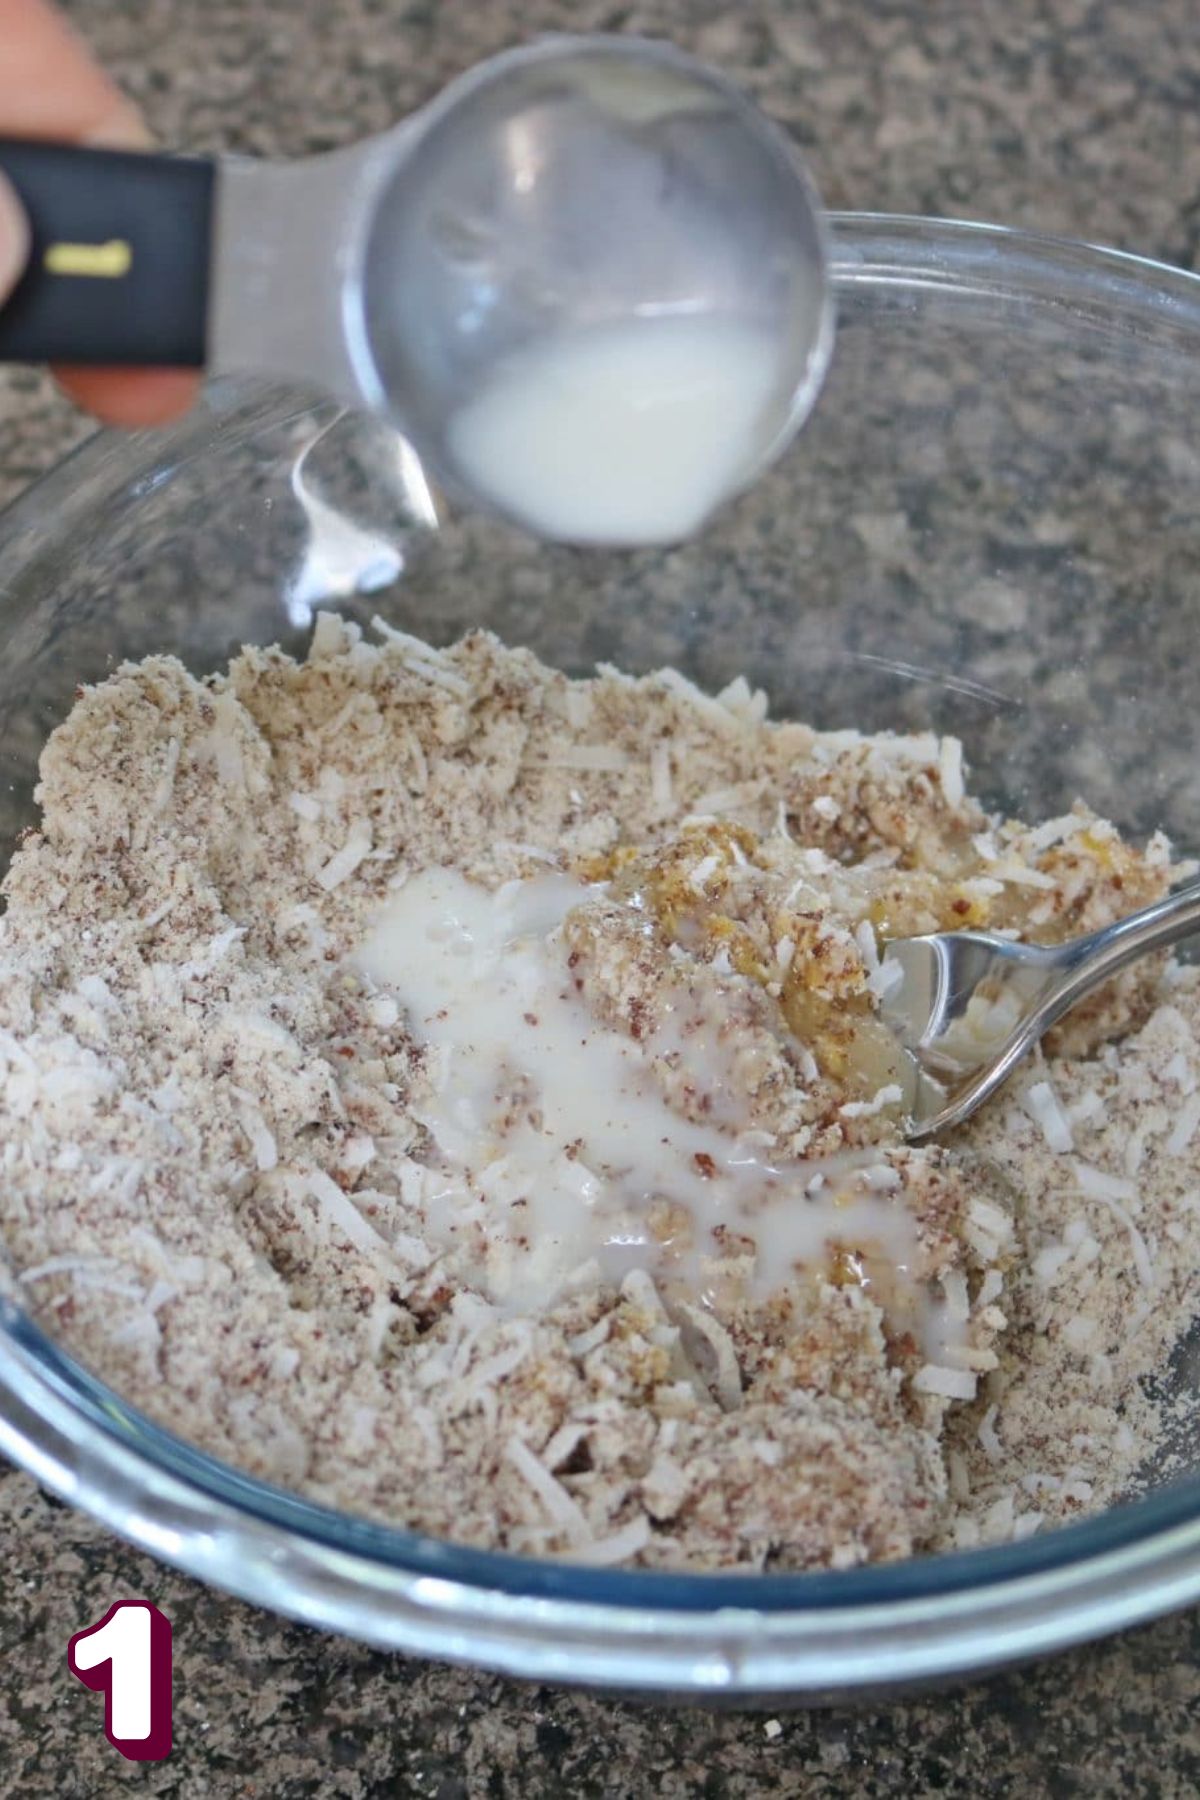
Step 1: Combine dry and wet ingredients. Mix until combined and sticky.
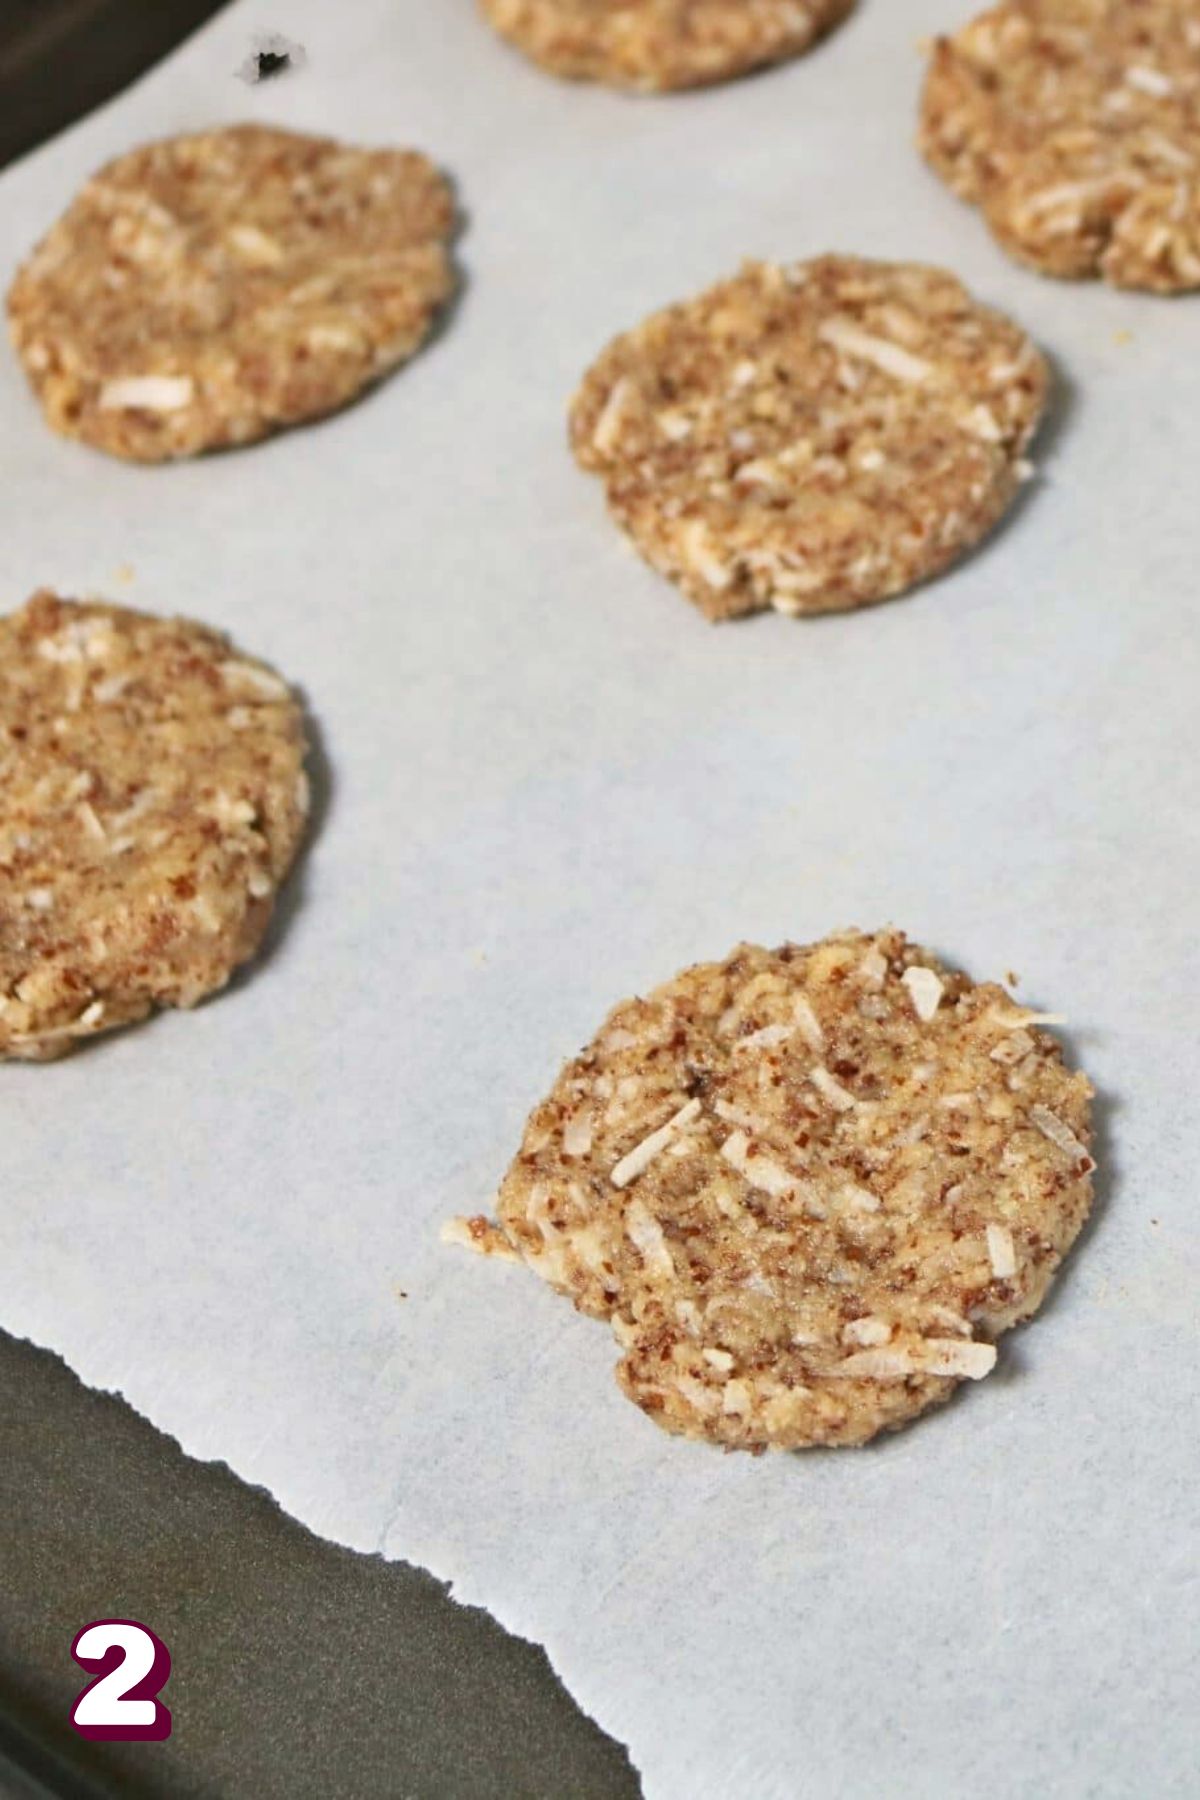
Step 2: Portion the cookies on a silicone cookie sheet on a baking pan. Press your thumb or a teaspoon into each cookie and manually shape them as needed.
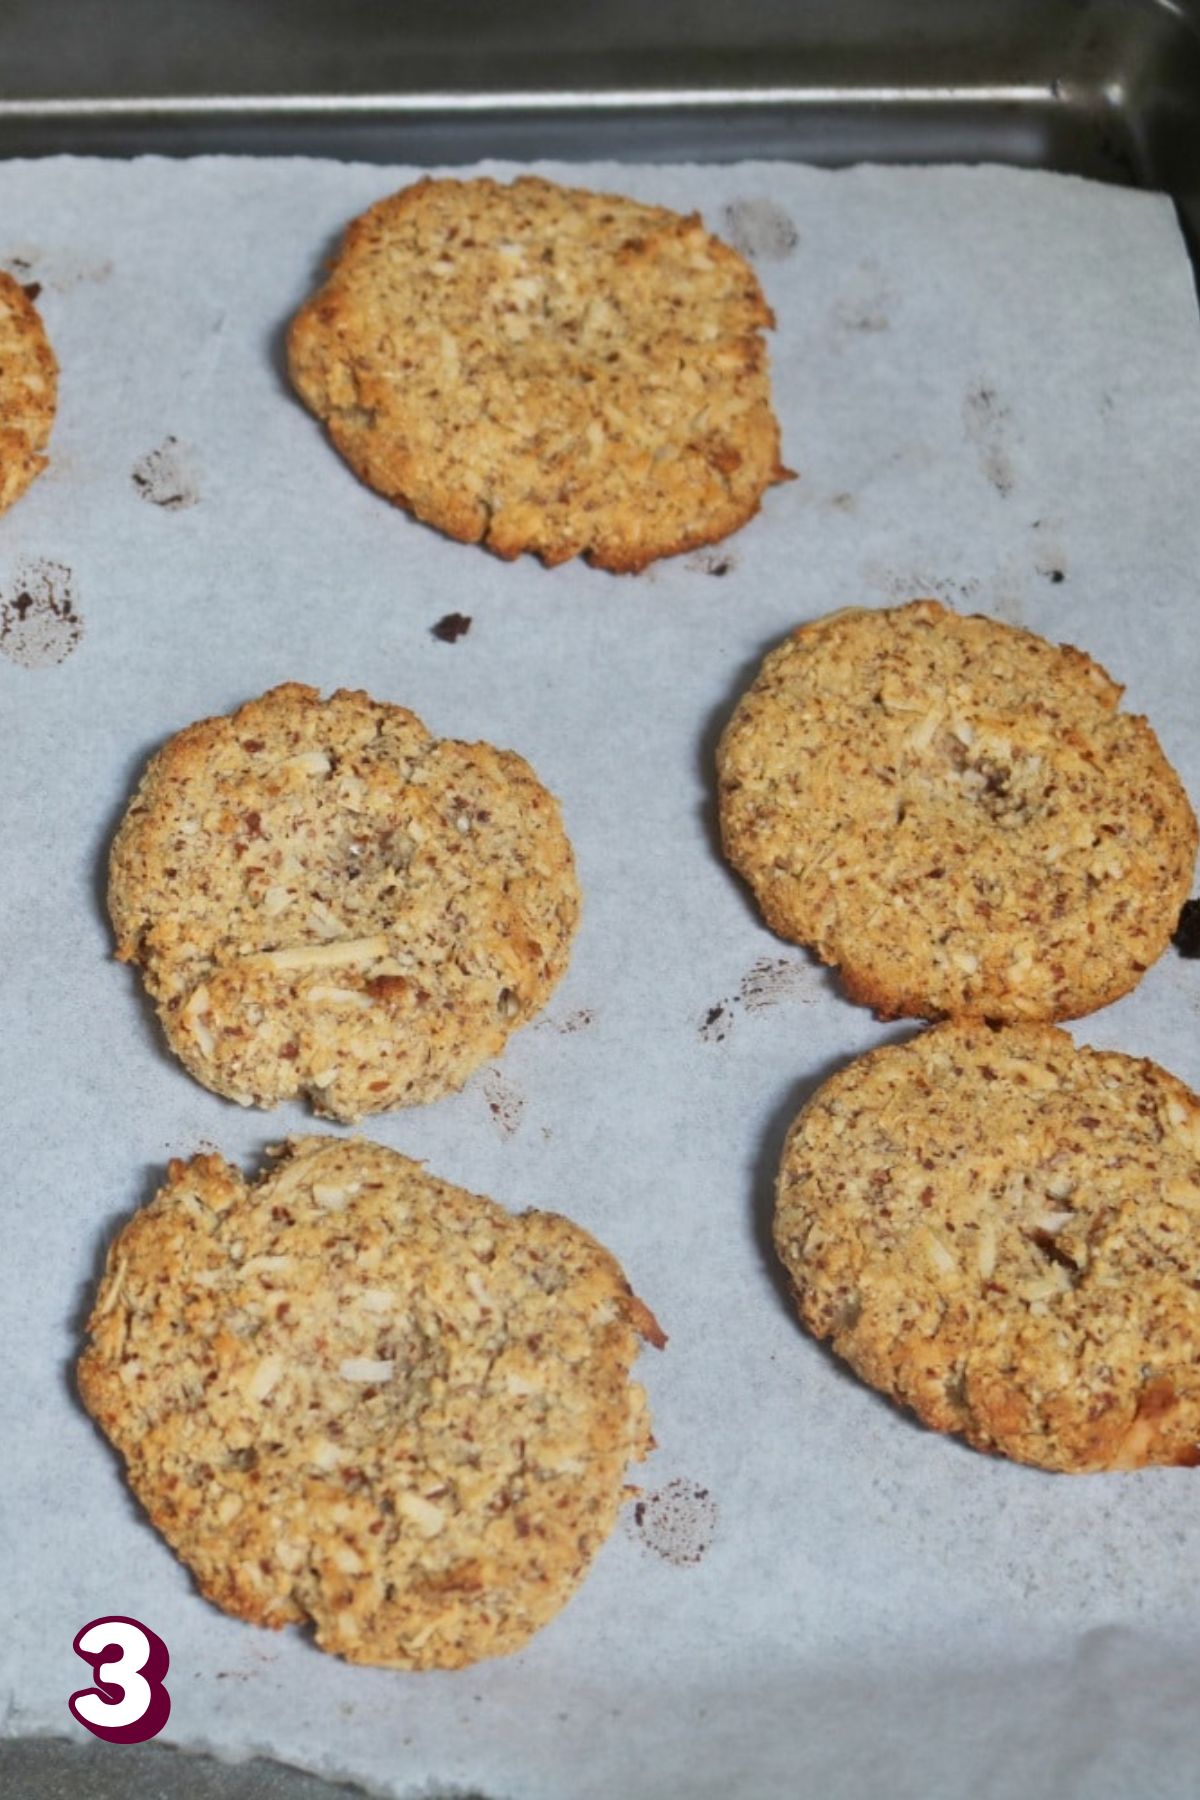
Step 3: Bake and let the coconut cookies cool fully.
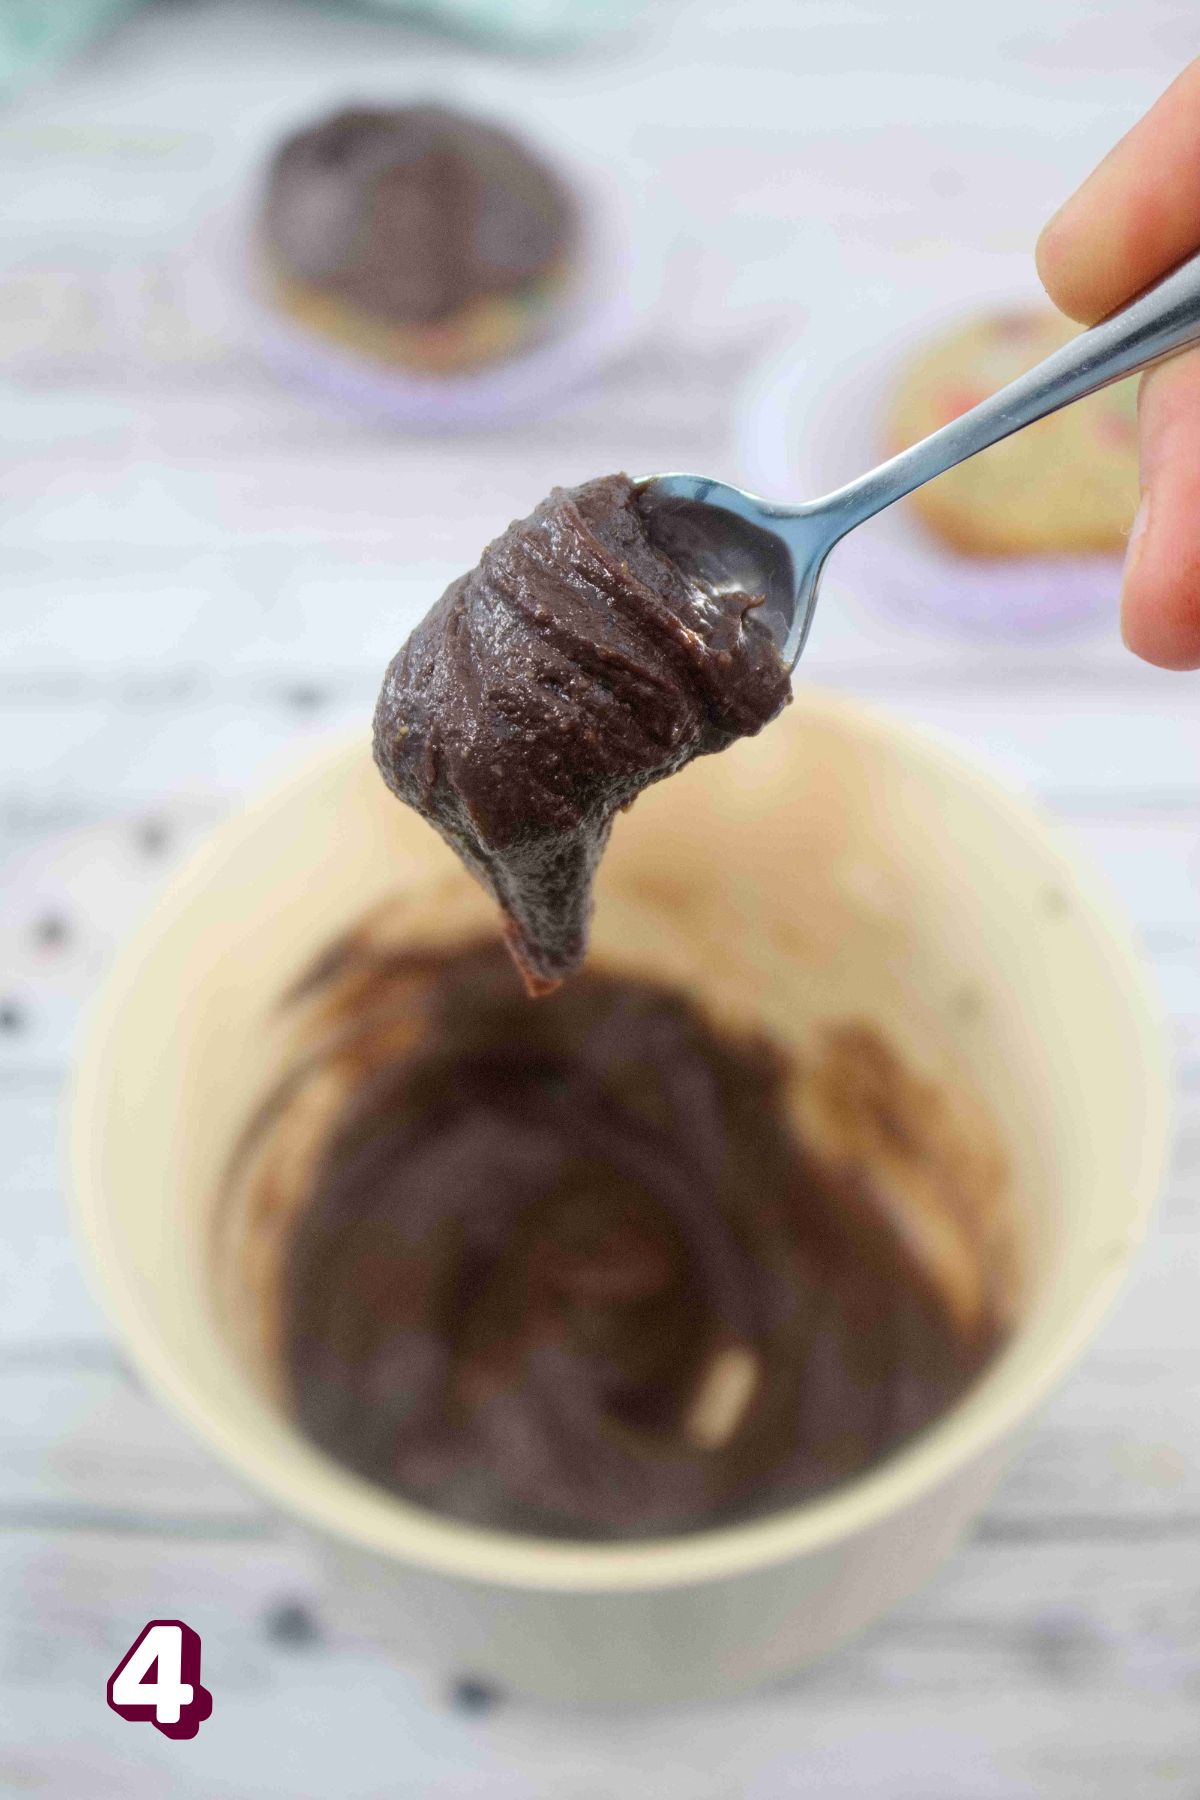
Step 4: Whip up the chocolate frosting and portion it onto the cookies.
Expert Tips
The cookies are very delicate coming out of the oven so don't move them. Let them cool fully on the cookie tray first.
Use a silicone cookie mat on top of a baking tray to remove the cookies. You'll still probably need a silicone spatula to move them.
Make the dairy-free chocolate frosting only when you need it as it doesn't store well.
Adjust the baking time based on how big you make the cookies. You want them to be just turning golden when you remove them from the oven, they'll firm up more while cooling.
Do not frost the cookies until cooled or your frosting will melt.
How To Store Them
If the almond coconut thumbprint cookies are frosted, store them in an airtight container in the fridge for 5-7 days. Let them come to room temperature before enjoying them. The frosting will thicken up when chilled a bit.
You can store unfrosted cookies once cooled on the counter in an airtight container for 2-3 days. Any longer and you should pop them in the fridge.
Almond Thumbprint Cookies FAQs
If you forgot to make a thumbprint before baking the cookies, know that you can do it after. Because the cookies come out hot though, I'd recommend using a spoon to press into the cookies and not your finger.
You can freeze almond flour thumbprint cookies so long as they're not frosted. Let the cookies cool and then store them in an airtight bag. Store them in the freezer for up to 8 weeks. When ready, let the cookies come to room temperature and frost them before serving.
The most common almond flour cookie mistake is using almond meal and not almond flour. Almond meal is just ground almonds and leaves a grittier texture. Almond flour is when the almonds have been peeled and blanched. They create a finer texture and more aesthetically appealing look.

More Gluten-Free Cookie Recipes


If you tried this Almond Flour Thumbprint Cookies Recipe or any other recipe on my blog, please leave a 🌟 star rating and let me know how it goes!

Almond Flour Thumbprint Cookies (Dairy and Gluten-Free)
Video
Equipment
- Silicone baking mat
Ingredients
- 1 cup Almond flour
- ½ cup Shredded coconut
- 1 Egg
- ½ teaspoon Vanilla extract
- ⅛ cup Coconut flour
- 1 teaspoon Baking powder
- 2 tablespoons Honey
- 1 tablespoon Avocado oil
- 2 tablespoons Almond milk
- 1 batch Dairy-free chocolate frosting
Instructions
- Preheat the oven to 350 degrees.
- In a small bowl combine all the dry ingredients.
- One by one, add in the wet ingredients except the almond milk and mix well.
- When everything is sticky and clumpy, add in the almond milk. Mix until there is one big sticky mess.
- Line a baking tray with parchment paper or a silicone cookie sheet.
- Use a trigger ice cream scoop to portion the cookies onto the baking sheet. Then, use a fork to press them down. They don’t expand much so make sure they’re in the shape you need them.
- Ever so lightly, press your thumb into the center of each cookie.
- Bake in the oven for 8 minutes, rotate the baking sheet, and bake another 4-6 minutes. Remove from oven and let cool.
- While cooling, whisk together the frosting.
- Using a spoon and spatula, top each cookie with the frosting.
Notes
- The nutrition information does not include the chocolate frosting.
- The cookies are very delicate coming out of the oven so don't move them. Let them cool fully on the cookie tray first. Likewise, use a silicone cookie mat on top of a baking tray to remove the cookies. You'll still probably need a silicone spatula to move them. Make the dairy-free chocolate frosting as needed, it doesn't store well. Adjust the baking time based on how big you make the cookies. You want them to be just turning golden when you remove them from the oven, they'll firm up more while cooling. Do not frost the cookies until cooled or your frosting will melt.
- Store the gluten-free thumbprint cookies in the fridge and serve them at room temperature.
Disclaimer:
Nutrition values are estimates only, using online calculators. Please verify using your own data"
Nutrition


Shelby S says
These are so light and the chocolatee frosting so sweet they're perfect!